
Orchids captivate with their exotic beauty, and among them, Thai orchids stand out as some of the most enchanting varieties. Thailand’s warm climate and natural biodiversity make it a paradise for orchid lovers, offering a stunning array of species. Whether you’re a seasoned gardener or new to orchids, the allure of Thai orchids is irresistible. In this post, we’ll take a deep dive into the enchanting world of Thai orchids. We’ll explore the most popular types and provide you with detailed care instructions. From selecting the perfect pot to encouraging reblooming, we’ve got you covered.
What is a Thai Orchid?
Thai orchids are epiphytic and terrestrial plants primarily native to tropical regions of Thailand. They are known for their vibrant colors and intricate patterns, drawing in both amateur and professional horticulturists alike.
Types of Thai Orchids and Their Characteristics
Thai orchids come in various forms, each with unique characteristics. Here are a few favorites.
Dendrobium Orchids
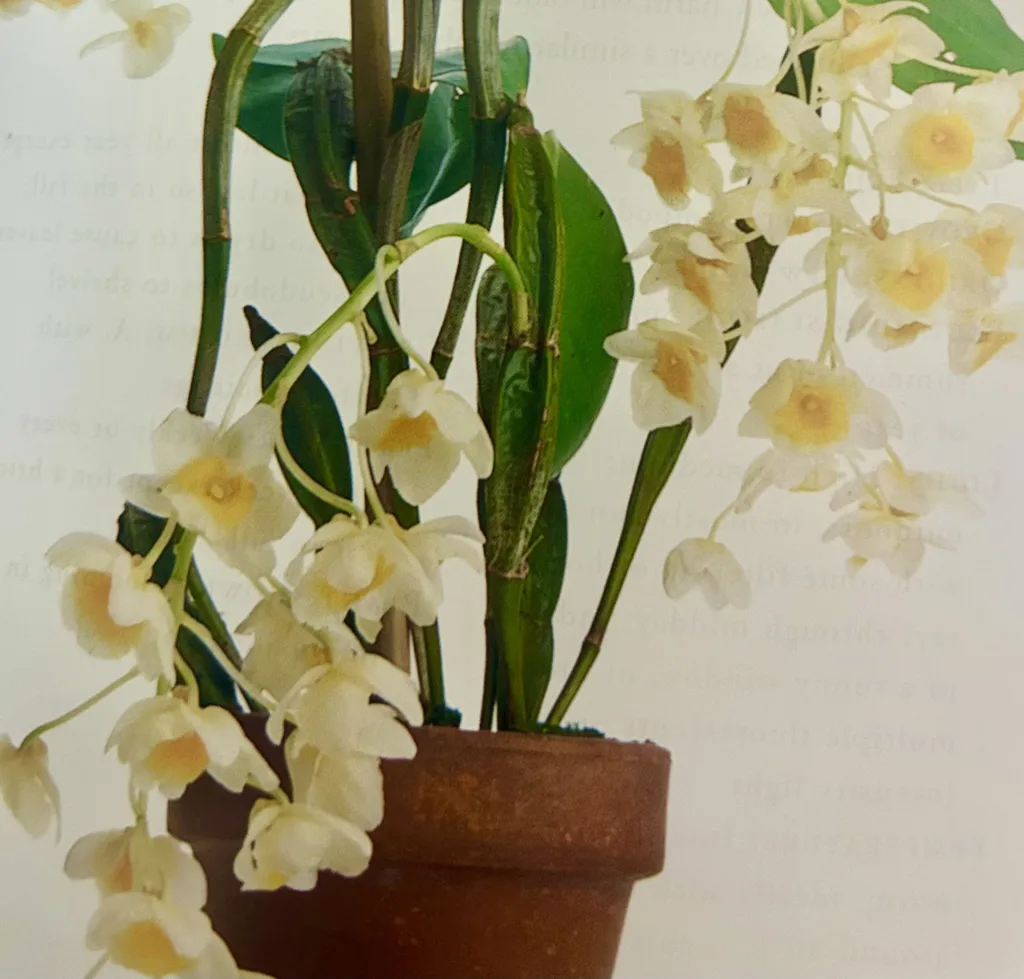
One of the most recognizable and widely grown Thai orchids is the Dendrobium. This diverse genus includes species that range in size and color, with blooms that can be found in shades of white, pink, purple, and yellow. Dendrobiums are appreciated for their long-lasting flowers and their ability to bloom several times per year under the right conditions. They prefer a moderate climate and are relatively easy to care for, making them a favorite among both novices and experts. Their tall, cane-like pseudobulbs give rise to beautiful sprays of flowers that are often used in cut flower arrangements. For a more intensive post on Dendrobium Orchids click here.
Vanda Orchids
Vanda orchids are another popular group of Thai orchids recognized for their large, vibrant blooms and aerial root systems. These species thrive in high-humidity environments and require plenty of bright, indirect sunlight to flourish. Vandas are often suspended in baskets, allowing their roots to absorb moisture from the air, which is essential for their growth. The flowers of Vanda orchids come in a spectacular range of colors, including blue, purple, and red, often boasting a patterned design that adds to their exotic appearance. Their impressive blooms make them highly sought after for ornamental displays in both private collections and public exhibitions. For a more intensive post on Vanda Orchids click here.
Cattleya Orchids
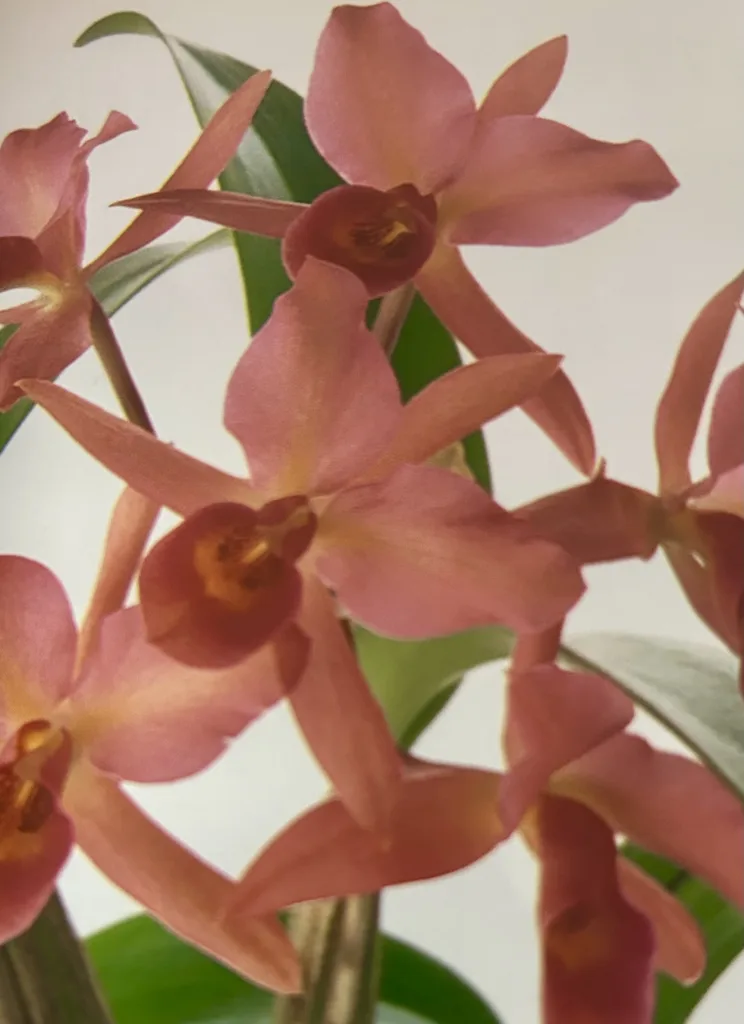
Equally compelling are the Cattleya orchids, often referred to as the “Queen of Orchids” for their large, fragrant blooms that come in a breathtaking palette of colors. Cattleyas boast a distinctive structure, featuring a flat, broad lip that differs noticeably from the rest of the petals and sepals. These orchids favor a drier rest period between waterings, and they thrive in bright but dappled light to mimic the shady canopy of their natural habitat. With a reputation for being a bit more challenging to grow, Cattleya orchids reward patient and diligent growers with their stunning display and sumptuous scent that can fill an entire room. For a more intensive post on Cattleya Orchids click here.
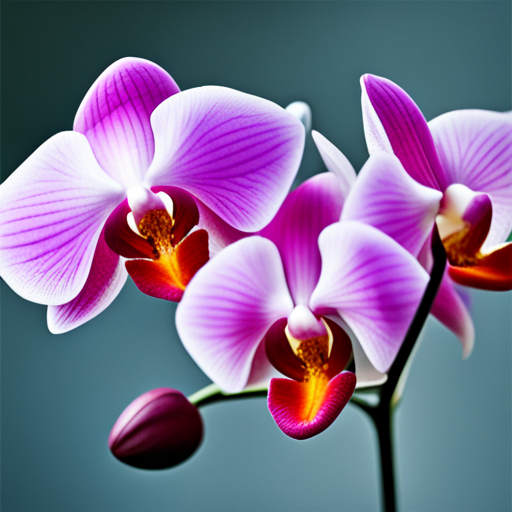
Phalaenopsis Orchids
Phalaenopsis, or “Moth Orchids,” are among the most popular orchids in the Thai orchid collection, beloved for their long-lasting blooms and ease of care. These flowers are distinguishable by their broad, rounded petals which often present in a gradient of pink, white, and violet hues. Ideal for indoor cultivation, Phalaenopsis thrive in warm temperatures and low to medium light, avoiding the direct harshness of the afternoon sun. These orchids are excellent for beginners, as they adapt well to the stable climate of a home and have a forgiving nature, with blooms that can last up to several months, providing a continuous splash of color and elegance. For a more intensive post on Phalaenopsis Orchids click here.
Paphiopedilum Orchids
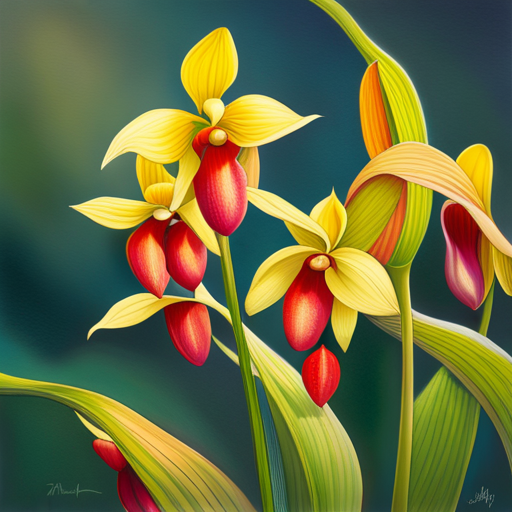
Paphiopedilum orchids, often referred to as “Lady’s Slipper Orchids,” are a captivating group within the Thai orchid family, drawing attention with their unique pouch-shaped lip that resembles a slipper. This feature not only adds to their exotic charm but also serves as an effective trap for pollinating insects, ensuring the propagation of the species. Paphiopedilum orchids come in a rich array of colors and patterns, with leaves that can be either solid green or mottled, adding to their visual interest even when not in bloom. These terrestrial orchids prefer consistent moisture, well-draining soil, and lower light conditions compared to other Thai orchids, making them well-suited to indoor cultivation. They stand out for their textured and often waxy petals and the long-lasting nature of their sophisticated blooms. For a more intensive post on Paphiopediluk Orchids click here.
Each of these Thai orchids requires specific care strategies to flourish, from the right amount of light to proper watering schedules and temperature conditions. The following sections will provide detailed insights into the care of these captivating plants.
Growth Type
Thai orchids typically exhibit one of two growth types:
- Monopodial: These orchids grow upwards from a single stem, adding leaves to the top while the bottom leaves fall away.
- Sympodial: Orchids with this growth type spread outwards, producing new shoots alongside the old ones.
Understanding the growth type is crucial for repotting and general care.
Light and Humidity
Proper light is essential for the health and blooming of Thai orchids. Most Thai orchids thrive in bright, indirect light, with some species requiring more light than others. The ideal location is near an east or west-facing window where they can enjoy the gentle morning or late afternoon sun. Direct midday sun can scorch delicate flowers and leaves, so it is best to protect them with sheer curtains or by placing them slightly removed from the window. If you don’t have the right kind of window you can always use full spectrum LED grow lights.
Humidity is another critical factor for these tropical plants. Thai orchids generally prefer a humidity level of 60-70%. Achieving this in a home environment may require the use of a humidifier or placing the orchids on a tray of water with pebbles, ensuring the pot does not sit directly in the water. Daily misting can also help raise humidity, but it’s important to avoid wetting the flowers to prevent damage and disease. Monitoring these conditions closely will help replicate the natural environment of Thai orchids and promote their vibrant growth and flowering. This small hygrometer is perfect for monitoring humidity levels.
Water and Fertilizer
Watering is a critical aspect of Thai orchid care, requiring a delicate balance to avoid both under-watering and over-watering. These orchids generally prefer to slightly dry out between waterings, but they should not be allowed to become completely parched. A good rule of thumb is to water once a week, or more frequently if the humidity is low. When watering, use room temperature water and ensure thorough saturation of the growing medium before allowing it to drain completely.
Fertilization should be approached with a gentle hand, as Thai orchids are sensitive to nutrient overload. A balanced, water-soluble orchid fertilizer can be applied at a quarter strength every other week during the growing season, which typically corresponds with the spring and summer months. During the dormant period in fall and winter, reduce fertilizer application to once a month to avoid stressing the plants while they are not actively growing. Regularly check the fertilizer’s label instructions and ensure proper dilution to prevent the buildup of mineral salts in the potting medium, which can be detrimental to the orchid’s roots.
Pot Type
Choosing the right pot type is essential for the health of Thai orchids, as the container affects both moisture balance and root growth. Orchids generally benefit from pots that provide excellent drainage and airflow. Clear plastic pots are popular among orchid growers because they allow for close monitoring of root health and moisture levels. Moreover, the roots of orchids are photosynthetic and can benefit from light; clear pots facilitate this process.
Clay pots are another suitable option as they are porous, allowing roots to breathe and excessive moisture to evaporate. However, they tend to dry out more quickly than plastic pots, which might necessitate more frequent watering. Whichever type of pot you choose, ensure it has drainage holes at the bottom.
The size of the pot is just as important as the material. Orchids prefer a snug fit, so opt for a pot that is just large enough to accommodate the root system. A pot that is too large may retain excessive moisture, leading to root rot. When it’s time to repot, select a pot that is one size larger than the current one to give your orchid room to grow without excess space.
Potting Medium for Thai Orchids
Selecting the appropriate potting medium is vital for the wellbeing of Thai orchids. These plants benefit from a mix that provides quick drainage yet retains sufficient moisture to maintain a humid environment around the roots. A common choice for many orchid varieties is a blend of fir bark, sphagnum moss, and perlite or charcoal, which ensures good aeration and drainage. It is crucial to avoid regular potting soil, which can suffocate orchid roots by retaining too much moisture and not providing enough air circulation.
Periodically, the potting medium should be refreshed or replaced to prevent it from decomposing and compacting, which could reduce aeration and harm the plant. Normally, repotting is recommended every two to three years or when the medium breaks down, whichever comes first. This practice not only replenishes the growing environment but also gives an opportunity to inspect and trim the root system, removing any dead or rotting roots to promote healthy growth. For a more information on growing medium and mixing your own please click here.
Repotting Thai Orchids
Repotting Thai orchids is a careful process that encourages continued health and bloom. To repot effectively, follow these steps:
- Choose the Correct Timing: It’s best to repot Thai orchids after they have finished blooming, when new growth begins to appear. This is usually in the spring.
- Prepare the New Pot and Medium: Select a pot one size larger than the current one with adequate drainage holes. Prepare your potting mix of choice, typically a combination of fir bark, sphagnum moss, and perlite or charcoal.
- Unpot the Orchid: Gently remove the orchid from its current container. Be careful not to tug or pull, which could damage the roots.
- Inspect and Trim the Roots: Once unpotted, inspect the root system and trim away any that are dead or rotting using sterilized scissors or pruning shears.
- Position in the New Pot: Add some fresh potting medium to the bottom of the new pot. Position the orchid so the base of the lowest leaves is just above the rim of the pot.
- Fill the Pot: Carefully fill in around the roots with the new potting medium, gently working it in without compacting it too tightly, which could impede drainage and aeration.
- Water the Orchid: After repotting, water the orchid thoroughly to settle the potting medium around the roots and help the plant acclimate to its new container.
Remember, clean tools and gentle handling are the keys to successful repotting. With minimal stress and the right conditions, Thai orchids will soon thrive again in their fresh substrate.
After Bloom Care
Once your Thai orchids have finished their blooming cycle, post-bloom care becomes critical to prepare them for the next growth phase. Begin by trimming back the flower spike to above the node where the first flower bloomed; this may induce a secondary bloom or encourage the plant to conserve energy for the next cycle. Consistent watering and the reduced fertilization schedule should continue during this period. Also, keep an eye on the lighting and temperature parameters to ensure they remain conducive to the orchid’s rest period. During this phase, it’s also a good opportunity to assess the overall health of your orchid and plan for any needed repotting when growth resumes.
How to Get to Rebloom
To encourage reblooming:
- Maintain consistent care.
- Ensure a drop in nighttime temperatures as many orchids need a slight temperature dip to initiate blooming.
- Reduce watering slightly to mimic the drier season of their natural habitat.
With patience and attention, your Thai orchid will likely rebloom, bringing its exotic allure back into your home or garden.
Happy Orchid Gardening!
Orchids can bring a touch of Thailand’s breathtaking beauty into your spaces. With this comprehensive guide, you’re well on your way to nurturing these amazing blossoms. Remember, the real secret to caring for Thai orchids is understanding and replicating their natural environment as much as possible. When you do, these stunning plants will thrive under your care and continue to captivate with their exotic charm.
Please be sure to check out my Gardening Blog Post Page for more tips on all types of gardening. Including Seed Saving, Seed Starting, Orchids, Water Gardening, Coldframe Gardening, Indoor Bulb Gardening, Hydroponics, Container Gardening, Mums, Herbs, African Violets, planting Bulbs, Flower Gardening, Vegetable and Fruit Gardening, Indoor Houseplants of all kinds, Cactus, Succulents, Hanging plants, Deer resistant plants and even Bird, Bee, Butterfly and Hummingbird Gardens!