
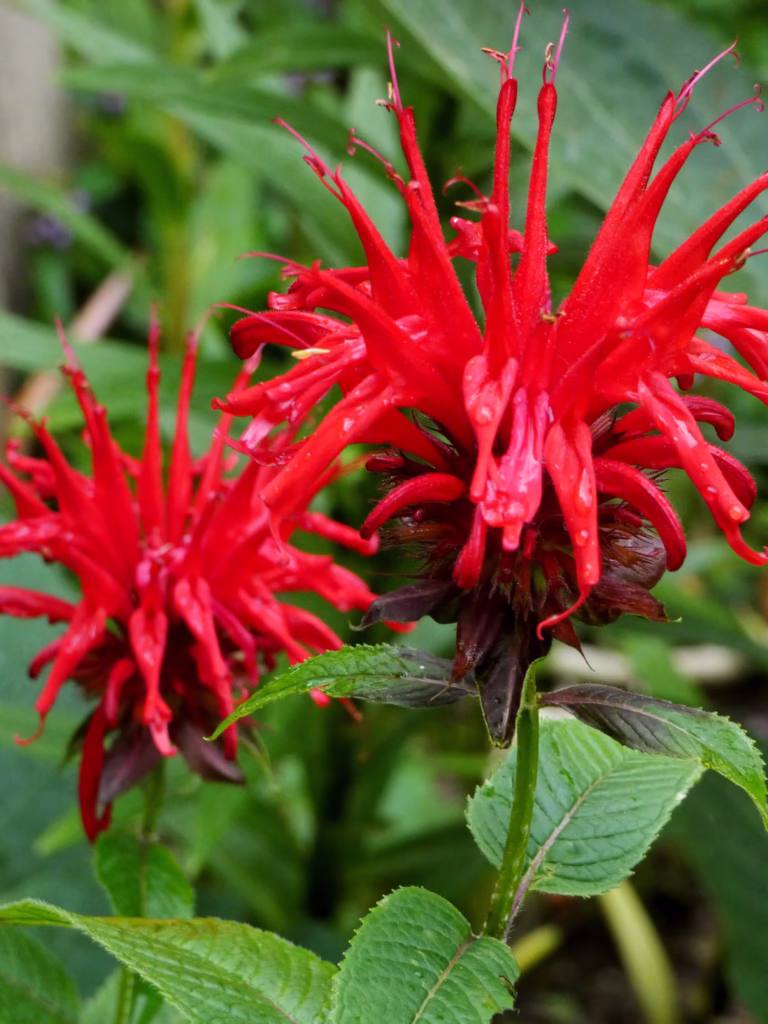
Bee balm, a vibrant and aromatic perennial, adds beauty to gardens while attracting pollinators like bees, butterflies, and hummingbirds. If you want to grow more bee balm or share it with fellow gardeners, saving seeds is an excellent option. By harvesting, drying, and storing bee balm seeds properly, you can ensure a fresh supply for the next growing season.
Harvesting Bee Balm Seeds
The best time to harvest bee balm seeds is after the flowers have bloomed and dried on the plant. As the flower heads fade, they develop seed pods filled with tiny seeds. Allow the seed heads to dry completely while still attached to the stems. Once they turn brown and brittle, they are ready for collection. Choose a dry, sunny day to harvest, as moisture can lead to mold or mildew. Hold a small container or envelope beneath the seed head and gently shake or rub it to release the seeds. Some seeds may remain attached, so using your fingers to loosen them can help.
Drying Bee Balm Seeds
Drying is a crucial step to prevent mold and ensure seed viability. Spread the freshly harvested seeds on a clean paper towel, plate, or mesh screen in a well-ventilated area away from direct sunlight. Let them dry for at least one to two weeks, ensuring they are entirely moisture-free. Stir or turn them occasionally to promote even drying. Once they feel crisp and no longer soft to the touch, they are ready for storage.
Storing you rBee Balm Seeds
To keep seeds organized, place them in small paper seed envelopes. These envelopes help maintain airflow while protecting the seeds from excess moisture. Label each envelope with the plant name, variety, and collection date. Proper labeling helps track seed viability and ensures you know what you are planting next season. If you plan to share seeds with friends or gardening groups, clearly written labels make distribution easier.
Using Airtight Containers for Storage
For extended seed viability, store labeled seed envelopes in an airtight container. A metal, plastic, or glass container with a secure lid works well to keep out moisture and pests. Adding a silica gel packet to the container helps absorb excess humidity, further protecting the seeds from mold and deterioration. Place the container in a cool, dark location, such as a basement, pantry, or refrigerator. Ideal storage temperatures range between 35-50°F to maintain seed freshness.
Checking Seed Viability Before Planting
Before planting saved bee balm seeds, test their viability to ensure successful germination. One simple method is the water test—drop a few seeds into a glass of water. Viable seeds typically sink, while non-viable ones float. Another option is a germination test, where you place seeds on a damp paper towel, fold it over, and seal it in a plastic bag. Keep it in a warm spot and check for sprouting after a few days. If most seeds sprout, they are ready for planting.
Happy Seed Saving!
By properly harvesting, drying, and storing bee balm seeds, you can enjoy homegrown plants year after year. These bright and fragrant flowers not only enhance your garden but also support pollinators essential to the ecosystem. Whether you save seeds for personal use or to share with others, taking the time to store them correctly ensures a successful future growing season. With careful storage and proper care, bee balm will continue to thrive in your garden for years to come.
Please be sure to check out my Gardening Blog Post Page for more tips on all types of gardening. Including Seed Saving, Seed Starting, Orchids, Water Gardening, Coldframe Gardening, Indoor Bulb Gardening, Hydroponics, Container Gardening, Mums, Herbs, African Violets, planting Bulbs, Flower Gardening, Vegetable and Fruit Gardening, Indoor Houseplants of all kinds, Cactus, Succulents, Hanging plants, Deer resistant plants and even Bird, Bee, Butterfly and Hummingbird Gardens!