
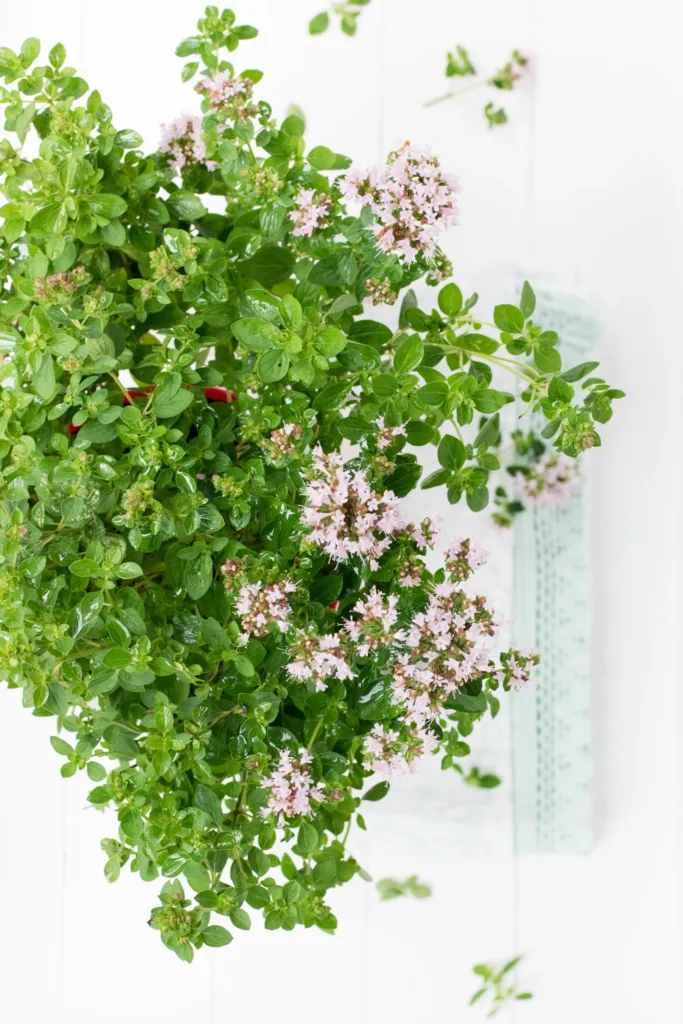
Marjoram is a delightful herb known for its sweet, citrusy aroma and mild flavor. Often used in Mediterranean cooking, this versatile herb is a great addition to any garden. Marjoram is relatively easy to grow, whether you are a seasoned gardener or a beginner. By understanding its needs—from soil preparation to overwintering—you can cultivate healthy marjoram plants that will thrive in your garden. This guide will walk you through every step of the process.
Preparing the Soil
The first step in growing marjoram is selecting the right location in your garden and preparing the soil. Marjoram thrives in well-drained soil with a slightly alkaline to neutral pH, ideally between 6.5 and 7.5. To improve drainage, especially if your soil is heavy or clay-like, consider amending it with organic matter such as compost, aged manure, or sand. This will not only enhance drainage but also improve soil fertility, providing your marjoram with the nutrients it needs to grow robustly. Additionally, you can mix in a balanced, slow-release fertilizer or a generous helping of compost before planting to give your marjoram a nutrient-rich start.
Light Requirements
Marjoram is a sun-loving plant, requiring plenty of sunlight to grow well. It needs at least six to eight hours of direct sunlight each day, so choose a spot in your garden that receives ample light. In regions with very hot summers, marjoram can benefit from some light afternoon shade to prevent the leaves from scorching. However, too much shade can lead to weak, leggy growth, so ensure that your marjoram gets enough sun throughout the day.
For those growing marjoram in containers, placing the pots in a sunny location—such as a south-facing patio or balcony—will ensure the plants receive sufficient light. If you are growing marjoram indoors, position it near a bright window where it can soak up the sun, or use grow lights to supplement natural light if needed.
Water Your Marjoram
Marjoram prefers moderate watering and slightly dry conditions once established. When first planting marjoram, water it regularly to help the roots establish themselves. Keep the soil consistently moist, but avoid overwatering, as marjoram is prone to root rot in soggy soil. Once the plants are established, you can reduce the frequency of watering. Allow the soil to dry out between watering sessions to mimic the plant’s natural environment.
During hot, dry periods, check the soil moisture frequently, especially if the plants are in containers, which tend to dry out faster than garden beds. Mulching around the base of the plants can help retain moisture and keep the roots cool during the heat of summer.
Fertilizer
Marjoram is not a heavy feeder, but it will benefit from occasional feeding, particularly if your soil is not very fertile. At the time of planting, you can mix in a slow-release, balanced fertilizer to provide the essential nutrients marjoram needs. Throughout the growing season, applying a water-soluble fertilizer every four to six weeks can help support healthy growth and encourage lush foliage.
If you prefer organic options, compost or well-rotted manure applied as a top dressing in the spring will enrich the soil and provide a steady supply of nutrients. Be cautious not to over-fertilize, as too much nitrogen can lead to excessive leaf growth at the expense of flavor and aroma.
Pest Control
One of the advantages of growing marjoram is its natural resistance to many pests and diseases. However, it can occasionally attract aphids, spider mites, or other common garden pests. To minimize the risk of infestations, ensure that your marjoram plants have good air circulation by spacing them properly and avoiding overcrowding.
If you notice pests, treat them early with organic methods such as insecticidal soap or neem oil. Regularly inspect your plants for signs of trouble, and remove any affected leaves or stems to prevent the spread of disease. Encouraging beneficial insects like ladybugs, which naturally prey on aphids and other pests, can also help keep your marjoram healthy.
Pruning your Marjoram
Pruning is an essential part of caring for marjoram, as it encourages bushier growth and prevents the plants from becoming too leggy. Regularly pinch back the tips of the stems to promote denser foliage, which will not only improve the plant’s appearance but also increase the number of leaves available for harvest.
In the spring, prune back any dead or damaged stems to stimulate new growth. If you are growing marjoram for culinary use, regular harvesting will naturally keep the plant pruned and healthy. Just be sure to leave enough foliage on the plant so that it can continue to photosynthesize and grow.
Propagating Marjoram
Marjoram can be propagated easily from seeds, cuttings, or division. If you want to grow marjoram from seeds, start them indoors about six to eight weeks before the last frost date in your area. Sow the seeds in a light, well-draining potting mix, and keep them moist until they germinate, which typically takes about 10 to 14 days. Once the seedlings are large enough to handle, transplant them into the garden after the last frost.
Propagating marjoram from cuttings is another effective method. In late spring or early summer, take 4- to 6-inch cuttings from healthy, established plants. Remove the lower leaves and dip the cut ends in rooting hormone to encourage root development. Plant the cuttings in a well-draining potting mix, and keep them in a warm, bright location out of direct sunlight until they root, which usually takes a few weeks.
If you already have established marjoram plants, you can propagate them by division in the spring or fall. Dig up the plant and carefully separate the root clump into smaller sections, each with a few shoots and roots. Replant the divisions immediately in well-prepared soil.
Overwintering Marjoram
Marjoram is a tender perennial, which means it can survive mild winters but may not withstand freezing temperatures. If you live in a region with cold winters, you will need to take steps to protect your marjoram during the winter months. In USDA zones 9-10, marjoram can often survive the winter with minimal protection. However, in colder climates, consider growing marjoram as an annual or bringing it indoors for the winter.
Before the first frost, you can pot up your marjoram plants and move them to a sunny windowsill indoors. Reduce watering during the winter months, as the plant’s growth will slow down, and it will not require as much moisture. If you prefer to leave marjoram in the garden, cover the plants with a frost cloth or mulch heavily around the base to insulate the roots.
Happy Gardening
By following these steps, you can successfully grow marjoram in your garden, ensuring it remains healthy and productive throughout the year. Whether you are using its fragrant leaves in your cooking or simply enjoying its beauty in the garden, marjoram is a versatile and rewarding herb to cultivate.
Please be sure to check out my Gardening Blog Post Page for more tips on all types of gardening. Including Seed Starting, Orchids, Water Gardening, Coldframe Gardening, Indoor Bulb Gardening, Hydroponics, Container Gardening, Mums, Herbs, African Violets, planting Bulbs, Flower Gardening, Vegetable and Fruit Gardening, Indoor Houseplants of all kinds, Cactus, Succulents, Hanging plants, Deer resistant plants and even Bird, Bee, Butterfly and Hummingbird Gardens!