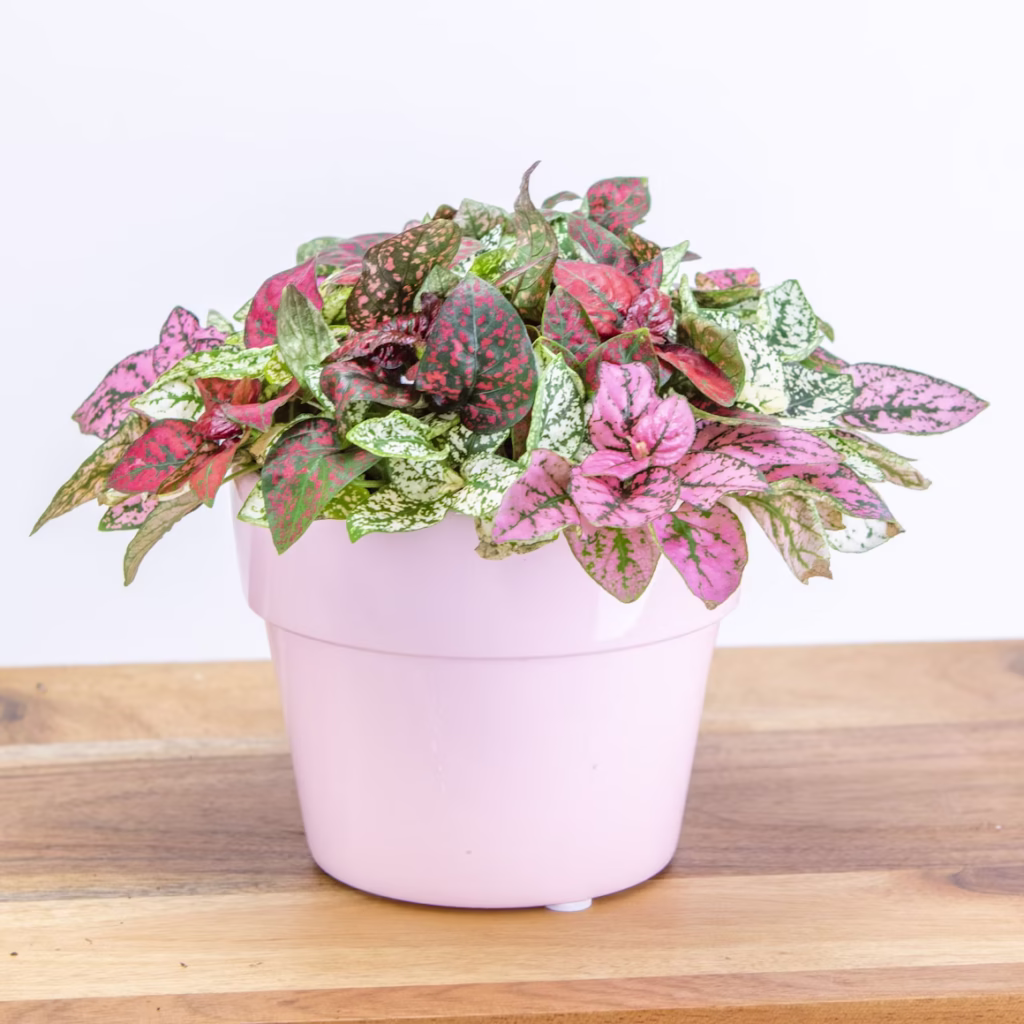
Propagating polka dot plants is an exciting way to expand your indoor garden without buying new plants. These colorful houseplants, known for their spotted leaves, grow quickly and root easily. You can multiply them in both soil and water, making them perfect for beginners. With the right steps, you can enjoy lush, vibrant plants throughout your home.
Why Propagate Polka Dot Plants
Polka dot plants, or Hypoestes phyllostachya, thrive on regular pruning. Without trimming, they grow leggy and lose their compact shape. Propagation allows you to take cuttings from pruned stems and turn them into healthy new plants. This not only refreshes your original plant but also gives you the chance to create more greenery for free. You can keep the new plants for yourself or share them with friends.
Choosing the Right Time to Propagate
Timing makes a difference when propagating polka dot plants. The best time is in spring or summer when the plant actively grows. During this period, stems root faster and produce healthier foliage. If you take cuttings in fall or winter, growth may slow down because of less light and cooler indoor conditions. Although you can propagate year-round indoors, aiming for the growing season will bring you the best results.
Preparing to Take Cuttings
Start by choosing a healthy polka dot plant with strong stems and colorful leaves. Use clean, sharp scissors or pruning shears to prevent damage and disease. Look for stems that are not flowering, since blooms can drain energy from root growth. Cut a stem about four to six inches long, making sure it has at least two to three leaf nodes. Leaf nodes are the small bumps along the stem where new roots will form. Remove the leaves from the lower half of the cutting, leaving the top leaves intact. This helps the plant focus on root development instead of supporting excess foliage.
Propagating Polka Dot Plants in Water
Water propagation is one of the easiest and most rewarding ways to grow new polka dot plants. It allows you to see the roots as they form, which makes the process exciting to watch.
Step 1: Place the Cutting in Water
After preparing your cutting, place the bare nodes into a propagation station filled with clean, room-temperature water. Only submerge the lower part of the stem while keeping the top leaves above the waterline. This prevents rotting and keeps the leaves healthy.
Step 2: Provide Light and Warmth
Set the jar in a bright spot with indirect sunlight. Direct sun can overheat the water and scorch the leaves, so filtered light is best. A warm environment helps roots grow faster, so aim to keep the room between 65°F and 75°F.
Step 3: Refresh the Water
Change the water every three to five days to prevent bacteria buildup. Clear water ensures the cutting gets enough oxygen and stays healthy while roots form. You may notice small root bumps appear within one to two weeks, and by three to four weeks, you should see strong roots several inches long.
Step 4: Transfer to Soil
Once the roots reach about two inches, the cutting is ready for soil. Gently place the rooted cutting into a small pot filled with well-draining potting mix. Water it lightly and keep it in bright, indirect light. Over the next few weeks, the cutting will adjust and start growing new leaves.
Propagating Polka Dot Plants in Soil
Soil propagation works just as well and often results in stronger plants from the start. Instead of transitioning from water to soil, the cutting grows roots directly in the potting mix.
Step 1: Prepare the Pot
Choose a small pot with drainage holes and fill it with a light, well-draining potting mix. A mix designed for houseplants works best, especially if it contains perlite or peat moss to improve aeration.
Step 2: Plant the Cutting
Dip the cut end of the stem into rooting hormone if you want to speed up growth, though this step is optional. Insert the stem into the soil deep enough so that at least one or two nodes are buried. Press the soil gently around the stem to hold it in place.
Step 3: Create a Humid Environment
New cuttings thrive in humidity, so cover the pot loosely with a clear plastic bag to trap moisture. Make sure the bag does not touch the leaves, as this can cause mold. You can use sticks or small stakes to hold the bag up. Keep the pot in bright, indirect light.
Step 4: Water and Wait
Water the soil lightly, keeping it moist but not soggy. Overwatering can lead to rot, so check that the pot drains well. Within two to three weeks, roots should begin to establish, and you will notice new leaf growth. Once the cutting shows signs of growth, remove the plastic cover and care for it like a mature polka dot plant.
Caring for Newly Propagated Plants
After your cuttings take root, proper care ensures they grow strong and colorful. Place your new polka dot plants in bright, indirect light to keep their spots vibrant. Water them when the top inch of soil feels dry, but never let the soil stay soggy. Regular pruning helps them stay bushy and prevents legginess. You can also fertilize every four to six weeks during the growing season with a balanced liquid fertilizer diluted to half strength.
Common Problems During Propagation
Propagation usually goes smoothly, but a few issues can arise. If the stem cutting turns brown or mushy, it likely developed rot from sitting in water too long or from overly wet soil. Start with a fresh cutting and make sure the environment stays clean. If no roots form after several weeks, check that the cutting has enough light and warmth. Moving it to a brighter spot often helps speed up root development.
Tips for Success
To increase your chances of success, take several cuttings at once. Not all may root, so having a few ensures you end up with healthy new plants. Use smaller pots at first, since young plants prefer not to sit in too much soil. As they grow, you can repot them into larger containers. Grouping several propagated plants in one pot creates a fuller, bushier display.
Enjoying the Rewards of Propagation
Propagating polka dot plants gives you endless opportunities to grow your collection. With simple tools and a little patience, you can turn a single plant into many. Both water and soil propagation work well, and you may find you prefer one method over the other. By practicing these techniques, you keep your polka dot plants healthy and enjoy the satisfaction of nurturing new life from a simple cutting.
Final Thoughts
Polka dot plants are cheerful and easy to propagate, making them an ideal choice for beginner and seasoned gardeners alike. Whether you grow roots in water for the joy of watching them develop or plant directly into soil for a faster start, both methods bring success. With proper care, your new plants will thrive and brighten your home with their playful, spotted leaves. Propagating not only saves money but also allows you to share the beauty of polka dot plants with friends and family. Once you start, you may find it hard to stop multiplying these charming houseplants.
Please be sure to check out my Gardening Blog Post Page for more tips on all types of gardening. Including Seed Saving, Seed Starting, Orchids, Water Gardening, Coldframe Gardening, Indoor Bulb Gardening, Hydroponics, Container Gardening, Mums, Herbs, African Violets, planting Bulbs, Flower Gardening, Vegetable and Fruit Gardening, Indoor Houseplants of all kinds, Bonsai, Cactus, Succulents, Hanging plants, Deer resistant plants and even Bird, Bee, Butterfly and Hummingbird Gardens!