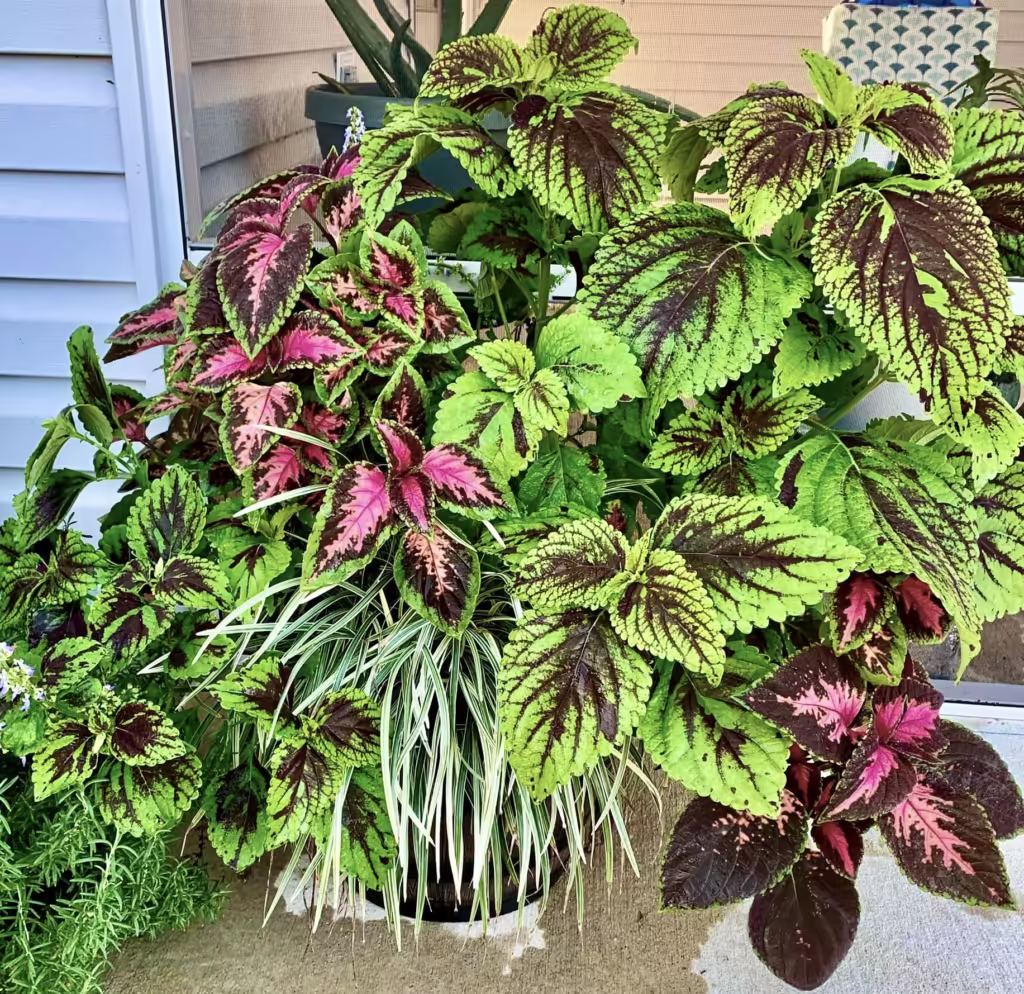
Caladium plants, known for their striking, colorful foliage, are a favorite among gardeners and indoor plant enthusiasts. Their heart-shaped leaves come in various shades of red, pink, white, and green, adding a touch of vibrancy to any space. To ensure your Caladiums thrive, it’s essential to understand their specific care requirements, including soil type, light needs, watering, fertilizing, pest control, pruning, and propagation. This post on Caladium plant care will help you grow healthy and beautiful plants.
Soil Type
These tropical beauties thrive in well-drained, fertile soil that is rich in organic matter. A high-quality potting mix containing peat moss, perlite, and compost is ideal for container planting. If you’re planting your Caladiums in the garden, amend the soil with compost or well-rotted manure to improve its texture and fertility. This will ensure good drainage and prevent root rot, which can be a common issue for Caladiums.
Light Requirements
Understanding the light requirements of Caladiums is vital for their growth and vibrant coloration. These plants prefer bright, indirect light. Placing them near a north or east-facing window is ideal. Direct sunlight can scorch their delicate leaves, causing the colors to fade. On the other hand, insufficient light can lead to dull foliage. If you notice your plant stretching towards the light, consider moving it to a brighter location or supplementing with artificial light. Outdoor Caladiums do well in partial shade or dappled sunlight.
Watering Caladiums
Watering your Caladiums correctly is another critical aspect of their care. These plants prefer consistently moist soil but do not like to sit in waterlogged conditions. Water your Caladiums regularly, ensuring the soil stays evenly moist. In hot weather, you may need to water more frequently, while in cooler conditions, watering every few days might be sufficient. Always check the soil moisture before watering to avoid overwatering, which can lead to root rot. Using a well-draining pot with drainage holes will also help prevent waterlogged soil.
Fertilizer Needs
In addition to proper watering, feeding your Caladiums with the right fertilizer will promote healthy growth and vibrant foliage. Use a balanced, water-soluble fertilizer every two to four weeks during the growing season, from spring to early fall. A fertilizer with equal parts nitrogen, phosphorus, and potassium (such as a 10-10-10 or 20-20-20 mix) works well. This provides the necessary nutrients for lush, colorful leaves. Be careful not to over-fertilize, as this can lead to salt buildup in the soil, which can harm the plant.
Pest Control
Pest control is another aspect of Caladium care that you should not overlook. Common pests that affect Caladiums include aphids, spider mites, and whiteflies. Regularly inspect your plants for signs of infestation, such as discolored leaves, webbing, or tiny insects. If you notice any pests, treat them promptly with insecticidal soap or neem oil. Additionally, keeping your plants healthy and stress-free will make them less susceptible to pest problems. Ensuring proper air circulation around the plant can also help prevent pest infestations.
Pruning
Pruning is an essential part of maintaining healthy and attractive Caladium plants. Regular pruning helps keep the plant compact and encourages bushier growth. Remove any dead or yellowing leaves to improve the plant’s appearance and reduce the risk of disease. If your Caladium becomes leggy, you can cut back the stems by about one-third to encourage new growth. Always use sharp, clean pruning shears to make clean cuts and prevent the spread of disease.
Propagating Caladiums
Propagating Caladiums is a rewarding way to multiply your plants. The most common method is by dividing the tubers. In early spring, before new growth begins, carefully dig up the tubers and divide them into sections, ensuring each section has at least one growth point or “eye.” Plant the tuber sections in pots filled with moist potting mix and place them in a warm, bright location. Keep the soil consistently moist, and in a few weeks, you should see new growth. You can then transplant the new plants into larger pots or directly into your garden.
Happy Gardening
Caring for Caladium plants can be a delightful and fulfilling gardening experience. By providing the right soil, light, water, and nutrients, you can enjoy their stunning foliage throughout the growing season. Regular pruning and vigilant pest control will keep your plants healthy and thriving. Moreover, propagating Caladiums allows you to share their beauty with friends and family or expand your indoor garden. Whether you grow them indoors or outdoors, Caladiums will add a splash of color and charm to any space.
Please be sure to check out my Gardening Blog Post Page for more tips on all types of gardening. Including Seed Starting, Orchids, Water Gardening, Coldframe Gardening, Indoor Bulb Gardening, Hydroponics, Container Gardening, Mums, Herbs, African Violets, planting Bulbs, Flower Gardening, Vegetable and Fruit Gardening, Indoor Houseplants of all kinds, Cactus, Succulents, Hanging plants, Deer resistant plants and even Bird, Bee, Butterfly and Hummingbird Gardens!