
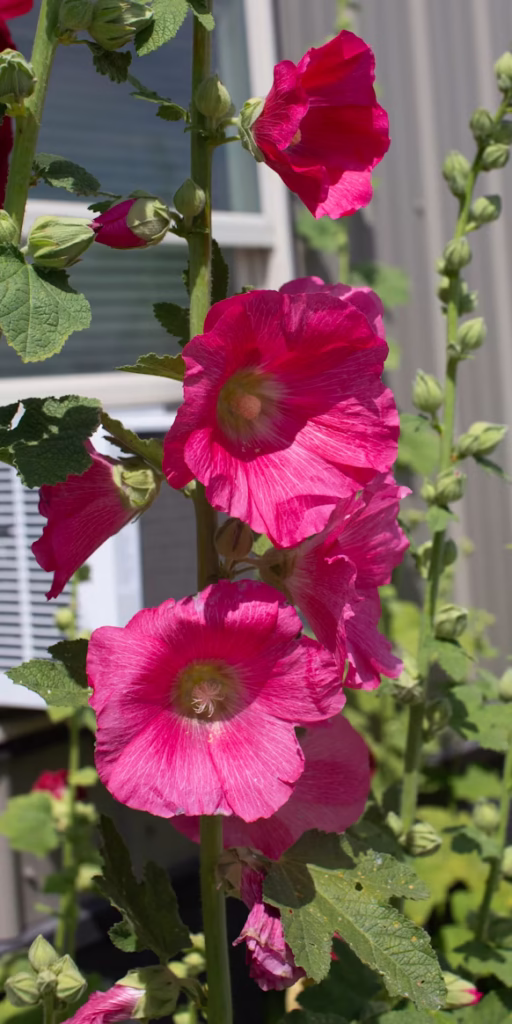
Hollyhocks bring dramatic height and old-fashioned charm to any garden. These towering biennials or short-lived perennials produce tall spires of flowers in mid to late summer, attracting bees, butterflies, and admiring eyes. If you want to keep your hollyhocks going year after year, collecting and saving seeds is an easy and rewarding task. With a little timing and a few simple steps, you can gather seeds to plant again next season or share with fellow gardeners.
When and How to Harvest Hollyhock Seeds
To collect hollyhock seeds successfully, you need to understand the right time to harvest. Each flower on the tall stalk blooms for only a few days, but the plant continues producing flowers up the stem over several weeks. After the flowers fade, round, papery seed pods begin to form at the base of each bloom. These pods hold the key to next year’s flowers.
Wait until the seed pods are fully dry before harvesting. The pods should turn brown and feel crisp to the touch. If you squeeze them gently and hear a rustle, they are ready. Avoid picking green pods, as the seeds inside may not be mature and won’t germinate well.
Start checking your hollyhocks about two months after the initial flowers appear. You don’t have to harvest all the seeds at once. In fact, collecting them over a few weeks ensures you catch pods at peak ripeness. Use clean garden scissors or your fingers to snap off the dry pods. Be sure to bring a paper bag, basket, or envelope with you to keep the pods secure and allow air to circulate.
Separating Seeds from Pods
Once you’ve gathered a handful of dry seed pods, the next step is removing the seeds. Each hollyhock pod contains several round, flat seeds arranged in a circular pattern. These seeds are usually grayish-brown or black, depending on the variety. They should feel hard and dry, not soft or damp.
Break open each pod by gently pressing it between your fingers. The seeds will fall out easily. You can do this over a bowl or sheet of paper to keep the seeds from scattering. Remove any remaining pieces of chaff or pod material. It’s important to clean the seeds thoroughly before storing them to prevent mold and pests.
If the seeds still feel a little soft or damp after removing them from the pods, you’ll need to dry them further before storage.
How to Dry Hollyhock Seeds
Drying is a crucial step in the seed-saving process. If hollyhock seeds are stored while still moist, they can rot or develop mold, ruining your future planting efforts. Luckily, drying seeds is simple and doesn’t take much time or effort.
Spread the cleaned seeds in a single layer on a paper towel, newspaper, or mesh screen. Choose a dry, well-ventilated spot out of direct sunlight. A shelf or table in a cool room works well. Leave the seeds undisturbed for about one to two weeks. Stir them gently every few days to promote even drying.
To test if your seeds are dry enough for storage, try snapping one in half. If it breaks cleanly, it’s ready. If it bends or feels rubbery, let it dry longer. Patience pays off, as well-dried seeds have a much better chance of staying viable for the long term.
How to Store Hollyhock Seeds
After drying your seeds, proper storage is the final step. Good storage keeps your seeds fresh and ready to plant when the time is right. Start by choosing a container that protects the seeds from moisture and pests. Paper seed envelopes, small paper bags, or seed packets work well and allow the seeds to breathe. Avoid using plastic bags or airtight containers unless the seeds are thoroughly dry, as these can trap moisture.
Label your seed packets with the plant name, variety (if known), and the date you collected them. This will help you stay organized and know how old the seeds are when you’re ready to use them.
Store the labeled packets in a cool, dark, and dry location. A drawer, cabinet, or basement shelf works well. If your climate is humid, consider placing the packets inside a sealed container with a silica gel packet to absorb any extra moisture.
You can also refrigerate hollyhock seeds to extend their viability. Place the seed packets in an airtight container before putting them in the fridge. Avoid freezing the seeds, as that can damage them if they aren’t completely dry.
How Long Do Hollyhock Seeds Last?
Under proper storage conditions, hollyhock seeds can remain viable for three to five years. However, the highest germination rates occur within the first two years. As seeds age, their ability to sprout decreases, so it’s a good idea to use older seeds first. If you’re unsure whether seeds are still good, do a germination test by placing a few between damp paper towels in a plastic bag. Keep them warm and moist, and check after a week to see if they sprout.
Tips for Seed Collecting Success
To make the most of your hollyhock seed-saving efforts, follow a few extra tips for success. First, be aware that hollyhocks are open-pollinated and often cross-pollinate with nearby plants. This means that seeds from hybrid or mixed-color hollyhocks may not produce plants identical to the parent. If you want to maintain a specific color or variety, grow only that type or isolate the flowers for hand-pollination.
Next, allow some hollyhock flowers to remain on the stalk and go to seed. Deadheading is great for extending bloom time, but if you remove every flower, you won’t get seeds. Balance your goals between beauty and seed-saving by leaving a few blooms to mature naturally.
Also, don’t worry if a few seeds scatter on the ground while you’re collecting. Hollyhocks self-seed readily, and you may get surprise seedlings the following year. Mark the area if you want to protect these volunteers during spring cleanup.
When to Replant Saved Hollyhock Seeds
Planting your saved hollyhock seeds is just as simple as collecting them. In most regions, hollyhocks can be sown either in spring or late summer to early fall. Fall planting allows seeds to settle in and establish roots before winter, leading to earlier blooms the following year. Spring planting is also successful, but blooming may not happen until the second year.
To plant saved seeds, prepare a sunny, well-drained garden bed with loose soil. Sow seeds about 1/4 inch deep and space them 18–24 inches apart. Keep the soil moist but not soggy until seedlings emerge. Once the young plants develop true leaves, thin them out if needed to avoid overcrowding.
If you want to start seeds indoors, plant them in seed trays or small pots about 6–8 weeks before your last frost. Transplant them outside once all danger of frost has passed.
Why Save Hollyhock Seeds?
Saving hollyhock seeds is not only practical but also rewarding. You reduce gardening costs, preserve heirloom varieties, and keep your flower beds full year after year. In addition, you can share extra seeds with friends, family, or local gardening groups. Seed swapping helps maintain plant diversity and builds community among garden enthusiasts.
Many gardeners also enjoy the sense of connection that comes with growing plants from seed. Watching a tall stalk of flowers bloom from a seed you collected the year before brings a deeper appreciation for the full cycle of nature.
Final Thoughts
Collecting and saving hollyhock seeds is one of the easiest ways to ensure a garden full of blooms next year. By harvesting the pods at the right time, drying the seeds properly, and storing them in a cool, dry place, you can grow new plants season after season. Whether you’re filling your own garden with color or sharing seeds with others, this simple process keeps the beauty of hollyhocks blooming for years to come.
Now that you know how to collect and save hollyhock seeds, you’re ready to make the most of your flower garden. Keep an eye on those seed pods, and enjoy the satisfaction of growing your hollyhocks from seed to bloom.
Please be sure to check out my Gardening Blog Post Page for more tips on all types of gardening. Including Seed Saving, Seed Starting, Orchids, Water Gardening, Coldframe Gardening, Indoor Bulb Gardening, Hydroponics, Container Gardening, Mums, Herbs, African Violets, planting Bulbs, Flower Gardening, Vegetable and Fruit Gardening, Indoor Houseplants of all kinds, Bonsai, Cactus, Succulents, Hanging plants, Deer resistant plants and even Bird, Bee, Butterfly and Hummingbird Gardens!