
If you love trailing succulents, the Burro’s Tail (Sedum morganianum) is a must-have for your plant collection. Its cascading stems filled with plump, pale green leaves bring beauty to any hanging basket or sunny shelf. One of the best things about this plant is how easy it is to propagate. Whether you want to fill more pots or share with friends, Burro Tail propagation is simple, rewarding, and fun.
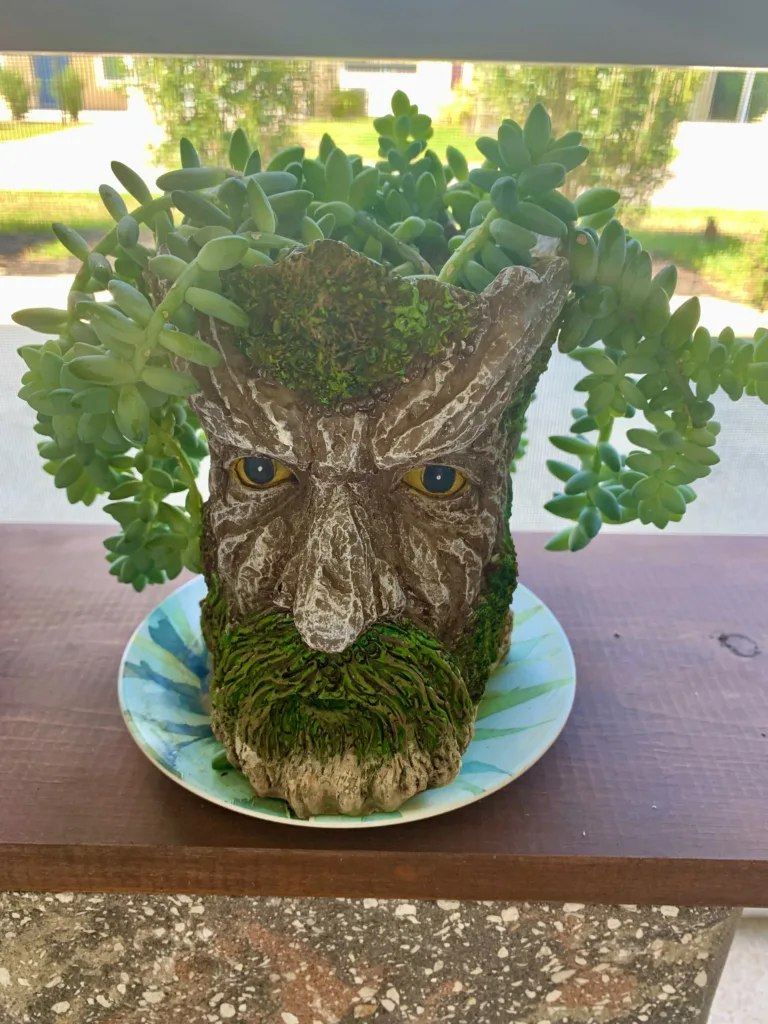
In this blog post, you’ll learn exactly how to propagate Burro’s Tail successfully. We’ll walk you through different methods, the best time to propagate, and how to care for new plants as they grow. I think it works perfect in what I call old man planter above and I got it on Amazon!
What Is Burro’s Tail and Why Propagate It?
Burro’s Tail, also called Donkey’s Tail, is a trailing succulent native to southern Mexico and Honduras. It grows long stems covered with fleshy, tear-drop shaped leaves that are soft to the touch but easily knocked off.
Because this plant tends to drop leaves naturally, you can collect them and grow entirely new plants. Propagating your Burro’s Tail saves money, prevents waste, and helps you create lush, full displays over time. It’s also a great way to rescue a damaged or leggy plant.
When to Propagate Burro’s Tail
The best time to propagate Burro’s Tail is in spring or summer when the plant is actively growing. Warm temperatures and bright light help cuttings root faster and more successfully.
If you live in a mild climate, early fall may also work. However, avoid winter propagation because the plant slows down and new growth may not develop until spring. To give your new cuttings the best chance, always wait for warm, bright conditions.
Propagation from Leaf Cuttings
One of the easiest ways to propagate Burro’s Tail is from individual leaves. These naturally fall off the plant with even the slightest touch, making leaf propagation both accessible and effective.
Step-by-Step Leaf Propagation:
- Collect Healthy Leaves:
Gently pluck leaves from the mother plant or gather ones that have already dropped. Choose plump, healthy leaves with no wrinkles or damage. A clean break is essential for success. - Let Leaves Callous:
Lay the leaves on a paper towel in a dry, shaded spot for 2–3 days. This step helps the broken ends dry and form a protective callous, which reduces the chance of rot once planted. - Prepare the Soil:
Use a shallow tray or small pot filled with cactus or succulent soil. Make sure the soil drains well. You can also mix regular potting soil with perlite or coarse sand. - Lay Leaves on Top:
Place the calloused ends directly on the surface of the soil. Don’t bury them. Burro’s Tail leaves will begin to root from the base without needing to be pushed into the soil. - Mist Lightly:
Use a spray bottle to mist the soil every few days. Keep it slightly moist but never soggy. Once you see tiny roots and baby rosettes forming, reduce misting and water only when the soil dries out. - Transplant When Ready:
After several weeks or months, the new plants will grow large enough to be moved. You can pot them up in small containers and care for them just like mature plants.
Propagation from Stem Cuttings
If you want faster results or fuller plants, stem cuttings are the way to go. This method allows you to grow a mature-looking plant more quickly.
Step-by-Step Stem Cutting Propagation:
- Take a Healthy Cutting:
Use a clean, sharp knife or scissors to cut a stem that is 3–6 inches long. Avoid cutting from the top of the plant if it’s still growing. Instead, select a side stem with dense leaves and no damage. - Remove Lower Leaves:
Gently pull off the leaves on the bottom 1–2 inches of the stem. These will be the parts that go into the soil. - Let It Callous:
Allow the cut end to dry for 2–3 days in a warm, dry place. This step helps prevent rot once the stem is planted. - Plant in Dry Soil:
Insert the dried stem into a small pot filled with succulent soil. Do not water immediately. Wait another few days to give the roots time to begin forming. - Begin Watering Lightly:
After a week, start watering lightly. Let the soil dry out between waterings. Roots should begin to form within 2–3 weeks, and new growth will follow shortly after.
Best Soil for Burro’s Tail Propagation
Whether you’re using leaves or stems, well-draining soil is key. Succulent soil mixes are ideal because they prevent water from pooling around the roots. You can also make your own by combining equal parts potting mix, perlite, and coarse sand.
Avoid soils that hold too much moisture, such as those designed for houseplants or vegetables. If the soil stays damp for long periods, the cuttings may rot before they have a chance to root.
Light and Temperature for Rooting
Place your propagating cuttings in a bright spot with indirect sunlight. A sunny windowsill with filtered light works best. Too much direct sun can burn tender leaves and new growth.
Keep the temperature between 65°F and 75°F. Avoid cold drafts or sudden temperature drops. If you’re propagating during cooler months, use a grow light to help stimulate root development and support healthy growth.
How to Water New Cuttings
New cuttings need careful watering. At first, mist them every few days to keep the top layer of soil slightly moist. Once roots begin to develop, switch to bottom watering or light surface watering when the soil dries out.
Overwatering is the number one reason propagation fails. Always check the soil moisture before watering. When in doubt, wait another day or two.
Transplanting and Long-Term Care
Once your Burro’s Tail cuttings have rooted and started to grow, you can transplant them into a larger pot. Choose a container with drainage holes and fill it with fresh succulent soil. Gently lift the rooted cuttings and replant them at the same depth they were growing.
After transplanting, place them in a bright location with indirect light. Slowly resume a regular succulent care routine: water when the soil is dry, provide bright light, and fertilize lightly during the growing season.
Common Problems with Propagation
While Burro’s Tail is generally easy to propagate, a few issues can pop up:
- Rotting Cuttings: This usually happens if you plant leaves or stems before they’ve calloused, or if the soil stays too wet. Always let cuttings dry before planting, and use fast-draining soil.
- No Roots Forming: Cuttings taken during the wrong season or placed in low light may take longer to root. Use a heat mat or grow light to encourage growth if needed.
- Wilting or Shrinking Leaves: This can happen when the air is too dry or the cuttings need a light misting. Add humidity or mist gently every few days.
Final Thoughts on Burro Tail Propagation
Propagating Burro’s Tail is a simple and satisfying way to grow more of this stunning trailing succulent. Whether you use leaves or stems, a little patience and the right conditions will lead to success. Always remember to let cuttings callous, use well-draining soil, and give them bright, indirect light.
Once your new plants are established, you can enjoy lush, trailing stems that make beautiful additions to your home or garden. Plus, you’ll have plenty to share with friends or expand your own collection.
Please be sure to check out my Gardening Blog Post Page for more tips on all types of gardening. Including Seed Saving, Seed Starting, Orchids, Water Gardening, Coldframe Gardening, Indoor Bulb Gardening, Hydroponics, Container Gardening, Mums, Herbs, African Violets, planting Bulbs, Flower Gardening, Vegetable and Fruit Gardening, Indoor Houseplants of all kinds, Bonsai, Cactus, Succulents, Hanging plants, Deer resistant plants and even Bird, Bee, Butterfly and Hummingbird Gardens!