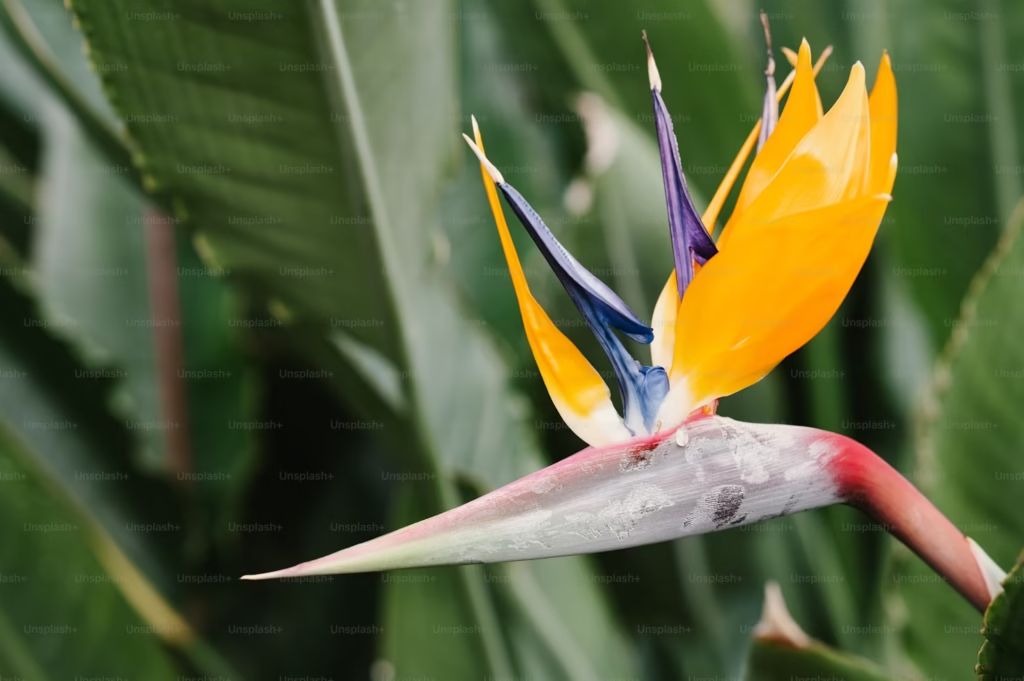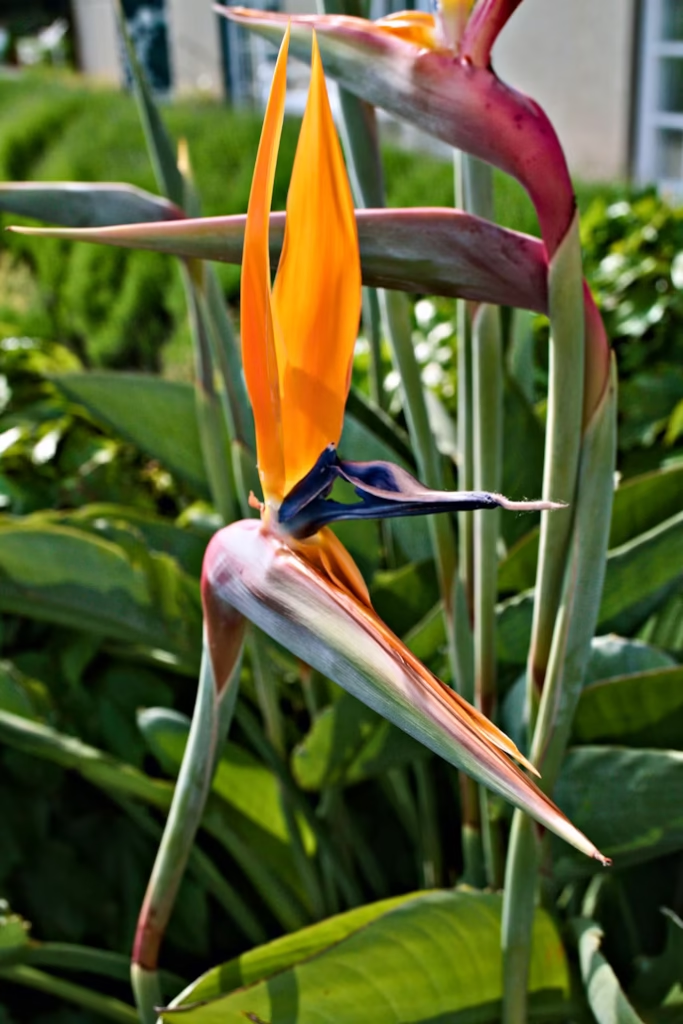
Bird of Paradise is a striking tropical plant known for its bold foliage and exotic, bird-like blooms. If you have one growing well in your garden or home, it’s easy to see why you’d want more. Propagating a Bird of Paradise is the best way to expand your collection or share the beauty with others. While it doesn’t propagate through cuttings like some plants, it multiplies effectively through division. With the right method, timing, and care, you can grow healthy new plants from your original.
Best Time to Propagate Bird of Paradise
Timing plays a key role in successful propagation. The best time to propagate a Bird of Paradise is in the early spring. This is when the plant begins its active growing season and has the energy to recover and produce new shoots. Avoid dividing or disturbing the roots during colder months, as the plant stays dormant and may not bounce back well.
If you live in a warm climate where Bird of Paradise grows outdoors year-round, early spring through early summer is still the best window. For indoor plants, you can also propagate in spring when indoor temperatures remain steady and bright light is available.
Tools and Supplies You’ll Need
Before you begin, gather all your tools and materials. This keeps the process smooth and helps protect both the parent and new plants.
- Sharp garden knife or pruning shears
- A clean trowel or spade
- Clean pots with drainage holes
- Fresh potting soil (well-draining)
- Watering can
- Rubbing alcohol for tool sterilization
Always sterilize your tools before dividing to prevent spreading diseases. Simply wipe blades with rubbing alcohol and allow them to dry before use.
How to Prepare the Parent Plant
Choose a mature Bird of Paradise plant that is healthy and has multiple stems or shoots. These shoots, also called rhizomes, form the base for propagation. Water the plant the day before you plan to divide it. This softens the soil and makes it easier to lift the plant without damaging the roots.
If the Bird of Paradise is potted, gently remove it by tipping the pot and easing the plant out. Tap the sides or base of the pot if needed. For outdoor plants, dig around the root base using a spade, starting several inches away from the stems. Work your way around until you can lift the entire root ball.
Dividing the Bird of Paradise
Once you have the plant out of the pot or ground, shake off excess soil to expose the root system. Look for natural divisions or clumps. Each division should have at least one healthy stem or shoot and a solid section of root.
Using a sterilized knife or garden shears, cut through the rhizomes to create separate sections. Make clean, even cuts to avoid root damage. If roots are tangled, gently pull them apart by hand rather than tearing them.
Inspect each division carefully. Remove any dead roots or soft, mushy parts. Healthy roots should be firm and white or tan. Each division must have its own root section and a fan of leaves or a growing point.
Choosing the Right Soil and Pot
Bird of Paradise plants need soil that drains well while holding enough moisture to support growth. Use a high-quality potting mix blended with perlite or coarse sand. You can also add a bit of compost to improve nutrients.
Choose pots that are slightly larger than the root ball of each division. Make sure each pot has drainage holes to prevent water from sitting at the bottom. Standing water leads to root rot and can ruin your propagation efforts.
Place a layer of potting mix at the bottom of the pot, then set the division upright in the center. Fill in around the roots with more soil, gently pressing to hold the plant in place. Leave about an inch of space at the top to make watering easier.
Watering and Light After Propagation
After planting the divisions, water each one thoroughly until water drains out the bottom of the pot. This settles the soil around the roots and eliminates air pockets. Do not water again until the top inch of soil feels dry.
Set the new pots in a bright, warm location with indirect sunlight. Avoid direct midday sun for the first few weeks, as it may stress the newly divided plants. Indoors, place the pots near a bright window but out of direct harsh light.
Outdoor divisions should be kept in partial shade while they adjust. Once they show signs of new growth, you can move them into a sunnier spot.
Ongoing Care for New Plants
As the new plants establish themselves, they will begin to send out fresh leaves. This is a good sign that the roots are growing well. Continue to water when the soil becomes dry on top but avoid overwatering.
Do not fertilize the new divisions right away. Wait four to six weeks before applying a balanced houseplant fertilizer. Once the plant is actively growing, you can feed it every 4-6 weeks during the growing season.
Prune away any damaged or dying leaves, but do not trim too much too soon. Let the plant put its energy into root development. Support slow but steady growth by keeping the temperature between 65–75°F and avoiding drafts or extreme heat.
How Long Until They Bloom?
Bird of Paradise plants grow slowly, and new divisions may take two to three years to bloom. Bloom time depends on the age of the plant, growing conditions, and size of the division. Larger, more established rhizomes may bloom sooner than smaller ones.
To encourage blooming, provide bright light, regular feeding, and enough root space. Once established, these tropical beauties will reward your patience with their iconic, vibrant flowers.
Can You Grow Bird of Paradise from Seed?
While Bird of Paradise can technically be grown from seed, this method is very slow and often less successful than division. Seeds can take months to germinate and several years before the plant matures enough to flower.
If you choose to try growing from seed, soak the seeds in warm water for 24-48 hours before planting. Use a seed-starting mix and keep the tray in a warm, bright spot. Be patient—germination can take 1 to 3 months, and seedlings grow slowly.
Because of the long wait, most gardeners prefer propagating Bird of Paradise through division, especially when they already have a healthy mature plant on hand.
Common Problems After Propagation
Occasionally, new divisions may show signs of stress. Yellowing leaves or wilting stems are common in the first few weeks. This usually happens if the roots were disturbed too much or the plant is getting too much direct sun or water.
To reduce transplant shock, keep the plant in a stable, warm environment. Avoid moving the pot or changing its location frequently. Make sure the soil stays moist but not soggy. If the plant fails to show new growth after several months, gently check the root system for signs of rot or dryness.
Pests like spider mites or mealybugs may appear, especially on indoor plants. Use insecticidal soap or neem oil to treat infestations. Always isolate new plants from others for at least a few weeks after propagation.
Final Thoughts
Propagating Bird of Paradise is a simple, satisfying way to multiply your favorite tropical plant. With careful division, the right soil, and proper post-planting care, your new plants will take root and grow into bold, statement-making additions to your indoor or outdoor garden. Start in spring, work gently with the roots, and be patient as the new plants settle in. Before long, you’ll have thriving Bird of Paradise plants ready to brighten up your space.
Whether you want to expand your own collection or share with friends, propagation gives you a great reason to dig into your plant care routine and enjoy the rewards of hands-on gardening.
Please be sure to check out my Gardening Blog Post Page for more tips on all types of gardening. Including Seed Saving, Seed Starting, Orchids, Water Gardening, Coldframe Gardening, Indoor Bulb Gardening, Hydroponics, Container Gardening, Mums, Herbs, African Violets, planting Bulbs, Flower Gardening, Vegetable and Fruit Gardening, Indoor Houseplants of all kinds, Bonsai, Cactus, Succulents, Hanging plants, Deer resistant plants and even Bird, Bee, Butterfly and Hummingbird Gardens!