
Saving pea seeds is a rewarding practice that ensures you’ll have healthy, homegrown seeds to plant next season. It’s an easy process once you understand how peas grow and mature. Not only does seed saving save money, but it also helps preserve varieties that thrive in your garden’s unique conditions. Whether you’re growing shelling peas, snow peas, or snap peas, you can collect seeds from any variety. To keep your plants true to type, make sure you’re starting with open-pollinated or heirloom peas—not hybrids. Here’s everything you need to know about harvesting, drying, and storing pea seeds properly.
Choose the Right Plants for Seed Saving
Start by selecting healthy, vigorous pea plants that have grown well throughout the season. Look for plants that produce plentiful pods, show good resistance to disease, and display the traits you want in next year’s crop. It’s important to choose open-pollinated varieties because hybrid peas won’t grow true from saved seeds. Hybrids can produce unpredictable offspring with traits that differ from the parent plant. Heirloom and open-pollinated peas, on the other hand, will pass along consistent qualities generation after generation.
Mark a few strong plants early in the growing season as your seed producers. You won’t want to harvest pods from these for eating. Instead, allow the peas on these plants to fully mature on the vine. This ensures the seeds inside will develop completely and be viable for future planting.
Allow Pea Pods to Fully Mature and Dry on the Vine
Unlike garden peas picked for eating while they’re green and tender, seed peas need time to fully ripen. Let the pods remain on the plant until they turn brown, become leathery, and start to rattle. This means the seeds inside have dried and hardened. Mature pods often begin to shrivel and split open slightly on their own, which is a good sign that the peas inside are ready to be harvested.
As the plants near the end of their life cycle, reduce watering and allow nature to dry the seeds. Avoid harvesting during rainy weather, as moisture can lead to mold or spoilage. If frost threatens your garden before the pods are completely dry, you can pull the entire plant and hang it upside down in a dry, well-ventilated place to finish the drying process indoors.
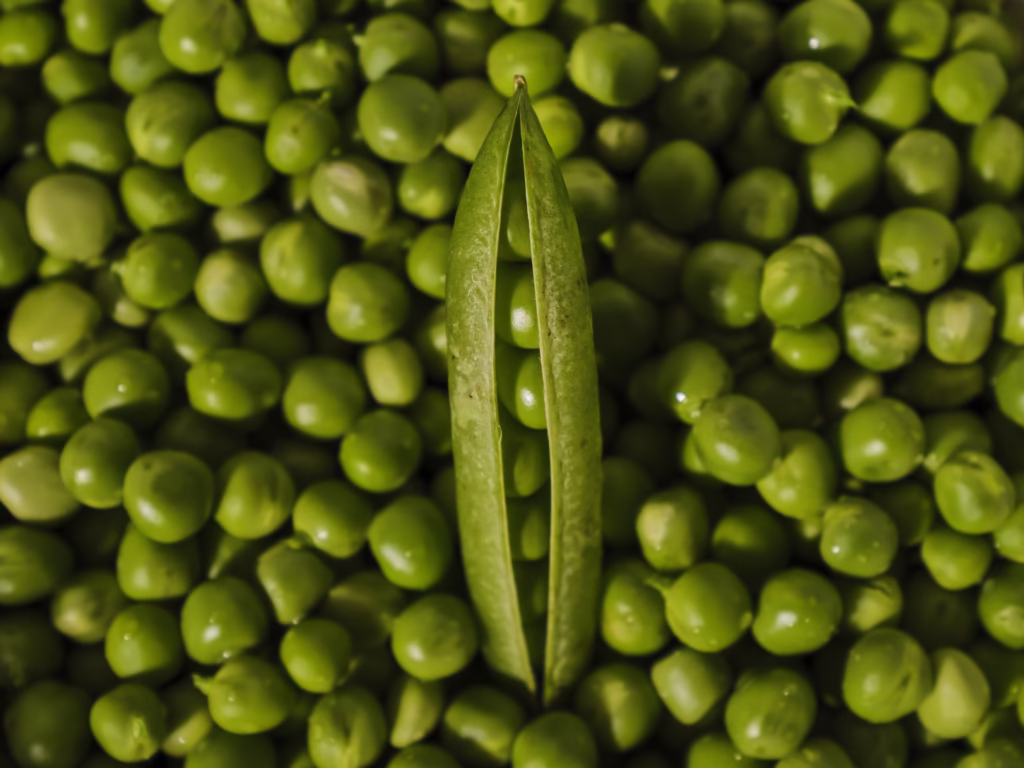
Harvesting the Dry Pods
Once the pods are dry and brittle, it’s time to gather them. Collect pods from the marked seed-saving plants, removing them gently by hand. Be careful not to crush or damage the seeds inside. Place the pods in a paper bag, basket, or shallow tray for transport and further drying.
If you find any pods that still feel slightly soft or flexible, you can allow them to continue drying off the plant. Spread them out in a single layer in a warm, dry place with good air circulation. Keep them away from direct sunlight, which can damage the seeds, and avoid using plastic containers at this stage because they trap moisture.
Shelling and Inspecting the Seeds
Once all the pods have dried completely, shell the peas by gently opening the pods and removing the seeds. You’ll find that the peas are hard and dry, making a rattling sound when shaken. Discard any seeds that look shriveled, discolored, or cracked, as they are unlikely to germinate or grow into healthy plants.
After shelling, spread the seeds out in a single layer on a screen, paper towel, or tray. Let them air dry for another week or two to ensure they are fully dried. The seeds must be completely dry before storing—any moisture left inside can lead to mold or rotting during storage. Properly dried pea seeds should feel hard to the touch and cannot be dented easily with your fingernail.
Labeling and Storing the Seeds
Once the pea seeds are fully dry, it’s time to store them in labeled envelopes or paper seed packets. Clearly write the variety name and the date of collection on each envelope. This is important because pea seeds remain viable for about three to four years when stored correctly. Having the date helps you know when they might start to lose germination strength.
Place your labeled envelopes inside an airtight container to protect them from moisture. Glass jars with tight-fitting lids, metal tins, or heavy-duty plastic containers work well for seed storage. To reduce humidity inside the container, add a few silica gel packets, which help absorb excess moisture. You can often reuse silica packets that come in shoe boxes or supplement bottles, or purchase them online.
Best Storage Conditions for Pea Seeds
For long-term storage, keep your sealed container of seeds in a cool, dark, and dry location. Ideal temperatures for seed storage range from 32°F to 50°F. A refrigerator is a good option if you have the space and the seeds are sealed well against moisture. A basement, cellar, or unheated closet can also work as long as conditions stay dry and relatively cool.
Avoid storing seeds in places that experience fluctuating temperatures, such as garages or sheds, since repeated changes in heat and humidity can damage seed quality. Always make sure your seed packets stay sealed and dry to prevent sprouting or spoilage.
How to Test Germination Before Planting
If you plan to plant your saved pea seeds after a year or two, you might want to check the germination rate before sowing them in the garden. Testing is simple and helps avoid planting seeds that won’t sprout. Just take 10 seeds and place them on a damp paper towel. Fold it over, seal it inside a plastic bag, and place it in a warm spot. After about 7 to 10 days, check how many seeds have sprouted. If 8 out of 10 germinate, you have an 80% germination rate, which is strong. Anything under 60% might mean your seeds are too old or were stored improperly.
If germination is low, you can still plant them but sow more heavily to make up for poor performance. Otherwise, it might be time to start with fresh seeds.
Benefits of Saving Pea Seeds Year After Year
Saving pea seeds offers several benefits beyond the obvious cost savings. By replanting seeds from your best plants, you are selecting for traits that suit your garden’s specific climate, soil, and growing conditions. Over time, this can lead to stronger, more resilient plants with better yields and fewer problems.
Additionally, saving seeds preserves rare or heirloom varieties that may not be available in stores. Many gardeners enjoy the satisfaction of maintaining their own seed lines, keeping traditions alive, and growing plants with unique colors, flavors, or histories.
Saving seeds also reduces dependence on commercial seed sources and fosters a more sustainable gardening practice. Instead of buying new packets every spring, you can create your own personal seed bank to support your garden season after season.
Final Thoughts
Learning how to save pea seeds is a simple and effective way to extend the life of your favorite plants and become more self-sufficient as a gardener. From choosing the right plants to storing seeds in airtight containers with silica packets, each step supports long-term success. Always harvest pods only after they dry completely, shell and inspect each seed, and take the time to label and store them in cool, dry conditions. With just a little care, your saved pea seeds will be ready to grow strong, healthy plants when next spring arrives. Keep this method going each year, and you’ll soon have a thriving, sustainable cycle of growth right in your own backyard.
Please be sure to check out my Gardening Blog Post Page for more tips on all types of gardening. Including Seed Saving, Seed Starting, Orchids, Water Gardening, Coldframe Gardening, Indoor Bulb Gardening, Hydroponics, Container Gardening, Mums, Herbs, African Violets, planting Bulbs, Flower Gardening, Vegetable and Fruit Gardening, Indoor Houseplants of all kinds, Cactus, Succulents, Hanging plants, Deer resistant plants and even Bird, Bee, Butterfly and Hummingbird Gardens!