
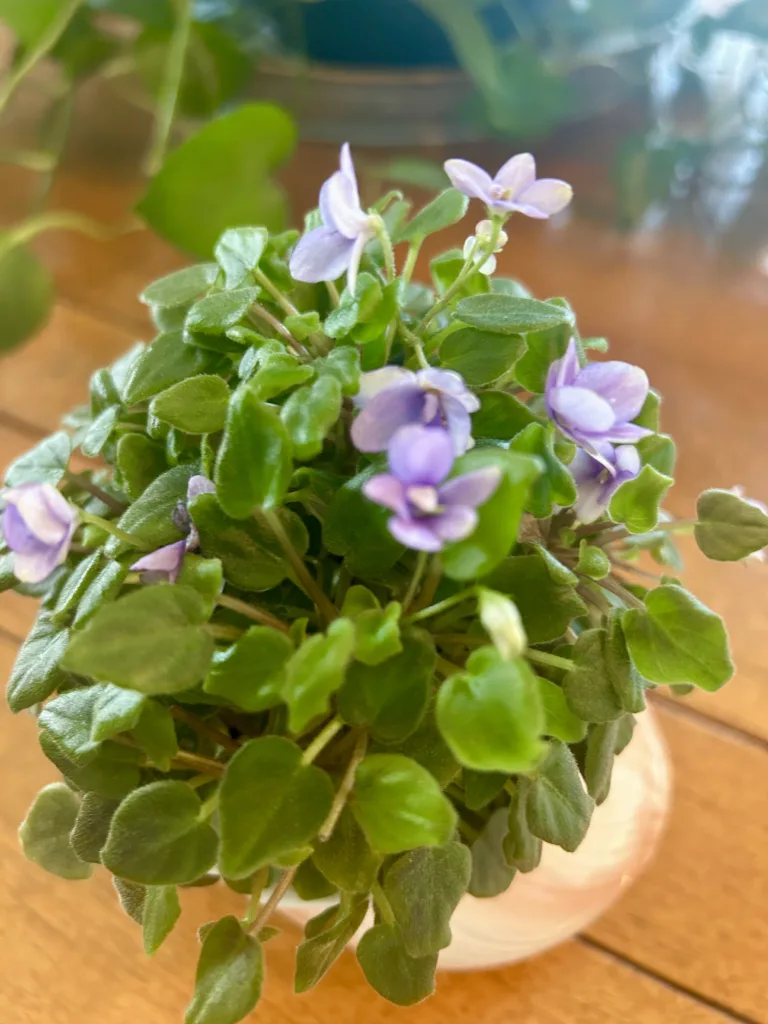
African violets are among the most popular houseplants thanks to their colorful blooms and compact size. One of the best things about these plants is how easy they are to propagate. Whether you want to grow more for yourself or share with friends, propagating African violets is simple and rewarding. You can use either soil or water to start new plants from healthy leaves. In this guide, you’ll learn how to do both step by step.
When to Propagate African Violets
The best time to propagate African violets is during the spring or early summer. During this period, the plant grows quickly and roots easily. However, if your indoor temperatures stay consistent throughout the year, you can successfully propagate them any time. Just avoid doing it during extreme cold or heat.
Choosing the Right Leaf
Before you begin, always choose a healthy leaf for propagation. Look for one that is mature but not too old. Avoid the outermost leaves, which are older, and don’t pick from the center of the plant, which contains new growth. Instead, choose a leaf from the middle row. It should be firm, deep green, and free from damage or spots. Once you find the right leaf, use a clean, sharp knife or scissors to cut it off along with about 1 to 1.5 inches of stem.
Now that you have your cutting, it’s time to decide which method you want to use—soil or water.
How to Propagate African Violets in Soil
Soil propagation is a great way to grow African violets because the roots form directly in the medium where the plant will grow. It also helps reduce transplant shock later.
Step 1: Prepare the Pot and Soil
Start by selecting a small pot with drainage holes. African violets prefer small containers, so choose one that’s no larger than 2-3 inches across. Use a light, well-draining soil mix. You can buy a special African violet mix or make your own by combining 2 parts peat moss, 1 part perlite, and 1 part vermiculite. Moisten the soil so it’s damp but not soggy.
Step 2: Plant the Leaf Cutting
Use a pencil or your finger to make a small hole in the soil. Dip stem in rooting hormone and insert the stem of the leaf cutting into the hole at a slight angle, about 45 degrees. This angle helps promote better root growth. Firm the soil around the stem so the leaf stays in place. Make sure the leaf blade is above the soil and not touching it. Contact with damp soil can cause rot.
Step 3: Create a Humid Environment
Humidity plays an important role in rooting. Cover the pot with a clear plastic bag or dome to trap moisture. Make sure the plastic doesn’t touch the leaf. You can use small stakes or a wire loop to keep the plastic off the cutting. Place the pot in a warm spot with bright, indirect light. If you don’t have an area with indirect light you always use LED grow lights.
Step 4: Care and Patience
Check the soil regularly and keep it slightly moist. Do not overwater, as too much moisture will cause the stem to rot. After 3 to 6 weeks, small plantlets should start to form at the base of the leaf. Once they grow to about 2 inches tall and have at least 2 to 3 leaves of their own, you can separate them from the mother leaf and pot them individually.
How to Propagate African Violets in Water
Water propagation is another easy and fun way to grow new African violets. Many people like this method because they can watch the roots grow. This is by far my most successful way to propagate!
Step 1: Prepare the Leaf Cutting
Use the same type of healthy leaf you would choose for soil propagation. Cut the stem to about 1 to 1.5 inches long and trim the end at an angle. This gives the stem a larger surface area to take in water and helps it root faster.
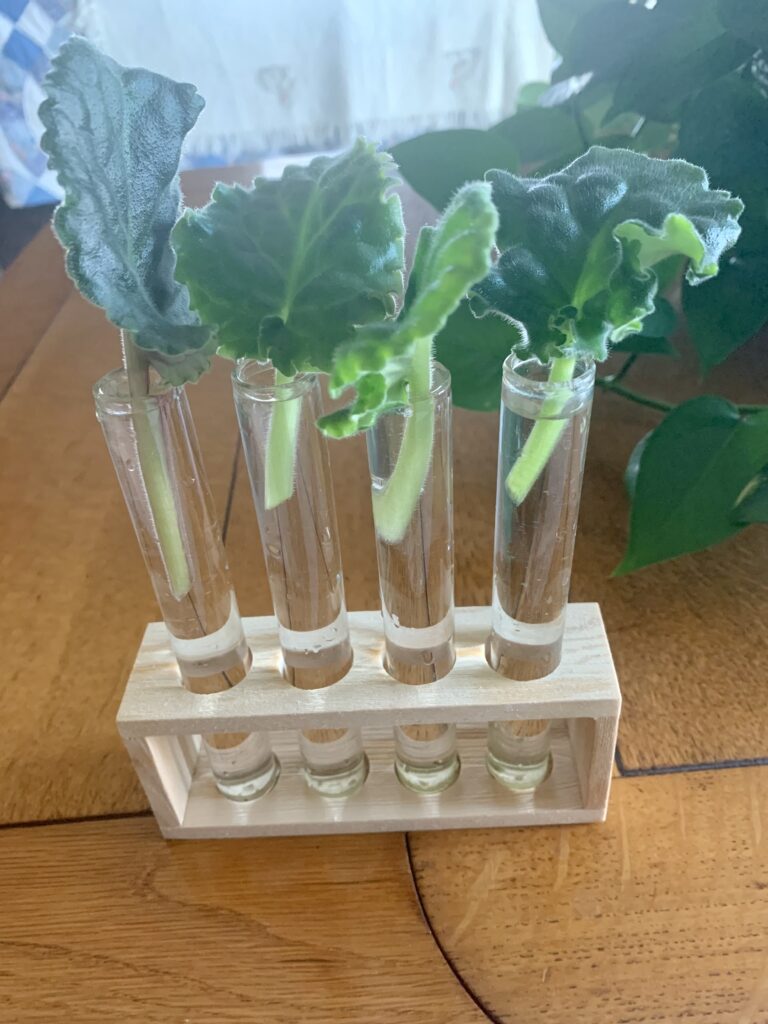
Step 2: Set Up Your Container
Choose a small clear glass, jar or propagation station. A narrow-necked container works well because it holds the leaf upright. Fill it with room-temperature water. Only the stem should touch the water—make sure the leaf blade stays above the surface to prevent rot. If your container has a wide opening, cover the top with plastic wrap and poke a small hole in the center to hold the stem in place. Or if you like these plant buddies I found on Amazon work perfectly!
Step 3: Place in Indirect Light
Put the container in a bright spot out of direct sunlight. Too much sun will overheat the water and stress the cutting. Bright, filtered light encourages strong root growth. Change the water every few days to keep it clean and prevent bacteria from forming.
Step 4: Watch the Roots Grow
Roots usually begin forming within 2 to 4 weeks. Once you see a good network of roots, they’re ready to move into soil. Remember to continue to change the water while your roots are growing.
Step 5: Transplant
To transplant, carefully remove the cutting from the water. Gently remove leaf, being careful not to damage the roots. Prepare small pots with moist African violet soil and plant each leaf in its own container. Keep them in a warm, bright location and water when the soil feels slightly dry.
Tips for Successful Propagation
To improve your success rate, follow these helpful tips:
- Always use sterilized tools and clean containers to avoid disease.
- Keep the humidity high but make sure there’s some airflow.
- Use filtered or distilled water for sensitive cuttings.
- Don’t rush the process—roots and baby plants take time to grow.
- Label your pots if you’re propagating more than one type of African violet.
Common Problems and How to Fix Them
Sometimes, things don’t go as planned. Here are a few issues you might face and how to fix them.
Rotting Leaf or Stem: This usually happens from too much moisture or poor airflow. Use less water and keep the environment warm and airy.
No Roots After Several Weeks: The leaf may be too old or not getting enough light. Try again with a fresh cutting and move it to a brighter spot.
Mold Growth in Water: Change the water more often and make sure the container is clean.
When to Expect Flowers
After you plant the baby violets in soil, they will spend the next few months growing leaves and establishing roots. You can expect flowers after about 6 to 9 months if the plant gets enough light, water, and nutrients. During this time, continue to care for them just like mature African violets.
Why Propagating African Violets Is Worth It
Propagating African violets gives you the chance to grow more of these beautiful plants for free. It’s a fun project that doesn’t require much time or effort. Plus, watching your cuttings turn into blooming plants is incredibly satisfying. Whether you use soil or water, you’ll end up with healthy new violets to brighten your home or share with others.
Final Thoughts
By following these steps and tips, you’ll soon have a thriving collection of African violets. Propagation allows you to enjoy even more blooms and expand your indoor garden without spending a dime. So go ahead and try both methods—you may find that you enjoy one more than the other. Either way, your African violet journey will continue to grow.
Please be sure to check out my Gardening Blog Post Page for more tips on all types of gardening. Including Seed Saving, Seed Starting, Orchids, Water Gardening, Coldframe Gardening, Indoor Bulb Gardening, Hydroponics, Container Gardening, Mums, Herbs, African Violets, planting Bulbs, Flower Gardening, Vegetable and Fruit Gardening, Indoor Houseplants of all kinds, Cactus, Succulents, Hanging plants, Deer resistant plants and even Bird, Bee, Butterfly and Hummingbird Gardens!