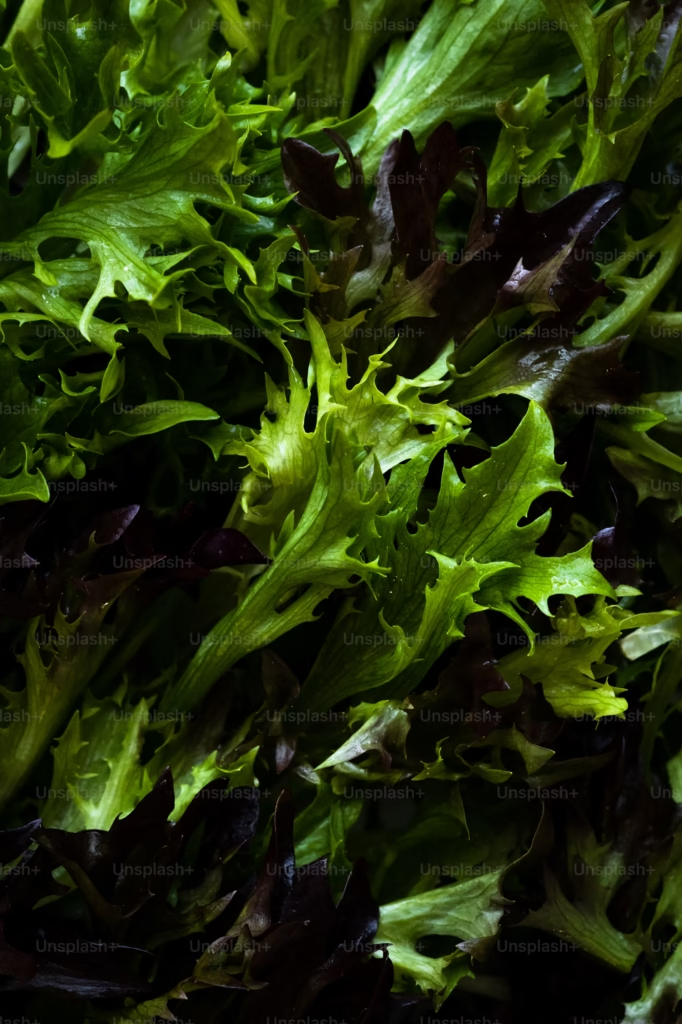
Arugula, a fast-growing leafy green with a peppery flavor, is not only a favorite for salads but also an easy plant for seed saving. By collecting seeds from your arugula plants, you can enjoy a continuous supply of homegrown greens season after season. Saving seeds also helps preserve unique varieties and cuts costs in your garden. To ensure success, focus on proper harvesting, drying, and storing methods that protect the seeds’ viability.
Harvesting Arugula Seeds for Optimal Results
Harvesting arugula seeds begins with letting a few plants flower and mature fully. When arugula bolts, it produces delicate white or yellow flowers followed by slender seed pods. Allow these pods to dry naturally on the plant. This typically occurs in late summer or early fall, depending on your growing season. The pods will turn from green to brown, signaling they are ready to harvest.
To collect the seeds, carefully snip the pods from the plant with clean scissors or pruning shears. It’s essential to work on a dry day, as moisture can affect seed quality. Place the harvested pods in a paper bag or breathable container to prevent humidity from building up. Avoid shaking the pods too vigorously to keep seeds intact during the collection process.
Drying Arugula Seeds to Ensure Longevity
Once you’ve harvested the pods, the next step is to dry them completely. Proper drying is critical to prevent mold and ensure that the seeds remain viable for planting. Begin by spreading the pods out on a clean, dry surface like a tray or a sheet of paper. Choose a well-ventilated area away from direct sunlight, as excessive heat can damage the seeds.
Allow the pods to dry for about one to two weeks. During this time, check them regularly to ensure they are drying evenly. Once the pods are brittle to the touch, gently crush them to release the seeds. Separate the seeds from the chaff using a sieve or by blowing lightly across them. This process helps ensure you store only clean, viable seeds.
Storing Arugula Seeds in Labeled Envelopes
After drying and cleaning your seeds, store them in seed envelopes to keep them organized. Seed envelopes are ideal because they allow airflow while protecting seeds from dust and debris. Label each envelope clearly with the seed variety, harvest date, and any other important details. Proper labeling makes it easy to track your seed inventory and ensures you plant the freshest seeds in future seasons.
Using Airtight Containers for Long-Term Storage
While seed envelopes protect seeds during initial storage, placing these envelopes inside an airtight container provides an extra layer of protection. Airtight containers made from metal, plastic, or glass work well for keeping out moisture, light, and pests. Mason jars, food storage containers, or repurposed tins with tight-fitting lids are excellent choices.
To further enhance the storage environment, add silica gel packets to the container. These packets absorb excess moisture, keeping the seeds dry and extending their lifespan. You can purchase silica packets online or reuse those often found in packaged goods. Ensure the packets are food-safe and replace them periodically to maintain their effectiveness.
Choosing the Right Storage Location
The location where you store your arugula seeds plays a significant role in preserving their viability. Seeds last longer when kept in cool, dark, and dry conditions. A basement, pantry, or even a refrigerator can serve as an excellent storage space. If using a refrigerator, ensure the container is airtight to prevent condensation from affecting the seeds when temperatures fluctuate.
Avoid storing seeds in areas with high humidity or fluctuating temperatures, such as garages or near windows. Proper storage not only preserves the seeds’ germination potential but also reduces the risk of pests or mold.
Benefits of Saving and Storing Your Own Arugula Seeds
Saving and storing your own arugula seeds offers several advantages. It allows you to maintain a self-sufficient garden while saving money on purchasing seeds every season. You also have the opportunity to select seeds from the healthiest and most vigorous plants in your garden, ensuring a stronger crop over time. Additionally, seed saving helps preserve heirloom varieties and promotes biodiversity in your garden.
By mastering the techniques of harvesting, drying, and storing arugula seeds, you create a sustainable cycle of growth that benefits both your garden and the environment. With each planting season, you’ll gain more experience and confidence in managing your seed collection.
Final Thoughts on Storing Arugula Seeds
Successfully saving arugula seeds requires careful attention to each step of the process. By harvesting seeds from mature pods, drying them thoroughly, and storing them in labeled envelopes inside airtight containers, you can protect your seed supply for future planting. Adding silica gel packets and choosing a cool, dry storage location further enhances the seeds’ longevity.
As you build your collection of saved seeds, you’ll find that this rewarding practice not only supports your gardening efforts but also connects you to the natural cycles of growth and renewal. Embrace the art of seed saving, and enjoy the satisfaction of growing arugula from seeds you’ve carefully preserved. Each sprout will remind you of the effort and care that went into cultivating your garden’s future.
Please be sure to check out my Gardening Blog Post Page for more tips on all types of gardening. Including Seed Saving, Seed Starting, Orchids, Water Gardening, Coldframe Gardening, Indoor Bulb Gardening, Hydroponics, Container Gardening, Mums, Herbs, African Violets, planting Bulbs, Flower Gardening, Vegetable and Fruit Gardening, Indoor Houseplants of all kinds, Cactus, Succulents, Hanging plants, Deer resistant plants and even Bird, Bee, Butterfly and Hummingbird Gardens!
