
Saving seeds from sunflowers is a fantastic way to ensure you enjoy these cheerful blooms year after year. Not only do sunflowers brighten up your garden, but they also provide a habitat for birds and beneficial insects. By learning how to harvest, dry, and store sunflower seeds, you can create a sustainable gardening practice that saves you money while giving you the satisfaction of growing plants from seeds you collected yourself. Let’s dive into the step-by-step process of saving sunflower seeds effectively.
Harvesting Sunflower Seeds
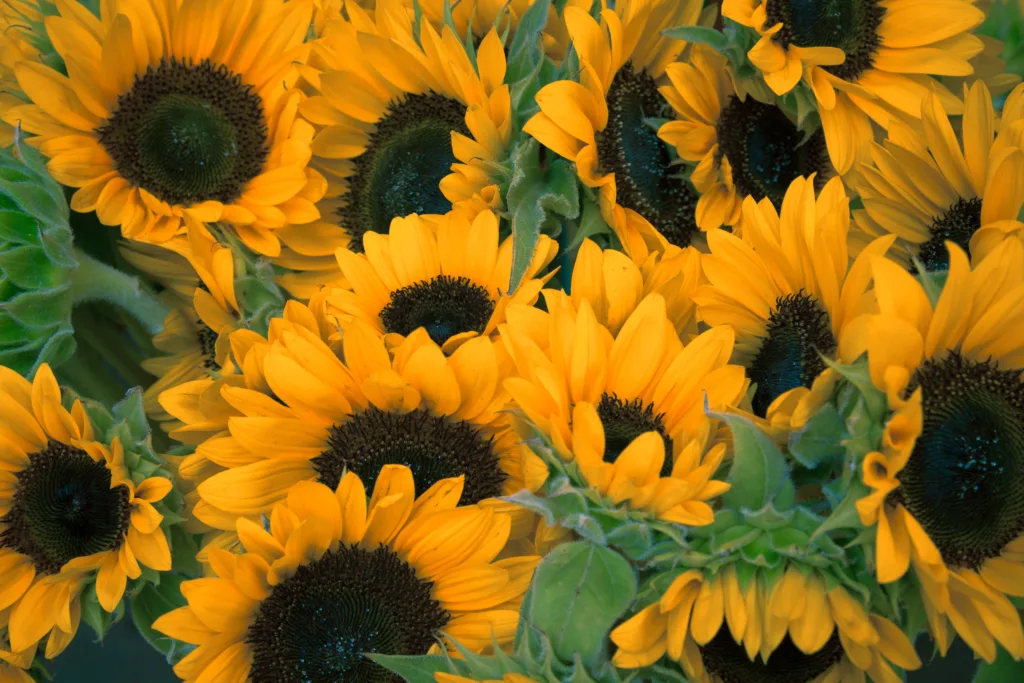
The first step in saving sunflower seeds is harvesting them at the right time. Wait until the sunflower heads turn brown and the petals start to wilt. This change indicates that the seeds have matured and are ready for collection. You’ll want to pay close attention to the back of the flower head, which should turn from green to yellow and finally brown.
Once the seed heads have dried, it’s time to cut them off the stalk. Use a sharp pair of garden shears or scissors to remove the head, leaving a few inches of stem attached. This extra length will make it easier to handle the seeds later. If you’re harvesting multiple heads, remember to label them by variety so you can keep track of what you have.
Preparing for Drying
After cutting the sunflower heads, place them in a dry, warm location to continue drying. Ideally, you should use a well-ventilated area with low humidity to prevent mold. Lay the seed heads flat on a clean surface or hang them upside down in a mesh bag or basket to allow air circulation around them. This method helps ensure that they dry thoroughly.
Allow the heads to dry for about one to two weeks. The seeds should feel firm and not mushy when you touch them. This drying process is crucial because any remaining moisture can lead to spoilage when you store the seeds.
Extracting the Seeds
Once the sunflower heads are completely dry, it’s time to extract the seeds. Place a large bowl underneath the sunflower head to catch any falling seeds. Using your fingers, gently press on the center of the sunflower head to release the seeds. Alternatively, you can use a butter knife to scrape the seeds out if they are stubborn.
As you extract the seeds, be sure to separate them from any remaining flower debris. This step is important because clean seeds store better and have a higher germination rate. If you find it challenging to remove all the chaff by hand, you can use a sieve or screen to help separate the seeds from the debris.
Drying the Seeds
After extracting the seeds, it’s essential to dry them again. Spread the seeds in a single layer on a clean towel or a baking sheet lined with parchment paper. Avoid stacking them to prevent moisture buildup. Let the seeds dry for an additional two to three days in a warm, dry area with good airflow.
To check if they are completely dry, take a few seeds and try to crush them between your fingers. If they break easily, they are ready for storage. However, if they feel soft or moist, give them more time to dry.
Storing Sunflower Seeds
Proper storage ensures that your sunflower seeds remain viable for the next planting season. Use paper envelopes, glass jars, or airtight containers to store your seeds. I like these seed envelopes you can easily label each one with the date and variety of sunflower to keep track of your seeds.
When storing sunflower seeds, keep them in a cool, dark, and dry place, such as a pantry or basement. Aim for a temperature between 50-70°F to maximize their shelf life. Avoid storing seeds in areas with fluctuating temperatures or high humidity, as this can decrease their viability.
For extra protection against moisture, consider adding a silica gel packet to your storage container. This small addition helps absorb any residual humidity, ensuring your seeds remain dry and free from mold.
Planting Saved Sunflower Seeds
When spring arrives and you’re ready to plant your saved sunflower seeds, consider conducting a germination test first. Take a few seeds and place them on a damp paper towel. Fold the towel and seal it in a plastic bag to create a humid environment. Check for germination after about a week. If most seeds sprout, you’re ready to plant!
Select a sunny spot in your garden with well-draining soil. Prepare the soil by loosening it and mixing in compost to improve fertility. Plant the seeds about 1-2 inches deep, spacing them according to the size of the sunflower variety. Water the seeds gently, ensuring the soil remains moist but not waterlogged. As the seedlings grow, thin them to give each plant enough room to develop fully.
For more in depth post on growing sunflowers just click here.
Benefits of Saving Sunflower Seeds
Saving sunflower seeds provides numerous advantages. First, it saves you money on purchasing seeds every year, allowing you to invest in other gardening supplies or plants. Additionally, growing plants from saved seeds fosters a stronger connection to your garden as you witness the entire lifecycle of your sunflowers.
Moreover, saving seeds allows you to preserve your favorite sunflower varieties. Whether you prefer tall, majestic sunflowers or shorter, bushy ones, saving seeds helps maintain those characteristics that make your garden unique.
Another significant benefit is promoting biodiversity. By growing sunflowers from seed, you support local ecosystems and encourage pollinators, which are essential for healthy gardens.
Tips for Successful Seed Saving
- Choose Open-Pollinated Varieties: When selecting sunflowers for seed saving, opt for open-pollinated varieties. These types will produce seeds that grow true to type, ensuring the offspring resemble the parent plants.
- Separate Varieties: If you grow different sunflower types, space them apart to prevent cross-pollination. This separation helps maintain the genetic integrity of your seeds.
- Monitor for Pests: Keep an eye on pests during the growing season. Healthy plants produce better seeds, so practice good pest management to ensure your sunflowers thrive.
- Practice Regular Seed Saving: Make seed saving a routine part of your gardening practice. By consistently saving seeds, you build a diverse collection of sunflower varieties that adapt to your local growing conditions.
Happy Seed Saving!
Saving sunflower seeds is a straightforward and rewarding process. By following these steps—harvesting, drying, and storing your seeds—you can cultivate a beautiful garden filled with vibrant sunflowers. Not only does this practice save you money, but it also connects you to the natural cycles of your garden. With a little effort and care, you’ll find joy in growing sunflowers from seeds you saved yourself. Enjoy the process and watch your garden thrive with the beautiful blooms you nurtured from seed!
Please be sure to check out my Gardening Blog Post Page for more tips on all types of gardening. Including Seed Starting, Orchids, Water Gardening, Coldframe Gardening, Indoor Bulb Gardening, Hydroponics, Container Gardening, Mums, Herbs, African Violets, planting Bulbs, Flower Gardening, Vegetable and Fruit Gardening, Indoor Houseplants of all kinds, Cactus, Succulents, Hanging plants, Deer resistant plants and even Bird, Bee, Butterfly and Hummingbird Gardens!