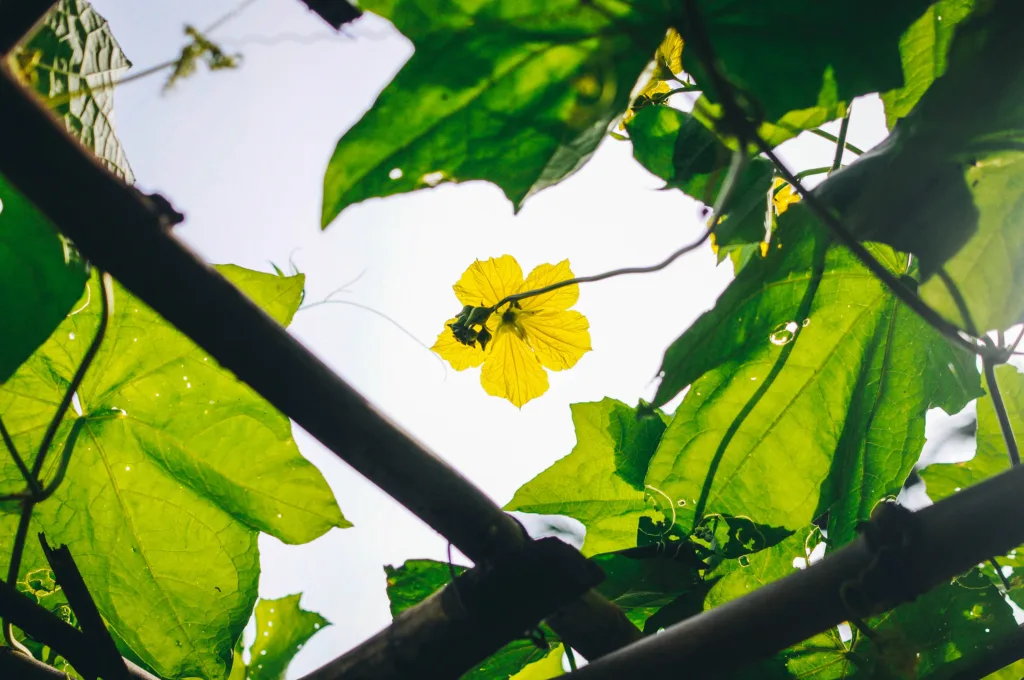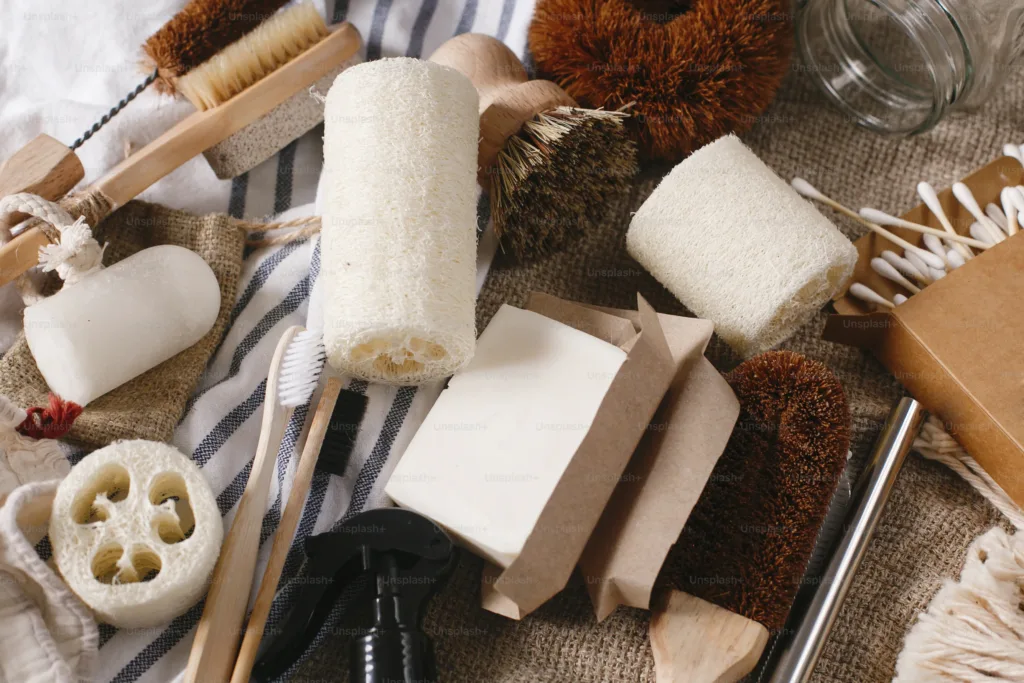
Growing your own loofah sponge can be a rewarding and sustainable project. Loofah sponges, often mistaken for sea sponges, actually come from a gourd plant. By cultivating loofah in your garden, you’ll have a natural and eco-friendly product right at home. This post will help you understand the essential steps for growing loofah, including soil preparation, light and water requirements, fertilization, pest control, and the best methods for harvesting and drying.
Selecting the Right Soil
Loofah plants thrive in well-drained, fertile soil. The ideal soil pH should range from 6.0 to 6.8. To achieve this, start by testing your soil. If needed, amend it with organic matter such as compost or aged manure. These additions improve soil structure and provide essential nutrients. If your soil is heavy clay, incorporate sand or perlite to enhance drainage and prevent root rot.
Light Requirements
Loofah plants love sunlight and need at least 6 to 8 hours of direct sun each day. Choose a sunny spot in your garden, away from any potential shade from buildings or trees. Ample sunlight encourages robust growth and maximizes fruit production.
Watering Needs
Consistent watering is key to healthy loofah plants. Water deeply once a week, ensuring the soil stays evenly moist. During dry spells or particularly hot weather, you may need to water more frequently. However, be cautious not to overwater, as loofah roots can suffer from waterlogging. Mulching around the base of the plants can help retain moisture and keep the soil temperature stable.
Fertilizing Your Loofah
For optimal growth, loofah plants require a balanced fertilization approach. Start by applying a balanced fertilizer, such as 10-10-10, when planting. As the plants begin to flower, switch to a high-phosphorus fertilizer to support blooming and fruit development. Avoid over-fertilizing with nitrogen, as this can lead to excessive leaf growth and reduce fruit yield.
Pest Control
Loofah plants are susceptible to pests such as aphids, cucumber beetles, and squash bugs. Regularly inspect your plants and remove any pests by hand. For a more organic approach, consider using neem oil or insecticidal soap to deter insects. Encouraging beneficial insects like ladybugs can also help keep pest populations in check. Additionally, rotating your crops each year can minimize pest issues.
Harvesting Loofah
Harvesting loofah at the right time is crucial. Wait until the skin turns brown and begins to dry. The gourds should feel light and sound hollow when tapped. Use a sharp knife or pruners to cut them from the vine, leaving a few inches of stem attached to prevent rotting during the drying process.
Drying Loofah Sponges
Once harvested, drying your loofah sponges is the next important step. First, peel off the outer skin. If the skin is tough, soak the gourd in water for a few minutes to soften it. After peeling, shake out the seeds and rinse the sponges to remove any remaining debris. Hang the sponges in a well-ventilated area, away from direct sunlight, to dry. This process can take several weeks, depending on humidity levels. Turn them occasionally to ensure even drying.
Happy Gardening!
Growing your own loofah sponges is not only a sustainable choice but also a fulfilling gardening project. By following these steps on soil preparation, light, water, fertilization, pest control, and proper harvesting and drying, you can enjoy homegrown loofah sponges. These natural sponges are perfect for personal use or as thoughtful gifts. With a little patience and care, your garden will yield a bountiful harvest of versatile loofah sponges. Enjoy the process and the results!
Please be sure to check out my Gardening Blog Post Page for more tips on all types of gardening. Including Seed Starting, Orchids, Water Gardening, Coldframe Gardening, Indoor Bulb Gardening, Hydroponics, Container Gardening, Mums, Herbs, African Violets, planting Bulbs, Flower Gardening, Vegetable and Fruit Gardening, Indoor Houseplants of all kinds, Cactus, Succulents, Hanging plants, Deer resistant plants and even Bird, Bee, Butterfly and Hummingbird Gardens!

