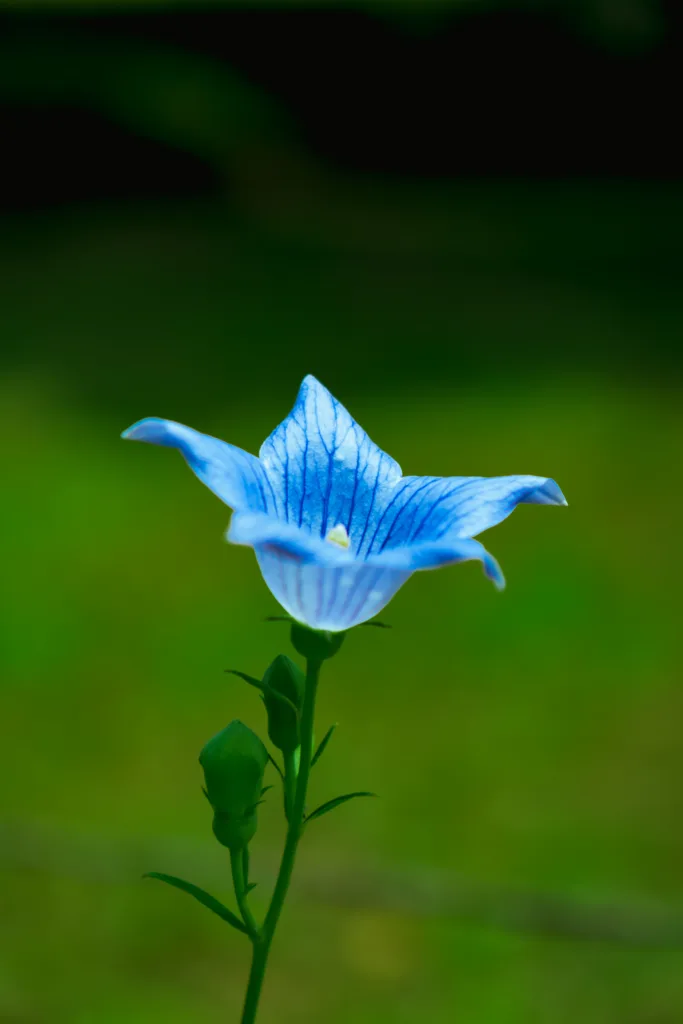
Bellflowers, known for their charming, bell-shaped blooms, are a delightful addition to any garden. These perennials are relatively easy to grow and can provide continuous color throughout the growing season. This post will cover everything you need to know about how to grow bellflowers, including soil type, light requirements, water needs, fertilizer, pest control, pruning, propagation, and overwintering. Let’s dive into the essential steps for cultivating healthy and vibrant bellflowers.
Soil Type
Bellflowers thrive in well-drained, moderately fertile soil. They prefer a slightly acidic to neutral pH, ideally between 6.0 and 7.0. To create the ideal soil, mix in organic matter such as compost or well-rotted manure. This enriches the soil and improves its drainage, providing the perfect environment for bellflower roots. If your soil is heavy clay, consider amending it with sand or grit to enhance drainage and prevent waterlogging, which can lead to root rot.
Light Requirements
Bellflowers grow best in full sun to partial shade. They need at least four to six hours of sunlight daily for optimal blooming. In hotter climates, providing some afternoon shade can help protect the plants from intense sun, which can cause the flowers to fade. However, in cooler regions, bellflowers can tolerate more sun exposure. Ensuring adequate light will promote healthy growth and abundant flowering.
Water Needs
Consistent moisture is crucial for bellflowers, especially during their growing season. Water the plants regularly to keep the soil evenly moist but not waterlogged. Aim to water deeply once a week, increasing the frequency during dry spells. Mulching around the base of the plants helps retain soil moisture and regulate temperature. Be cautious not to overwater, as bellflower roots are susceptible to rot in overly wet conditions.
Fertilizer
Bellflowers benefit from regular feeding to support their vigorous growth and prolific blooming. Use a balanced, slow-release fertilizer in early spring as new growth begins. A fertilizer with equal parts nitrogen, phosphorus, and potassium works well. Apply the fertilizer according to the package instructions, and water thoroughly after application to help the nutrients reach the roots. Avoid over-fertilizing, as excessive nutrients can lead to weak, leggy growth.
Pest Control
Bellflowers are generally resistant to pests but can occasionally be affected by aphids, slugs, and spider mites. Regularly inspect your plants for signs of pest activity. If you notice aphids or spider mites, spray the affected areas with insecticidal soap or neem oil. To prevent slug damage, use organic slug pellets or handpick the slugs from the plants. Maintaining good garden hygiene and removing debris can also help prevent pest infestations.
Pruning
Pruning bellflowers promotes healthy growth and encourages continuous blooming. After the first flush of flowers, typically in late spring or early summer, cut back the spent flower stalks to the base of the plant. This prevents the plant from expending energy on seed production and redirects it to root and foliage growth. In early spring, remove any dead or damaged leaves to promote fresh, new growth. Regular pruning keeps your bellflowers looking tidy and vibrant.
Propagation
Bellflowers can be propagated through seed, division, or cuttings. To propagate from seed, collect seeds from mature plants in late summer or early fall. Sow the seeds directly in the garden in late fall or early spring. For division, dig up a mature plant in early spring or fall and carefully separate the root clump into smaller sections, each with several shoots and roots. Replant the divisions immediately in prepared soil. To propagate from cuttings, take 4-6 inch stem cuttings in late spring or early summer. Remove the lower leaves and dip the cut end in rooting hormone before planting in a well-draining potting mix. Keep the cuttings moist and place them in a bright, indirect light location until roots develop.
Overwintering
Bellflowers are hardy in USDA zones 3-9 and typically require minimal winter care. In colder climates, apply a layer of mulch around the base of the plants in late fall to insulate the roots and conserve moisture. This helps protect the plant from freezing temperatures. In regions with mild winters, bellflowers usually don’t require special overwintering care. However, if you experience severe winters, consider covering the plants with burlap or frost cloth for added protection.
Happy Gardening
In conclusion, planting and growing bellflowers involves several key steps: preparing the right soil, providing adequate light, watering correctly, fertilizing appropriately, managing pests, pruning regularly, propagating as needed, and protecting them during winter. By following these guidelines, you can enjoy healthy, vibrant bellflower plants that enhance your garden with their beautiful, bell-shaped blooms. With a little attention and care, your bellflowers will reward you with years of beauty and enjoyment.
Please be sure to check out my Gardening Blog Post Page for more tips on all types of gardening. Including Seed Starting, Orchids, Water Gardening, Coldframe Gardening, Indoor Bulb Gardening, Hydroponics, Container Gardening, Mums, Herbs, African Violets, planting Bulbs, Flower Gardening, Vegetable and Fruit Gardening, Indoor Houseplants of all kinds, Cactus, Succulents, Hanging plants, Deer resistant plants and even Bird, Bee, Butterfly and Hummingbird Gardens!
