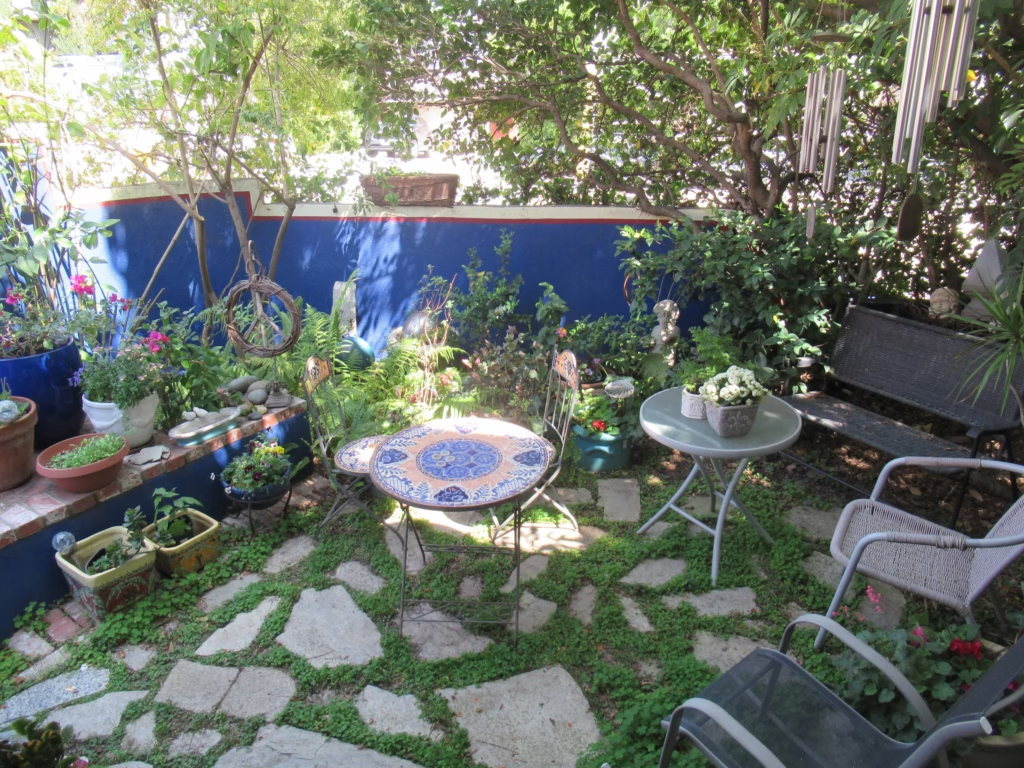
Adding art to your garden can create a whimsical, personalized touch to your outdoor space. The best part is that you don’t have to spend a lot of money. By repurposing items you already have at home, you can make garden art from junk that reflects your creativity and helps the environment by reusing materials. Here are some fun projects to turn common household items into stunning garden art, including twig art, wind chimes from silverware, mosaic stones, dragonflies from fan blades, teapot bird feeders, glass bowl birdbaths, bowling ball gazing ball and picture frame art.
Twig Art
Supplies:
- Twigs and branches
- Hot glue gun or strong adhesive
- String or wire
- Scissors
- Spray paint (optional)
Gather twigs and branches from your yard or nearby areas. Look for twigs of varying sizes and shapes for visual interest. Then lay out the twigs in different patterns to decide on your design. You can create stars, hearts, or abstract shapes. Use a hot glue gun or strong adhesive to attach the twigs together. For added stability, you can also tie the joints with string or wire.
Next if you want you could spray paint your twig art in a color that complements your garden. Finally hang your twig art on a fence, tree, or garden wall.
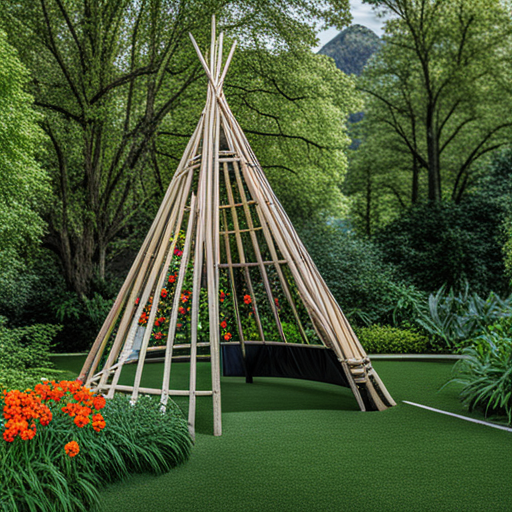
As you get better, design even bigger projects like a teepee for vining plants to create a hidden space for kids to play. Your own twig trellis or even a standing angel or garden fairy-let your imagination soar!!
Wind Chimes from Silverware
Supplies:
- Old silverware (forks, spoons, knives)
- A piece of driftwood or a sturdy branch
- Fishing line or strong string
- Drill
- Small hooks or eye screws
First drill a small home in the handle of each piece of silverware. Then screw small hooks or eye screws into the driftwood or branch. Cut lengths of fishing line or strong string and thread them through the holes in the silverware. Tie the other end to the hooks or eye screws on the driftwood.
Finally hang your wind chime in a spot where it can catch the breeze and create a gentle tinkling sound.
Mosaic Stones
Supplies:
- Broken tiles, plates, or glass
- Concrete mix
- Molds (old cake pans or shallow plastic containers)
- Grout (optional)
- Protective gloves
- Hammer
First place the tiles, plates or glass in a sturdy bag and gently break them into small pieces using a hammer. Remember to wear protective gloves to avoid cuts.
Mix the concrete according to the package instructions. Pour the concrete into your chosen molds and smooth the surface. Press the broken pieces into the surface of the wet concrete to create your desired pattern. You can fill the gaps with grout for a polished look.
Finally allow the stones to cure completely according to the concrete mix instructions before placing them in your garden.
Dragonfly from Fan Blades
Supplies:
- Old fan blades
- Stair spindle for body or Wooden dowel with wooden ball for the head
- Screws and nuts or epoxy glue
- Spray paint
- Drill
First clean the fan blades, sand if needed and then spray paint them in bright colors as these will be the wings of your dragonfly. Drill holes in the center of the fan blades and attach them to a spindle or wooden dowel using screws and nuts or epoxy glue. Next paint the spindle or dowel to match the wings.
Finally once everything is dry and secure, place your dragonfly in the garden by pushing the rod or dowel into the ground.
Teapot Bird Feeders
Supplies:
- Old teapots
- Rope or chain
- Hot Glue or Strong Adhesive glue of choice
- Birdseed
Make sure your teapot is clean and dry. Next glue the lid to teapot spout to use as saucer for bird feed. Place string or chain through handle of teapot to hang it. Fill with birdseed and hand from tree branch or hook in your garden.
Glass Vase and Bowl Birdbaths
Supplies:
- Glass bowls or vases
- Strong adhesive or epoxy glue
- Ensure the glass bowls or vases are clean and dry.
Clean and dry your bowls and vases. You will want to use a strong adhesive to glue together 2 vases. You want glue them top to top or bottom to bottom-this will be your birdbath base-your design, decide what you like best. Next glue a plate or wooden base to one of the vases as the stand and a glass bowl to other end for your birdbath. Allow the glue dry completely.
Finally place the birdbath in your garden, fill it with water and enjoy!
Picture Frame Garden Art
Supplies:
- Old picture frames
- Outdoor paint
- Chicken wire or mesh
- Staple gun
- Small plants or air plants
Clean the frames and paint them with outdoor paint in colors that match your garden theme. Next cut a piece of chicken wire or mesh to fit the back of the frame and staple it securely. Attach small plants or air plants to the mesh using wire or string.
Finally hang the picture frame art on a garden wall or fence.
Bowling Ball Gazing Ball
Supplies:
- Old bowling ball
- Pennies (approximately 250-300, depending on the size of the bowling ball)
- Paint if you don’t want to use the pennies
- Strong adhesive suitable for outdoor use (E6000 or similar)
- Clear outdoor sealant (optional)
- Gloves
- Newspaper or drop cloth
- Cleaning supplies (soap, water, and a cloth)
Wash the bowling ball thoroughly with soap and water to remove any dirt or oils. Dry it completely with a cloth. Next lay down newspaper or a drop cloth to protect your workspace from adhesive and other materials.
Now if you want to use the pennies then decide how you want to arrange the pennies on the bowling ball. You can cover the entire surface or create patterns. Consider starting from the top and working your way down in a circular pattern for even coverage. Apply a small amount of adhesive to the back of each penny. Start at the top of the bowling ball and press each penny firmly into place. Hold each penny for a few seconds to ensure it adheres properly.
Work your way around the ball, adding pennies in rows. Ensure that each penny overlaps slightly with the previous one to create a shingled effect. This not only looks attractive but also helps ensure full coverage.Once you have covered the entire bowling ball with pennies, allow the adhesive to dry according to the manufacturer’s instructions. This could take several hours or overnight, depending on the adhesive used.
Finally if you want to protect your gazing ball from the elements and ensure it lasts longer, apply a clear outdoor sealant over the entire surface. This will help protect the pennies from tarnishing and the adhesive from moisture. Allow sealant to dry completely before placing in your garden.
Happy Garden Crafting
Making garden art from junk is an excellent way to recycle and repurpose items while adding unique and personal touches to your outdoor space. With a bit of creativity and some basic supplies, you can transform everyday objects into stunning pieces of garden decor. So, before you throw away that old teapot or those broken tiles, consider how you might use them to create something beautiful for your garden.
Please be sure to check out my Gardening Blog Post Page for more tips on all types of gardening. Including Seed Starting, Orchids, Water Gardening, Coldframe Gardening, Indoor Bulb Gardening, Hydroponics, Container Gardening, Mums, Herbs, African Violets, planting Bulbs, Flower Gardening, Vegetable and Fruit Gardening, Indoor Houseplants of all kinds, Cactus, Succulents, Hanging plants, Deer resistant plants and even Bird, Bee, Butterfly and Hummingbird Gardens!