
Coneflowers, also known by their genus name Echinacea. They’re a cherished addition to any gardeners plot. Whether you’re just starting out or are an experienced gardener, there’s something magical about growing a plant from its very beginnings. Today, we’re digging deep into the process of growing coneflowers from seed. This post will walk you through growing coneflowers from seed. From preparing the soil to nurturing the seedlings, this post will walk you through each step, ensuring that your coneflower garden thrives. By the end, you’ll be prepared to transform a handful of seeds into a vibrant coneflowers for natural beauty in your own backyard.
The Appeal of Growing Coneflowers
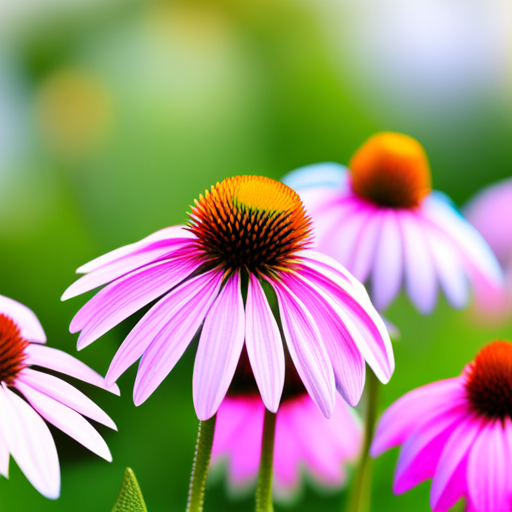
Coneflowers have experienced a resurgence in popularity thanks to their resilience, long blooming period, and striking appearance. They’re not only beautiful to look at but also attract a myriad of butterflies, bees, and other pollinators. Their endurance in various conditions– from drought to disease resistance–make them ideal for gardeners seeking low-maintenance and sustainable choices.
With a range of colors from the classic purple to vibrant pinks and whites, coneflowers can complement any garden. For these reasons and more, learning to grow coneflowers from seed is a worthwhile endeavor for any gardener.
Step-by-Step Guide to Growing Coneflowers
Selecting the Right Seeds
Start by choosing high-quality coneflower seeds. Look for varieties that are native to your region for the best results in your local climate. If possible, opt for open-pollinated or heirloom seeds to promote genetic diversity and support the environment. You might also want to consider the color and size of the flowers, as well as the plant’s height and bloom time, to ensure they fit your garden’s design.
Preparing the Soil
Coneflowers thrive in well-draining soil under full sunlight. Before planting, prepare the soil by mixing in some compost to improve its fertility. If your soil is excessively sandy or heavy clay, consider adding some organic matter to improve its texture. The pH level should be close to neutral (around 6.8) for the best performance.
Planting the Seeds
Wait until the last frost has passed before planting your coneflower seeds. Sow the seeds about 18 inches apart in rows or groups, as coneflowers thrive when they are crowded. The seeds can be planted just below the soil’s surface, about a quarter of an inch deep. Remember to water the seeds gently after planting, but be careful not to overwater as this could lead to rot.
Caring for Seedlings
Keep an eye on the soil moisture in the first few weeks after planting. Once the seedlings emerge, ensure they receive consistent moisture, but still avoid overwatering. As the seedlings grow, thin them out to allow at least 12 inches between plants. Consider applying a light layer of mulch to help retain moisture and suppress weeds.
Supporting Growth
Coneflowers can become top-heavy when they bloom, so providing some support can prevent the stems from bending or breaking. You can use stakes or even a ring of chicken wire to gently corral the plant as they grow. This also helps to keep the plant upright during windy conditions.
Fertilization and Watering
While coneflowers don’t require much feeding, a light application of a balanced fertilizer in the spring can promote healthy growth and flowering. Water the plants during dry spells, but avoid getting the foliage wet to minimize the risk of disease. Established plants are somewhat drought-tolerant, making them an excellent choice for water-wise gardening.
Overwintering
In some regions, coneflowers can be left standing over the winter, providing food for birds and interest to the garden. If frost is an issue, cut back the plants to a few inches above the ground after the first frost. Applying a layer of mulch can offer further protection from the winter cold, and it should be removed in the spring to allow the plants to regrow.
Troubleshooting Common Conflower Growing Problems
Pests and Diseases
Coneflowers are generally resistant to most pests and diseases. However, they can still be affected by aphids, powdery mildew, and other issues. If you notice problems, try a blast of water to remove aphids or apply a natural fungicide for mildew. Keeping the garden clean and removing any decaying plant material can also prevent disease.
Poor or No Growth
If your coneflowers are not growing well, the issue may be related to poor soil conditions, lack of sunlight, or overwatering. Check the soil’s drainage, ensure the plants receive at least six hours of sunlight per day, and adjust your watering practices as needed.
Yellowing Leaves
Yellowing leaves can be a sign of overwatering, poor nutrient uptake, or root rot. Adjust your watering schedule, ensure the soil is well-draining, and consider applying a light dose of fertilizer to help the plants recover.
The Reward of Blooming Coneflowers
Watching coneflowers bloom is a sight to behold. As the flowers open, they invite pollinators to your garden, contributing to the local ecosystem. Not only do you get to enjoy the vibrant colors and unique shapes of the coneflower blooms, but you also witness nature at work. The beauty of coneflowers isn’t just in their appeal; it’s in their ability to bring life to your garden.
In conclusion, growing coneflowers from seed is a richly rewarding experience that is well worth the time and effort. Not only do you get to witness the full life cycle of these remarkable plants, but you also contribute to the health of your garden and, by extension, the planet. Whether you’re starting a new garden or looking to enhance an existing one, coneflowers are a delightful addition that you can be proud of.
Please be sure to check out my Gardening Blog Post Page for more tips on all types of gardening. Including Seed Starting, Orchids, Water Gardening, Coldframe Gardening, Indoor Bulb Gardening, Hydroponics, Container Gardening, Mums, Herbs, African Violets, planting Bulbs, Flower Gardening, Vegetable and Fruit Gardening, Indoor Houseplants of all kinds, Cactus, Succulents, Hanging plants, Deer resistant plants and even Bird, Bee, Butterfly and Hummingbird Gardens!