
Saving hollyhock seeds is an easy way to continue growing these tall, colorful flowers year after year. These stately plants not only add charm to your garden but also attract pollinators like bees and butterflies. Properly harvesting, drying, and storing hollyhock seeds ensures they remain viable for future planting. This guide will take you through every step, from seed collection to storage tips, to help you succeed in saving hollyhock seeds.
Harvesting Hollyhock Seeds
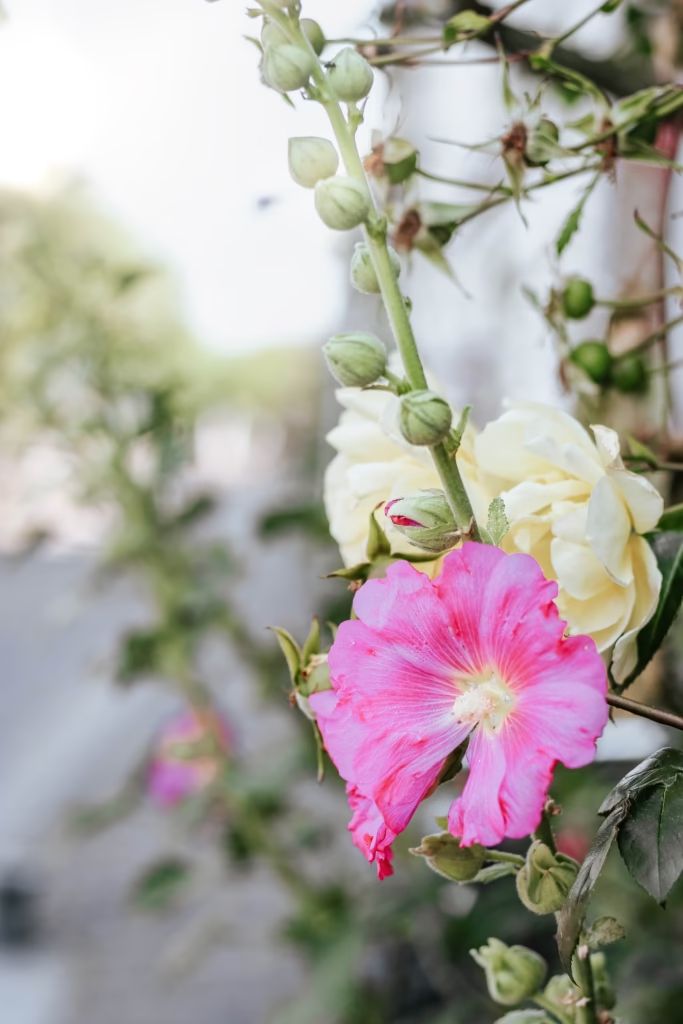
To save hollyhock seeds, start by selecting healthy, mature plants. Choose flowers that display vibrant blooms and strong stems, as these traits will likely carry over to the next generation. After the flowers fade and the seed pods begin to form, allow them to dry naturally on the plant. The pods will turn brown and papery as they ripen, signaling that the seeds inside are ready for collection.
Once the seed pods are fully dry, carefully remove them from the plant. Hold a container or paper bag beneath the pods to catch any seeds that might fall. Break open the pods and gently release the seeds, discarding the husks and any debris. Hollyhock seeds are flat and dark, making them easy to identify. Gathering seeds from multiple plants helps preserve genetic diversity and ensures your future flowers will thrive.
Drying Hollyhock Seeds for Storage
Proper drying is crucial to prevent mold and ensure the seeds remain viable in storage. After harvesting, spread the seeds in a single layer on a clean, dry surface. Use a tray lined with parchment paper, a fine mesh screen, or a sheet of cardboard. Place the seeds in a warm, well-ventilated area out of direct sunlight. Good airflow helps wick away any residual moisture, which is key for successful storage.
Check the seeds daily and gently stir them to promote even drying. Depending on the humidity in your environment, drying can take one to two weeks. You’ll know the seeds are ready for storage when they feel hard and brittle. Ensuring complete dryness is essential, as even a small amount of moisture can lead to spoilage during storage.
Storing Hollyhock Seeds in Labeled Envelopes
Once the seeds are fully dry, transfer them to paper seed envelopes or small paper bags. These materials allow the seeds to breathe while keeping them organized. Write the name “hollyhock,” the variety (if known), and the collection date on each envelope. This labeling helps you track the seeds’ age and makes planting more efficient when the time comes.
If you don’t have seed envelopes, you can create your own using folded sheets of paper. Avoid using plastic bags for this initial storage step, as they can trap moisture and increase the risk of mold. Proper labeling also helps you manage your seed collection, especially if you save seeds from multiple plants or varieties.
Using Airtight Containers for Long-Term Storage
For long-term storage, place your labeled seed envelopes in an airtight container. Options like glass jars, metal tins, or durable plastic containers work well. These containers shield the seeds from humidity, pests, and temperature fluctuations, which are the main causes of seed degradation. Adding silica gel packets to the container helps absorb excess moisture, creating a stable environment for the seeds.
Store the container in a cool, dark, and dry location, such as a basement, pantry, or refrigerator. Consistent temperatures between 35°F and 50°F are ideal for preserving seed viability. Avoid exposing the seeds to heat or light, as these factors can reduce their ability to germinate. With proper storage, hollyhock seeds can remain viable for several years, giving you a reliable source of plants for future seasons.
Avoiding Common Challenges
One common issue when saving seeds is mold or pest infestations during storage. To prevent these problems, double-check that your seeds are completely dry before placing them in storage containers. Inspect your storage area regularly to ensure it remains cool and dry. If you notice signs of mold or pests, discard the affected seeds immediately to protect the rest of your collection.
Testing seed viability is another way to ensure your saved seeds are still usable. Before planting, try a germination test. Place a few seeds on a damp paper towel, fold it, and seal it in a plastic bag. Keep the bag in a warm spot and check for sprouting after a week. This test helps you determine if your seeds are still good to plant.
Happy Seed saving!
Saving hollyhock seeds offers more than just cost savings; it deepens your connection to gardening and allows you to preserve the beauty of your favorite flowers. By learning how to properly harvest, dry, and store seeds, you can enjoy a thriving garden year after year.
Please be sure to check out my Gardening Blog Post Page for more tips on all types of gardening. Including Seed Saving, Seed Starting, Orchids, Water Gardening, Coldframe Gardening, Indoor Bulb Gardening, Hydroponics, Container Gardening, Mums, Herbs, African Violets, planting Bulbs, Flower Gardening, Vegetable and Fruit Gardening, Indoor Houseplants of all kinds, Cactus, Succulents, Hanging plants, Deer resistant plants and even Bird, Bee, Butterfly and Hummingbird Gardens!