
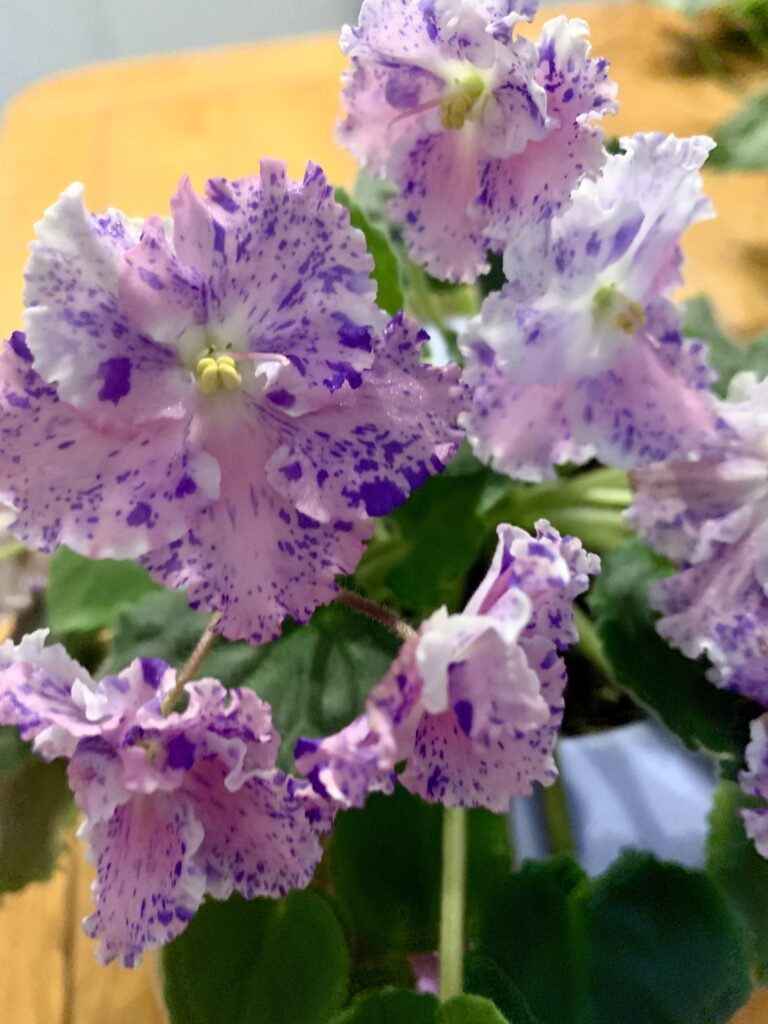
African violets are beautiful and delicate houseplants that can be a bit finicky when it comes to watering. Overwatering, underwatering, or using the wrong type of water can easily cause damage to these plants. Therefore, learning how to water African Violets the proper way is one of the most crucial aspects of caring for your African Violets. In this blog post, we will explore the different ways of watering your African violets and discuss the pros and cons of each method.
Although always remember not every African Violet prefers the same method of watering. I have many that thrive in my choice of watering the water-wicking method. But I also have some that do better with the Ceramic self-watering pots. And one lone stand out that just prefers the bottom watering method. So be sure to monitor your violets and if they are not happy choose a different watering method.
Top Watering-How and When to Water
Watering from the top involves pouring water onto the soil surface around the base of your African violet. It’s best to do this early in the morning, allowing the plant enough time to absorb the water throughout the day. Be sure to pour slowly and evenly, ensuring the soil is thoroughly soaked but not waterlogged. Keep the water away from the leaves to avoid water spots, a common issue with top watering.
Advantages and Disadvantages of Top Watering
One of the main advantages of top watering is that it’s straightforward and requires no special equipment. It also ensures that the water directly reaches the root system, which can promote healthier growth. Also top watering will leach the excess salts from the soil into the run off water in the saucer below. Make sure you empty the saucer after 5 minutes to avoid saturating the roots. However, the method does come with some drawbacks. The risk of overwatering is higher with top watering. Additionally, water can easily splash onto the leaves causing unsightly water spots. Moreover, if the water is too hot or too cold-more than 10 degrees different than soil temperature which is room temp, then it can shock the plant leading to wilting or discoloration. Therefore, it’s crucial to use room-temperature water and be careful to avoid the leaves when top watering your African violets.
Bottom Watering – How and When to Water
Bottom watering is another method you can use to hydrate your African violets. To bottom water, place your potted plant in a saucer filled with room-temperature water. The plant will absorb water through the drainage holes at the bottom of the pot. The process should be done in the morning, as with top watering, and typically takes about 30 minutes to an hour for the plant to absorb enough water. Once the top of the soil feels moist, remove the plant from the water-filled saucer and let it drain.
Advantages and Disadvantages of Bottom Watering
Bottom watering offers several advantages. It greatly reduces the risk of water spots on the leaves since the water is only touching the pot’s base. It also minimizes the dangers of fungus and other diseases that thrive in overly moist environments. This method encourages the roots to grow downwards, promoting healthier, sturdier plants. However, bottom watering also has its drawbacks. It’s a slower process compared to top watering, and it can lead to salt build-up in the soil over time, as excess salts are not flushed out. Additionally, if left too long in the water, the plant could become waterlogged and root rot may set in. Therefore, it’s vital to monitor the watering process closely and remove the plant once the soil feels moist on top.
How to Set Up and Water Wicking Pots
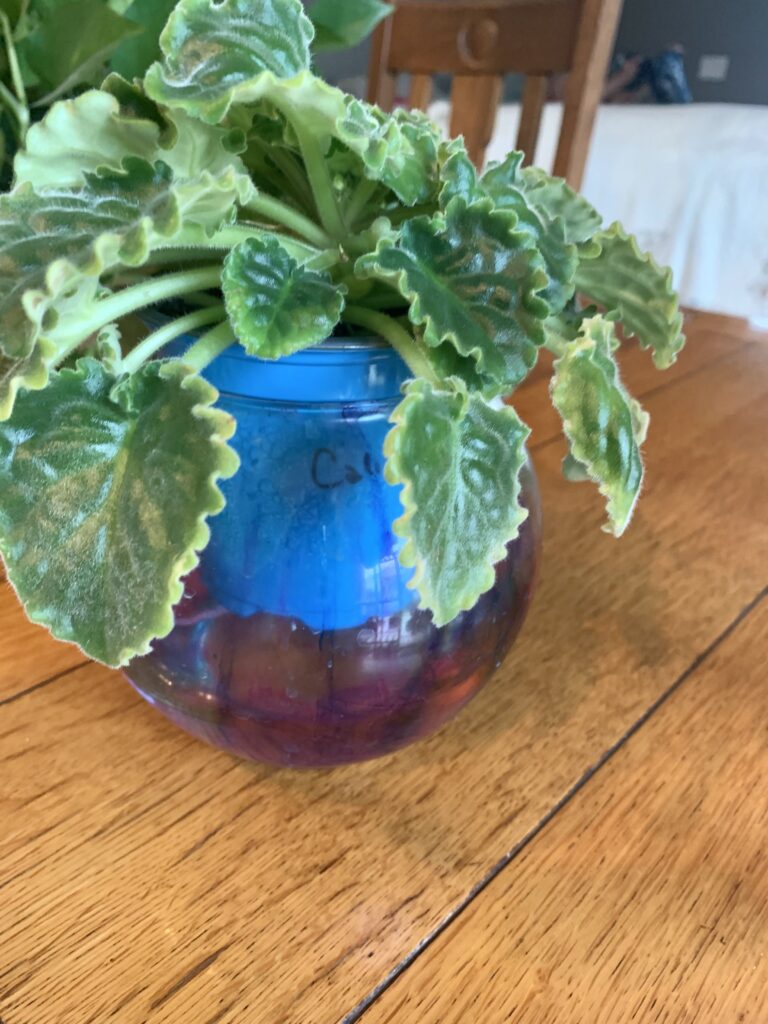
Wicking pots utilize a system where water is absorbed through a wick from a reservoir and delivered to the plant’s roots. To set up a wicking pot, you’ll need a pot with a drainage hole, a reservoir for water, and I use 2 strands of yarn for a wick. Thread one end of the wick through the drainage hole, ensuring it reaches the bottom of the reservoir when the pot is put in place. I also cover the drainage hole with a piece of screen wire (you can purchase packs of these on Amazon) this keeps the soil from falling into your water reservoir. Fill the pot with potting soil and plant your African violet as you would normally. You can then fill the reservoir with water. The wick will draw water up into the pot as required, keeping the soil consistently moist.
Advantages and Disadvantages of Wicking Pots
Wicking pots offer a number of advantages. They provide a consistent moisture level, reducing the risk of overwatering or underwatering. This system also prevents water from contacting the leaves, avoiding water spots. Another benefit is the convenience; with a sufficiently large reservoir, your plant can be left unattended for several days without needing a refill. However, wicking pots also come with disadvantages. They often require more initial setup and potentially more maintenance than other watering methods. Wicking pots also risk salt and mineral build up, as these are not flushed out during the watering process. It’s also crucial to monitor the reservoir water closely to prevent it from becoming stagnant, which could lead to root rot and other diseases. Therefore, it’s important to regularly replace the water and clean the reservoir and wicking system.
This is my preferred method, I have between 30-50 AV plants at any given time. Every Saturday morning is watering day, I have AVs in my living room, bedroom and office and I alternate top watering and cleaning the reservoirs doing the office and bedroom on one Saturday and the living room-my largest collection on the next Saturday. One Saturday I just top water my violets and let the water run into the reservoir below, flushing out the excess salt in the soil. The follow Saturday I empty and clean all the reservoirs, this removes any built up salt in the reservoir or any algae growth that may have started. I also use water from the tap, I fill 3 one gallon containers 24 hours before and then before watering I add a couple tablespoons of hydrogen peroxide and AV fertilizer to each gallon container.
How to Set Up Capillary Matting
Capillary matting is another effective watering system utilized for African violets. To set up capillary matting, start by placing the mat on a flat, waterproof surface like a tray. The mat should be large enough that it can reach into a reservoir filled with water. Place your potted African violets directly onto the capillary matting. The mat will absorb water from the reservoir and deliver it to the pots sitting on it. You’ll need to ensure that the mat is always wet and the reservoir is consistently filled with water. The wicking action of the mat will provide a continuous supply of water to your plants.
Advantages and Disadvantages of Capillary Matting
Capillary matting offers a number of advantages. It provides a consistent supply of water to the plants, reducing the risk of both underwatering and overwatering. Similar to wicking pots, this method prevents water from directly touching the leaves, thus avoiding water spots. Capillary matting is also very convenient for watering multiple African violets at once. However, capillary matting also has its fair share of disadvantages. It requires regular monitoring to ensure the mat stays wet and the reservoir is filled. There can be a risk of salt and mineral buildup in the soil over time as the excess salts are not flushed out. Additionally, if not properly maintained, the water in the reservoir can become stagnant and manifest disease-causing organisms. Therefore, it’s important to regularly replace the water and clean the reservoir and matting system.
Ceramic African Violet Self-Watering Pots: How to Use
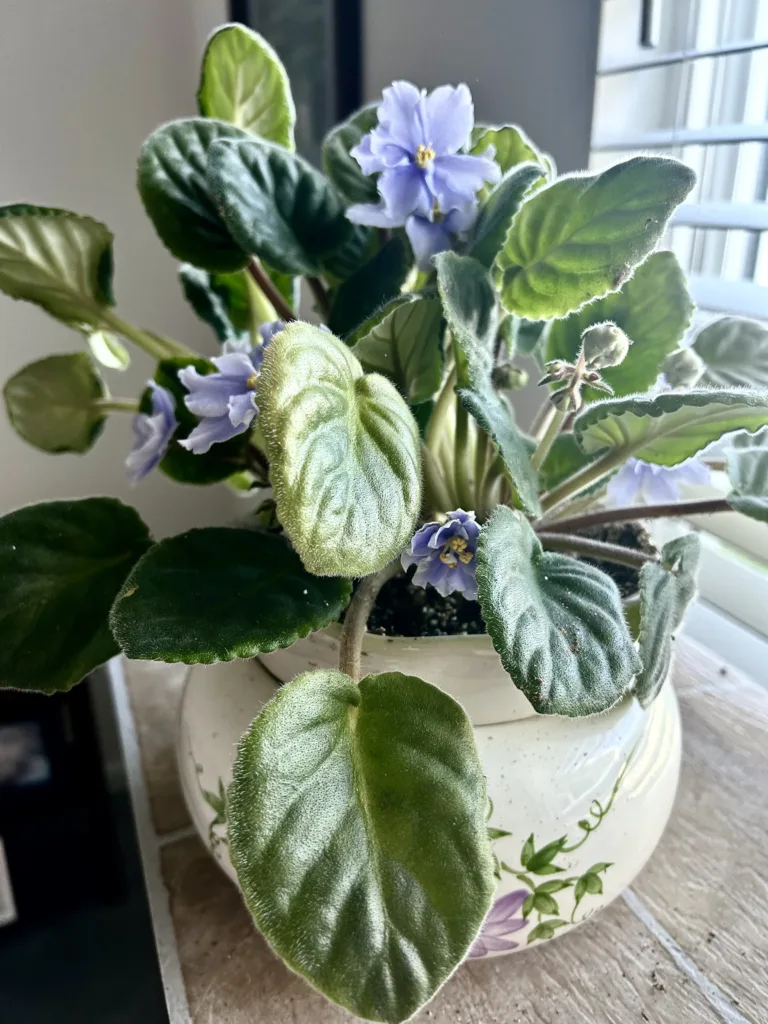
Ceramic self-watering pots for African violets combine functionality with aesthetics. These pots come with a built-in reservoir at the bottom. To use these pots, first fill the reservoir with water. The soil in the pot will absorb water from the reservoir as needed, utilizing wick action to keep the soil consistently moist. It’s important to monitor the water level in the reservoir and refill it when it gets low.
Advantages and Disadvantages of Using Ceramic Self-Watering Pots
The advantages of using ceramic self-watering pots for African violets are numerous. Firstly, they provide a consistent supply of water to the plant, reducing the risk of overwatering and underwatering. Secondly, they add visual appeal to your collection. These pots come in various designs, colors, and styles that can complement your decor. Thirdly, they offer great convenience. With a sufficiently large built-in reservoir, you can leave your plant unattended for several days without needing a refill, making them great for busy plant enthusiasts or those who travel frequently.
However, there are also some disadvantages to using ceramic self-watering pots. These pots can be more expensive than traditional pots, adding to your overall expenses. Additionally, like wicking pots and capillary matting, they also risk salt and mineral build-up in the soil over time, as the water is not flushed out of the soil regularly. This means you’ll need to pay extra attention to the soil quality. Lastly, because the water reservoir is built into the pot, it can be challenging to check the soil moisture levels without a moisture meter. Therefore, it’s important to regularly monitor your African violets for signs of overwatering or underwatering to ensure their health and vitality.
The inner pots will require periodic cleaning, if you notice the water is not absorbing from the out pot and your soil is dry then it might be time to clean. I have a few of these and I do it yearly when I repot to maintain and keep them clean. I clean the inner pot, then fill with 50/50 solution of white vinegar and water and let sit for 2-3 hours. Rinse thoroughly and repot your violet, this opens up the pores in the ceramic inner liner that can collect minerals and salt over time and the inner pot quits absorbing water.
Preferred Types of Water for African Violets
When it comes to watering African violets, the type of water used can significantly impact the health of your plants. The most recommended type of water is rainwater. Rainwater is naturally soft and free from minerals that can build up in the soil, making it the ideal choice.
If rainwater is not accessible, distilled or reverse osmosis water are excellent alternatives. Both types have undergone a purification process to remove minerals and other impurities, replicating the purity of rainwater.
Tap water often contains chlorine and other chemicals that can harm the delicate roots of African violets. However, if tap water is your only option, it’s advisable to let it sit out for 24 hours before use. This allows the chlorine to evaporate, making the water safer for your plants.
Lastly, avoid using softened water, as the sodium ions used in the softening process can harm African violets. Always ensure the water is at room temperature before watering to prevent shocking the plants. It’s important to remember that the wrong water type can lead to problems such as salt build-up in the soil and harm the overall health of your African violets.
Happy AV Gardening!
In summary, watering African violets properly is key to keeping them healthy and thriving. Whether you prefer watering from the top, bottom, capillary matting, or self-watering pots, always make sure to use the right type of water and avoid overwatering or underwatering. Each method has its own set of pros and cons, so choose the one that suits your lifestyle, budget, and plant’s needs. With the right watering technique and care, your African violets will reward you with stunning blooms all year round!
Please be sure to check out my Gardening Blog Post Page for more tips on all types of gardening. Including Seed Saving, Seed Starting, Orchids, Water Gardening, Coldframe Gardening, Indoor Bulb Gardening, Hydroponics, Container Gardening, Mums, Herbs, African Violets, planting Bulbs, Flower Gardening, Vegetable and Fruit Gardening, Indoor Houseplants of all kinds, Cactus, Succulents, Hanging plants, Deer resistant plants and even Bird, Bee, Butterfly and Hummingbird Gardens!