African violets are one of the most popular houseplants thanks to their beautiful blooms and compact size. These flowering beauties can thrive for years when given the right care. While they may seem delicate, African violets are actually easy to grow with a little attention to their specific needs. Whether you’re just starting with your first plant or looking to improve your existing collection, these African violet care tips will help your plants stay healthy and blooming.
Choosing the Right Pot Type
Start by selecting the best pot for your African violet. The type of pot you choose affects drainage, moisture levels, and root health. Plastic pots are lightweight and affordable. They retain moisture well, making them a good choice for beginners. However, it’s important to ensure they have proper drainage holes.
Terra cotta pots are porous, which means they allow air and moisture to pass through the walls. This helps prevent overwatering and root rot. But since they dry out faster, you’ll need to water your plant more frequently. Ceramic pots, especially glazed ones, offer a stylish option and retain moisture better than terra cotta. Look for ones with drainage holes.
Self-watering ceramic or plastic pots are an excellent option for African violets. These pots include a reservoir at the bottom that provides consistent moisture through a wick. This method reduces the risk of overwatering and keeps the roots moist without wetting the crown of the plant.
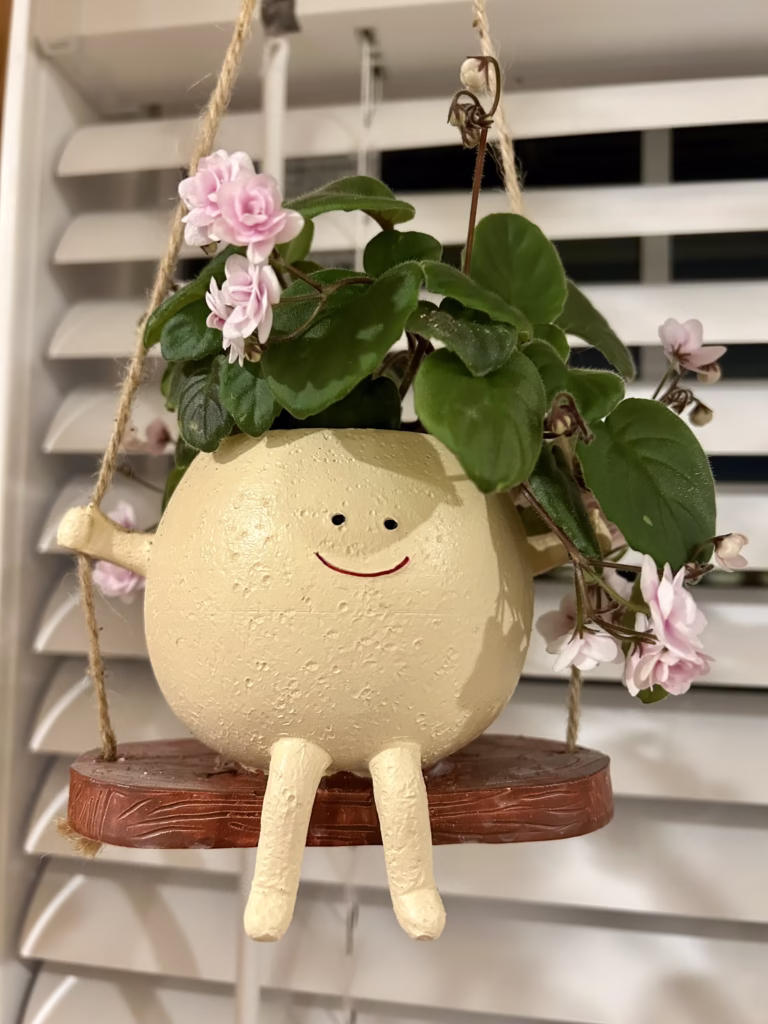
The majority of my African Violets, 25-30 are in water wicking pots, I have 7-8 in ceramic African Violet pots, a few I bottom water, 1 trailer in a terra cotta pot and my new obsession the pot head pots I found on Amazon like this adorable pot head on a swing with a Rob’s Vanilla trailer! This one I water from the top, there is a succulent on the shelf below it so it collects any water that comes out of the hole at the bottom.
The Best Soil for African Violets
Soil plays a crucial role in African violet care. You can use a commercial African violet potting mix, which is widely available and specially formulated to promote proper drainage and air circulation. These mixes usually contain ingredients like peat moss, vermiculite, and perlite.
If you prefer to mix your own soil, my personal recipe is two parts peat moss with one part perlite and one part vermiculite. This blend ensures the roots get enough oxygen and won’t sit in soggy soil. Avoid using garden soil or regular potting soil, as these are too dense and can lead to poor drainage and root rot.
Always fluff up your soil before using it and avoid compacting it in the pot. African violets grow best in loose, airy soil that allows water to drain freely while still holding enough moisture for the roots.
Fertilizing for Healthy Growth and Flowers
Fertilizer is essential for African violets to grow lush foliage and bloom consistently. Choose a balanced, water-soluble fertilizer designed for African violets, my preference is Schultz AV fertilizer. I prefer to fertilize weekly when I water.
If you’re using a self-watering pot, you can add diluted liquid fertilizer to the reservoir according to the package directions. Be careful not to over-fertilize, as this can lead to leaf burn and salt buildup in the soil. You’ll know your plant needs feeding when its growth slows down or the leaves start to pale.
Some gardeners prefer using a bloom booster fertilizer with a higher middle number (phosphorus), especially when trying to encourage flowers. Rotate between a balanced formula and bloom booster to maintain healthy leaves and frequent blooms.
How to Water African Violets Correctly
Watering is one of the most important parts of African violet care. These plants are sensitive to overwatering, and their fuzzy leaves can suffer damage if water touches them. Bottom watering is a popular method where you place the pot in a shallow tray of water and let the soil soak it up from the bottom. After about 20–30 minutes, remove the pot and let it drain thoroughly.
Top watering works too, but you must be careful. Use room-temperature water and aim for the soil, not the leaves. Pour slowly and stop once you see water draining from the bottom.
Water-wicking is another effective method, especially for self-watering pots. A cotton or acrylic wick connects the potting mix to a water reservoir below. The soil draws water up as needed, providing a steady and even supply of moisture. This technique works well if you travel often or don’t want to worry about a strict watering schedule. I prefer acrylic yarn for my wicks since I crochet I have a never ending supply of yarn.
No matter which method you choose, always allow the soil to dry slightly between waterings. Use your finger to test the top inch of soil—if it feels dry, it’s time to water.
Light and Humidity Requirements
African violets thrive in bright, indirect light. They love east-facing windows that provide morning sunlight without harsh afternoon rays. If you don’t have the right window, grow lights are an excellent alternative. Use full-spectrum fluorescent or LED grow lights positioned 10 to 12 inches above the plants. Keep them on for 12 to 14 hours a day for optimal growth. I have multiple grow lights throughout my home so I can have my African Violets in every room of my house!
Avoid placing your plant in direct sunlight, as it can scorch the leaves. Rotate the pot every week to encourage even growth and prevent the plant from leaning toward the light.
Humidity is another key to success. African violets prefer a humidity level around 50% or higher. If your indoor air is dry, especially in winter, use a humidity tray filled with pebbles and water beneath the pot (without the pot sitting directly in the water). Grouping several plants together also helps increase humidity. You can also use a room humidifier to maintain consistent moisture in the air. This hygrometer is perfect for monitoring your humidity levels.
Dealing with Pests and How to Solve Them
While African violets are fairly resistant, they can still attract common houseplant pests. Watch for signs of trouble like yellowing leaves, sticky residue, or distorted growth.
Aphids may cluster on new growth and flower buds. Wash them off gently with a soft stream of water or apply insecticidal soap.
Mealybugs look like small white cotton balls and hide in leaf axils. Dab them with a cotton swab dipped in rubbing alcohol or use neem oil spray.
Thrips are tiny, fast-moving insects that can cause flower distortion and streaked petals. If you suspect thrips, isolate the plant, remove affected blooms and apply an insecticidal spray or horticultural oil. Sadly when I got these I had to trash 20 of my AVs, I did save leaves, clean them and start new plants.
Spider mites leave tiny webbing and cause speckled yellow leaves. Increase humidity and spray the plant with water regularly. For severe infestations, use miticide sprays or neem oil.
Always isolate new plants for at least two to three weeks before placing them near your existing collection. New plants can carry pests or diseases that aren’t immediately visible. Keeping them in a separate space allows you to monitor for issues before they spread to healthy African violets. Make sure to use clean tools and wash your hands between handling different plants.
Regular inspection and isolation practices go a long way in preventing pest infestations and maintaining a thriving collection of African violets.
How to Propagate African Violets in Soil and Water
African violets are easy to propagate, and growing new plants from leaf cuttings is both rewarding and simple. You can root African violet leaves in either soil or water, depending on your preference and growing conditions.
To propagate in soil, start by selecting a healthy, mature leaf with a short stem. Use a sterile, sharp knife or scissors to cut the leaf stem at a 45-degree angle, leaving about 1 to 1.5 inches of petiole (the stem portion). Fill a small pot with moist, well-draining African violet soil mix and poke a hole in the center. Insert the stem into the hole at a slight angle and press the soil gently around it. Cover the pot with a clear plastic bag or dome to create humidity and place it in bright, indirect light. Keep the soil lightly moist, not wet. In about 4 to 6 weeks, tiny plantlets should emerge at the base of the leaf.
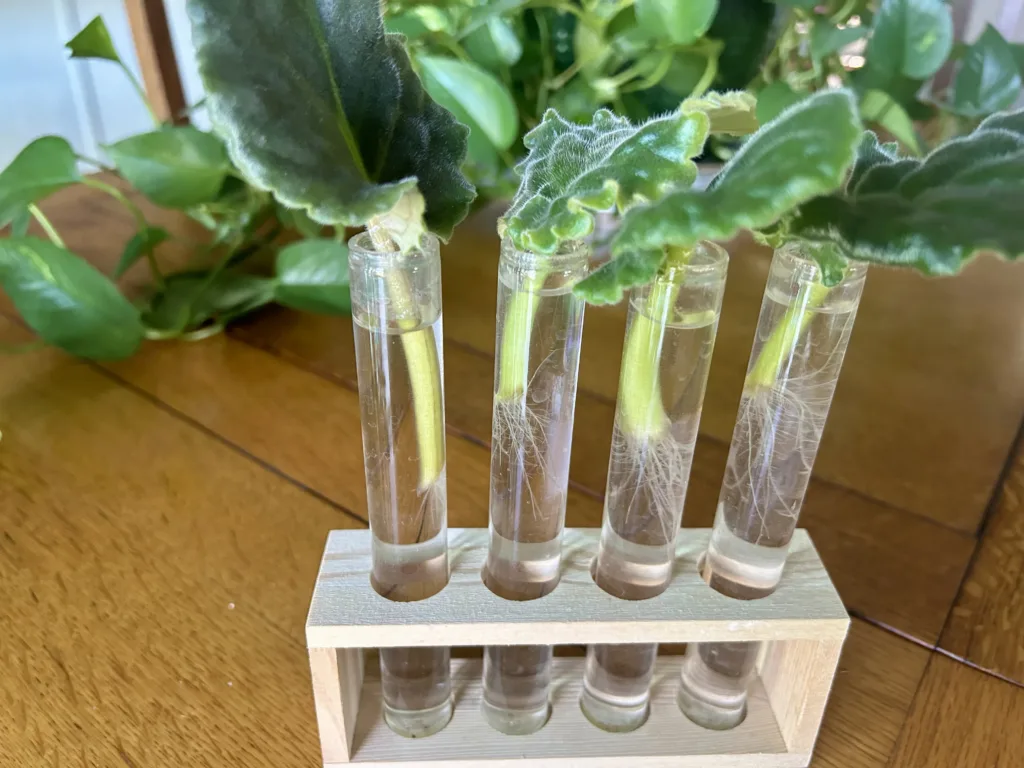
To propagate in water, use the same method to cut a healthy leaf with a short petiole. Place the stem in a small glass or jar of water, making sure only the stem touches the water, not the leaf itself. Use a narrow-necked bottle or poke a hole in plastic wrap stretched across the top of the jar to hold the leaf in place. I love my propagation station shown in picture for leaf propagation or even plant buddies to keep the leaf in place in a larger vase. Place the container in bright, indirect light and change the water every few days. Roots should begin to appear in 2 to 3 weeks. Once the roots are about an inch long, transplant the cutting into moist African violet potting mix and continue caring for it like a mature plant.
Both methods are effective, and success often depends on maintaining the right moisture and light. Propagating African violets is a great way to expand your collection, share with friends, or preserve favorite varieties. Try both soil and water methods to see which works best for you.
Final Thoughts on Growing African Violets
African violets reward good care with vibrant flowers and attractive foliage year-round. With the right pot, soil, light, humidity, and watering method, these charming plants will flourish in your home. Fertilize regularly, monitor for pests, and keep the environment consistent. Once you get into the rhythm of caring for them, African violets become one of the most satisfying houseplants you can grow.
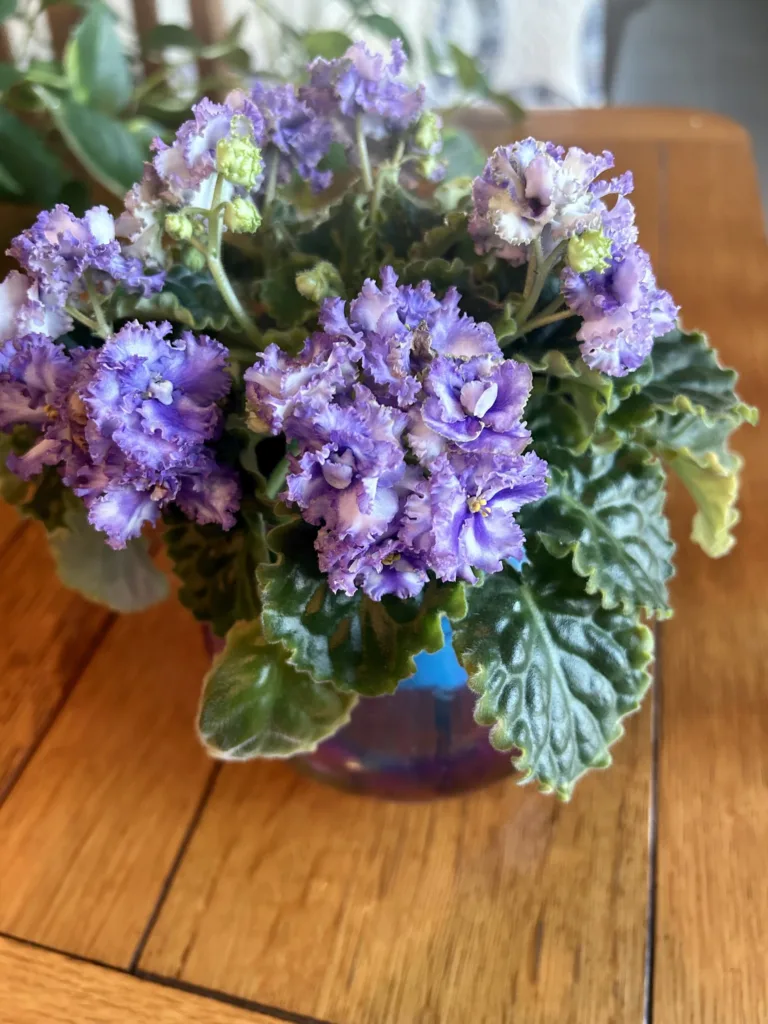
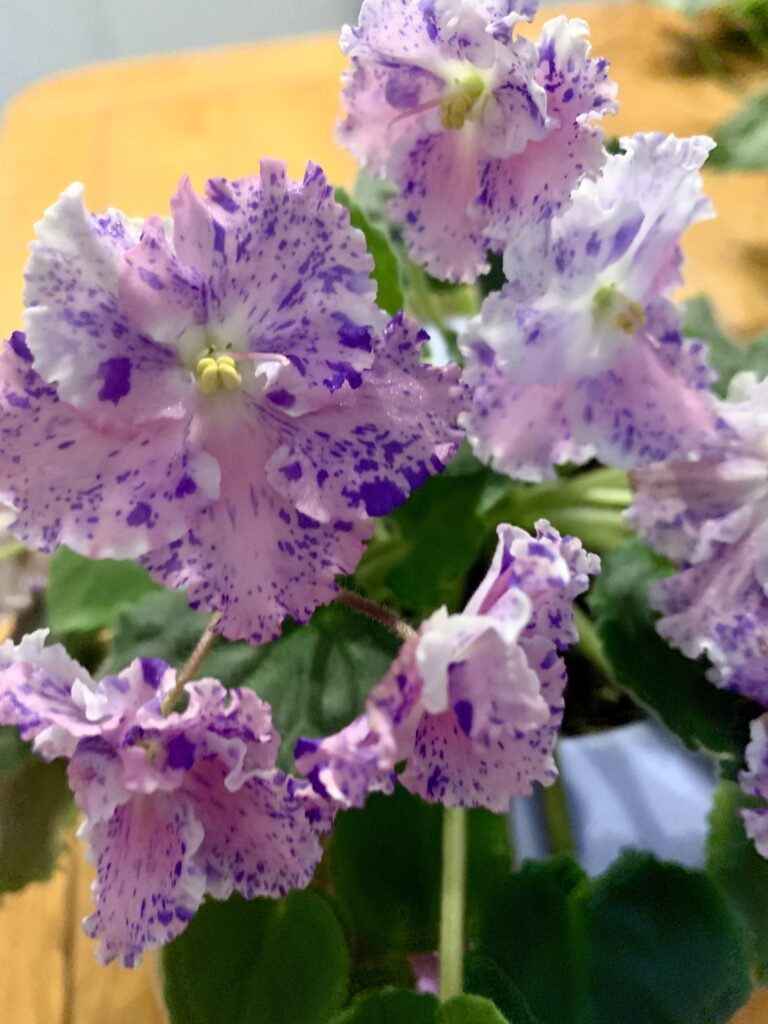
Whether you choose classic purple varieties or newer cultivars with ruffled petals and variegated leaves, your African violets will continue to thrive with just a little regular attention. Keep these tips in mind and enjoy the beauty and color these small plants bring to your indoor space.