
For the flower gardener, clematis holds a unique allure. With its striking vine-like growth, it adds a graceful touch to any garden, whether it is sprawling over a trellis, climbing up a fence, or cascading from a hanging basket. In this post, we’ll walk you through every step necessary on how to grow clematis successfully. From choosing the right variety to the best planting locations, light, soil water and fertilizer needs to create a beautiful flowering vine.
Different Types of Clematis
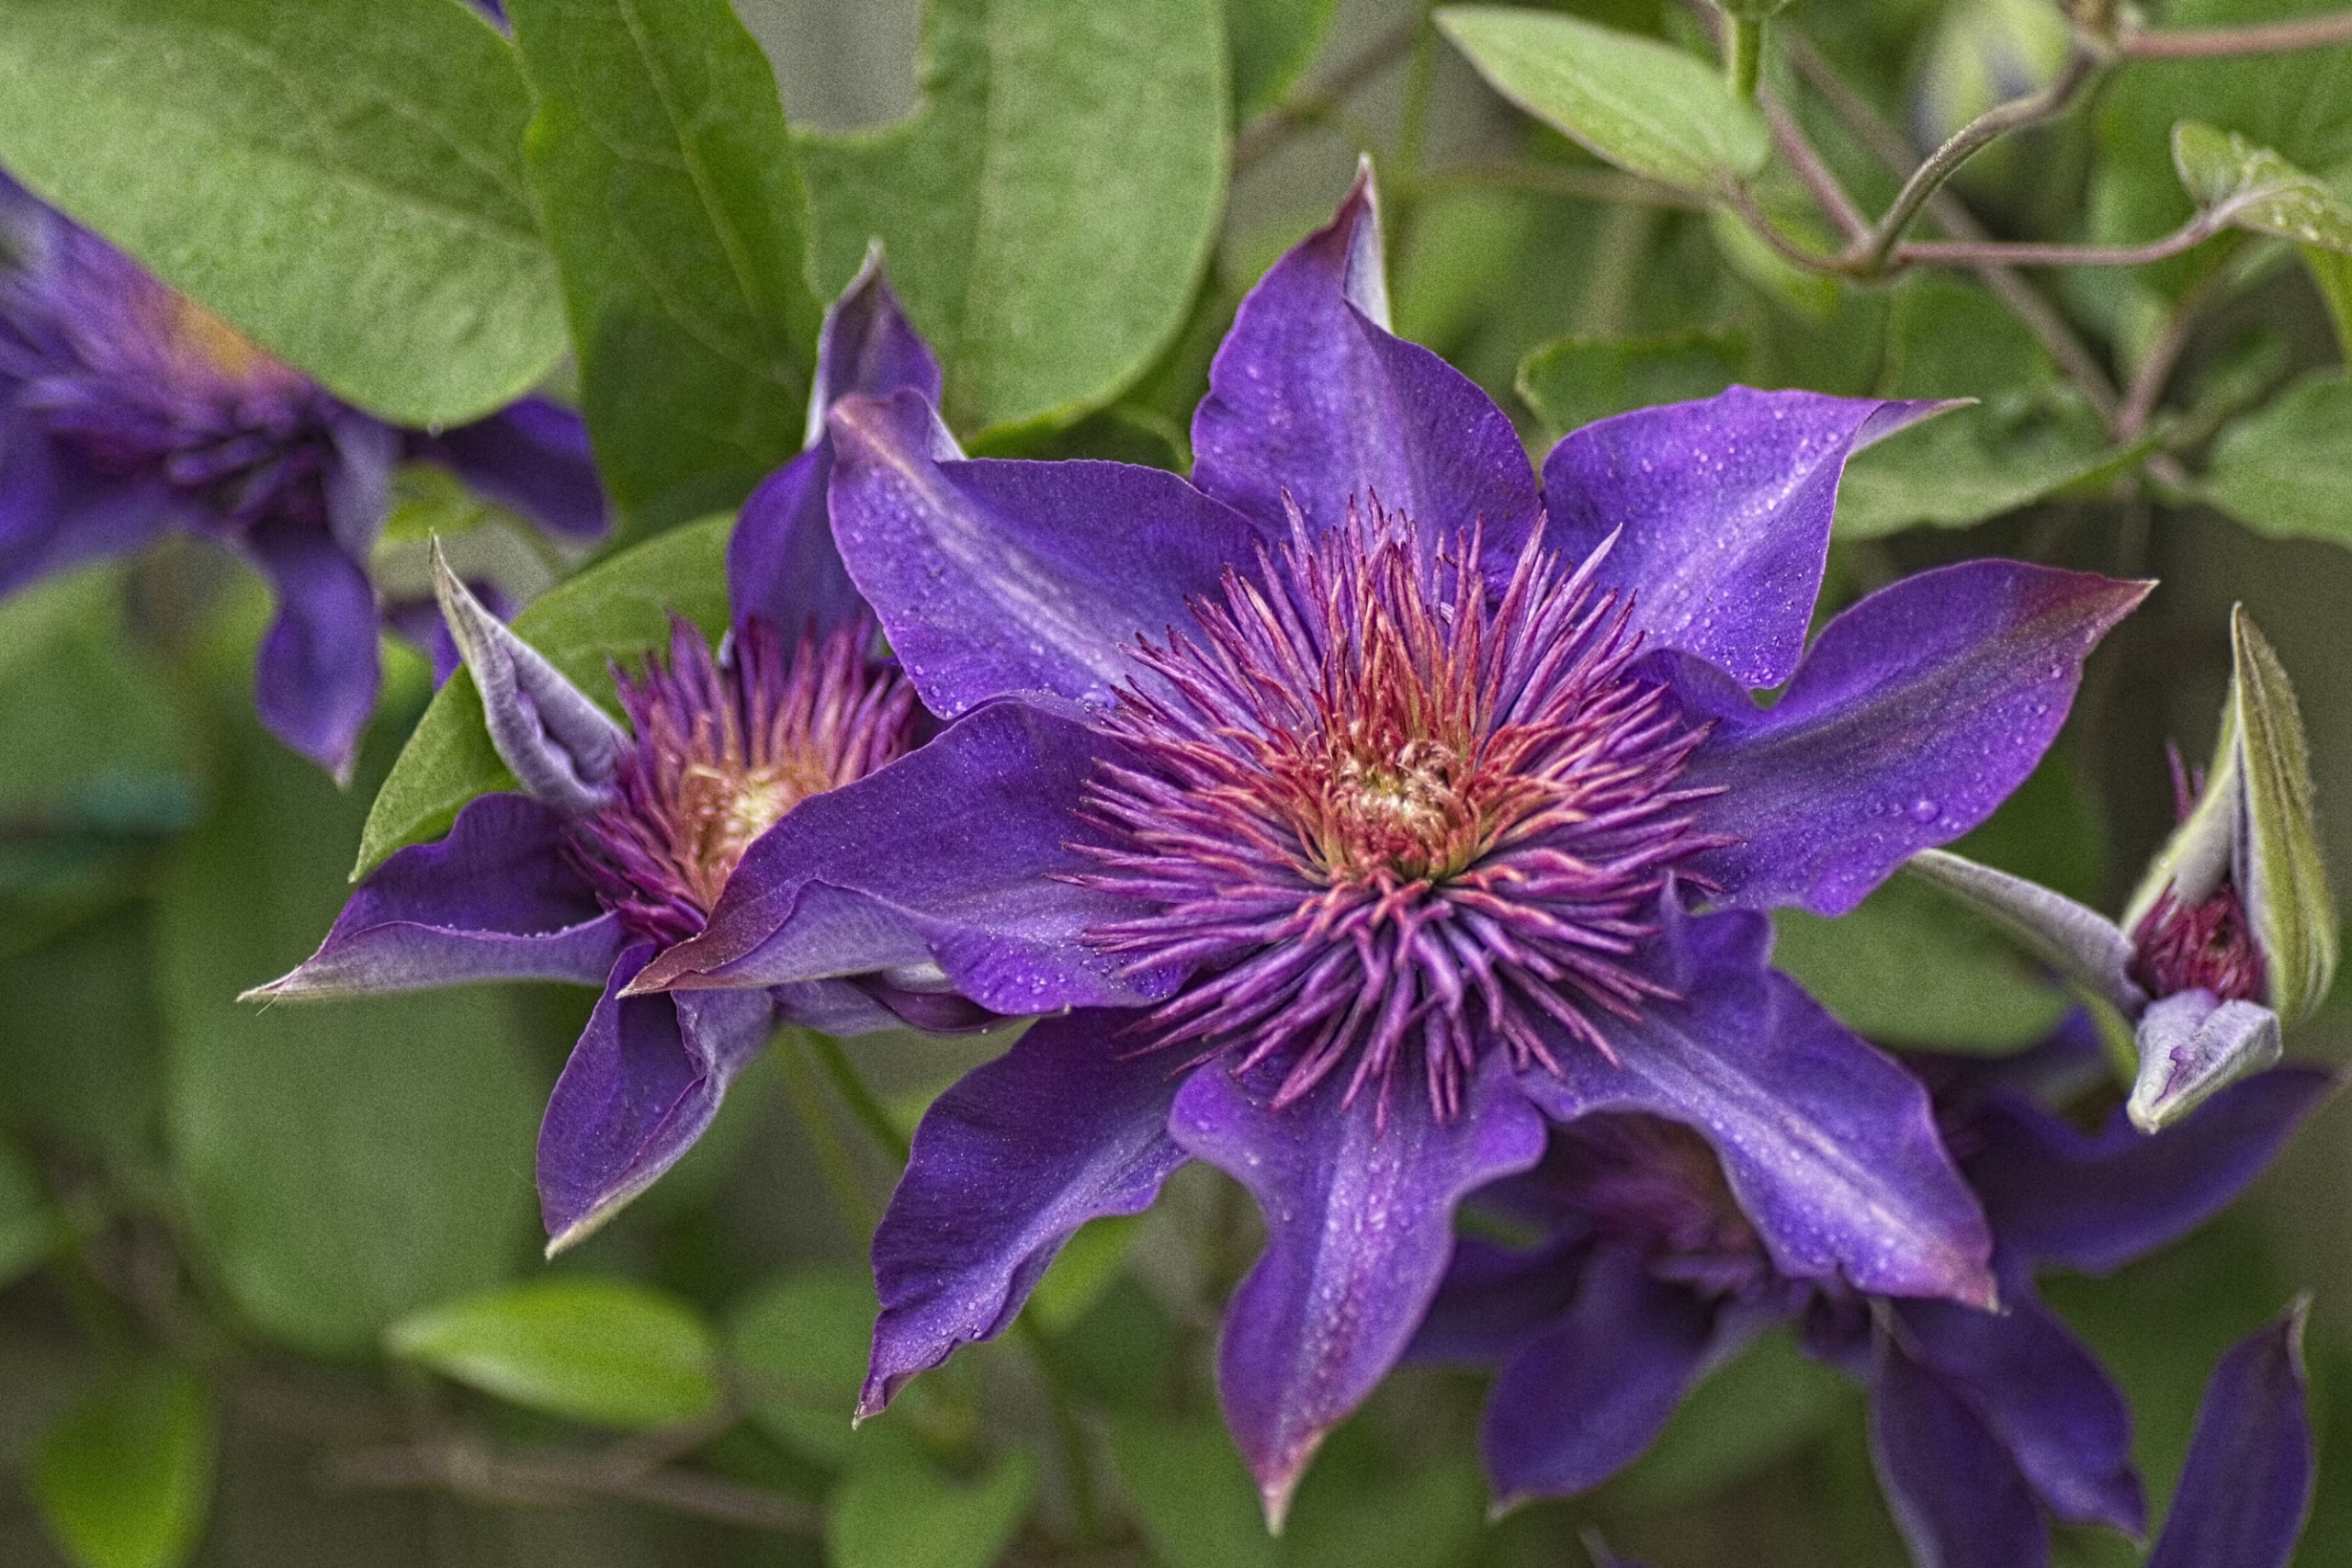
Clematis plants can be categorized into several types based on their blooming season and pruning requirements. Understanding these differences is key to selecting the right variety for your garden and ensuring a prolific bloom.
- Early Flowering Clematis: These varieties bloom in spring on the previous year’s growth. Examples include Clematis montana and Clematis alpina, which feature delicate flowers and vigorous growth.
- Large-Flowered Hybrids: Blooming in late spring or early summer, these clematis display large, showy flowers. Popular varieties include ‘Nelly Moser’ and ‘Henryi,’ known for their impressive blooms and vibrant colors.
- Late Flowering Clematis: Flowering in late summer to early autumn on the current year’s growth, these types, such as Clematis viticella and Clematis texensis, offer gardeners a late-season burst of color.
- Evergreen Clematis: Unlike their deciduous counterparts, evergreen clematis, like Clematis armandii, retain their foliage year-round, providing continuous greenery and seasonal blooms.
Choosing the right type of clematis for your garden depends on your flowering time preference, pruning willingness, and specific garden aesthetics.
Sunlight Requirements
For clematis to thrive and blossom to their full potential, the right balance of sunlight is crucial. Most clematis varieties prefer to have their “feet” in the shade and their “heads” in the sun, meaning that while they require ample sunlight to flower (about 6 hours of direct sunlight a day), their roots should be kept cool and protected from intense midday heat. This can be achieved by planting low-growing shrubs or perennials near the base of the clematis or using a layer of mulch to keep the root zone moist and cool. Some varieties, especially those with light-colored flowers, may tolerate partial shade, but flowering will be maximized with adequate sun exposure.
Soil Preparation
Proper soil preparation is essential for the healthy growth and blooming of clematis. These plants thrive in well-drained, fertile soil with a neutral to slightly alkaline pH level. Before planting, it’s advisable to incorporate generous amounts of compost or well-rotted manure into the planting hole and the surrounding soil. This not only improves soil structure and drainage but also adds vital nutrients.
If the soil in your garden is heavy clay or very sandy, further amendments might be necessary to achieve the ideal growing conditions. For clay soils, add horticultural grit or sand to enhance drainage. Sandy soils, on the other hand, will benefit from the addition of organic matter to increase water retention. Performing a pH test is also recommended; if the soil is too acidic, adding garden lime can help adjust the pH level. Preparing the soil meticulously lays the foundation for a thriving clematis that can grace your garden with its beautiful vines and flowers for years to come.
How to Plant Your Clematis Vine
Planting your clematis correctly is crucial for its growth and flowering. Begin by digging a hole that is both wider and deeper than the size of the pot it is in. This ensures there is ample room for the roots to spread out and for soil improvements to be made. When placing your clematis in the hole, it’s important to plant it 2-4 inches deeper than it was in the pot. This encourages the formation of strong, extra shoots from below ground level, making the plant more resilient.
After positioning the clematis in the hole, backfill with a mixture of the original soil and well-rotted compost or manure. Firm the soil around the base and water thoroughly. To protect the roots from the sun and to keep them cool, consider planting a low-growing shrub or spreading a layer of mulch around the base. This not only maintains moisture levels but also helps to keep the area around the roots shaded and cool.
Finally, provide your clematis with support from the start. Trellises, fences, or climbing frames can guide its growth upwards and help manage its sprawling nature. Tying young shoots to the support gently with soft twine or special plant ties can encourage vertical growth and the sprawling beauty that clematis vines are known for. Regular watering, especially in the first year of planting, establishes a strong and healthy plant capable of showcasing those magnificent blooms for seasons to come.
Water and Fertilizer
Maintaining the right watering and fertilization schedule is key to ensuring your clematis vine flourishes. Clematis plants prefer a consistent moisture level; they do not fare well in either waterlogged soil or dry conditions. In the growing season, water your clematis deeply once a week. Increasing frequency during hot, dry periods to keep the soil evenly moist. Avoid overhead watering to minimize the risk of fungal diseases. Instead water at the base of the plant to keep the foliage dry.
For fertilizing, opt for a balanced 10-10-10 fertilizer in the early spring as new growth appears. This provides a good foundation for the growing season. Additionally, a mid-season feeding after the first bloom can help encourage later blooms. Especially in varieties that flower more than once per season. Be cautious not to over-fertilize, as this can lead to more foliage and fewer blooms. Incorporating a layer of compost around the base of the plant in early spring can also provide essential nutrients. And enhance soil health, supporting your clematis’s growth and flowering potential.
Pruning
Pruning is a crucial aspect of clematis care that not only helps maintain a tidy appearance. But also encourages healthier plants and more abundant blooms. Clematis vines are categorized into three main pruning groups based on their flowering time and pattern. And understanding which group your clematis belongs to is key to proper pruning:
- Group 1: These early-flowering clematis bloom in late winter or spring on the previous year’s growth. Pruning should be minimal, done just after flowering to remove dead or weak stems, and to shape the plant if necessary.
- Group 2: Mid-season, large-flowered hybrids fall into this group. They bloom in late spring or early summer on old wood and often again in late summer on new growth. Pruning in early spring involves removing dead and weak stems and reducing the height of the plant to the topmost pair of large, healthy buds. This encourages strong new growth and a second bloom.
- Group 3: This group includes clematis that flower in summer and early fall on the current year’s growth. Pruning should be more aggressive, cutting back all stems to strong set of buds 6-8 inches above ground level in late winter or early spring. This promotes vigorous growth and flowering.
Regular pruning not only revitalizes your vine but also ensures an impressive display of flowers each season. It is vital for the longevity of your clematis, allowing it to provide beauty and charm in your garden year after year.
Overwintering
Successfully overwintering your clematis helps ensure it returns year after year with vigor and beauty. While many clematis varieties are hardy and can withstand freezing temperatures, some preparation can help them survive the winter unscathed. Start by ceasing fertilizer application by late summer to prevent new growth that could be damaged by frost. Before the first freeze, thoroughly water your clematis to help the roots withstand the cold. Applying a thick layer of mulch around the base of the plant, but not touching the stem, can protect the roots from freezing temperatures and fluctuating winter weather.
For varieties in colder climates or those particularly susceptible to frost, consider adding an additional layer of protection. Such as burlap or a frost cloth, around the base. This should be removed once the threat of the last frost has passed in early spring to prevent overheating. And to allow new shoots to emerge freely. Following these steps will help your clematis endure the winter, ready to grow and bloom as temperatures warm.
Happy Gardening!
The cultivation and care of a clematis plant require attention to detail in planting, watering, fertilizing, pruning, and overwintering practices. Each step, from preparing the planting hole to the precise method of pruning. Each is instrumental in encouraging a healthy, vibrant vine capable of producing stunning blooms.
By understanding and catering to the specific needs of your clematis variety. You can ensure its growth and vitality for many seasons. Such dedicated care not only enhances the beauty of your garden but also creates a rewarding gardening experience that showcases the unique charm of clematis vines. Whether draped over trellises, fences, or climbing frames, a well-tended clematis is a testament to the beauty nature offers and the fulfillment gardening brings.
Please be sure to check out my Gardening Blog Post Page for more tips on all types of gardening. Including Seed Starting, Orchids, Water Gardening, Coldframe Gardening, Indoor Bulb Gardening, Hydroponics, Container Gardening, Mums, Herbs, African Violets, planting Bulbs, Flower Gardening, Vegetable and Fruit Gardening, Indoor Houseplants of all kinds, Cactus, Succulents, Hanging plants, Deer resistant plants and even Bird, Bee, Butterfly and Hummingbird Gardens!