
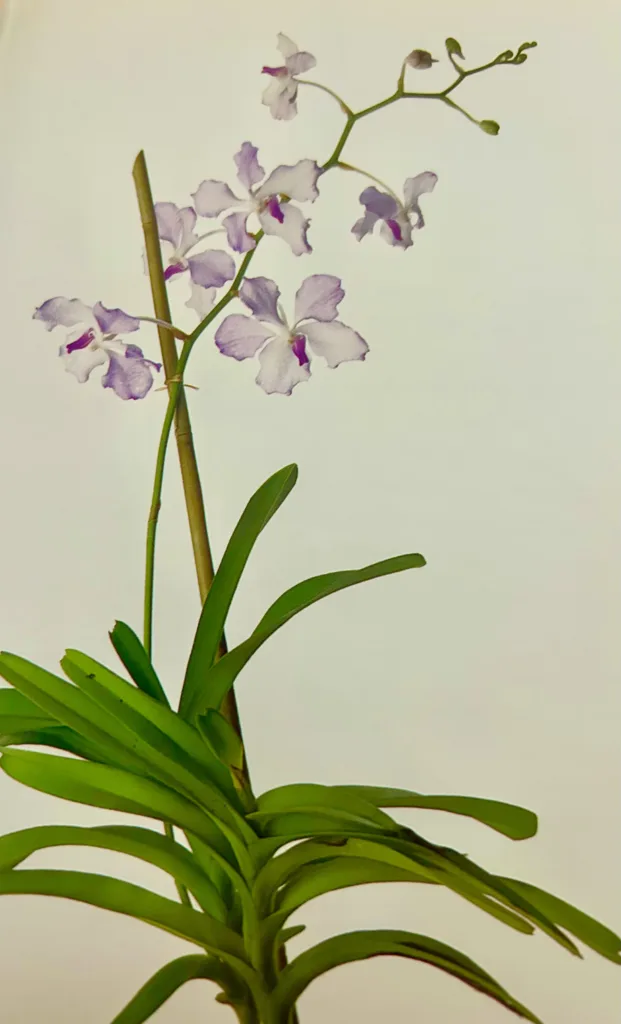
Vanda orchids, known for their vibrant colors and beautiful, large flowers, are a genus of the orchid family. Native to the tropical areas of Asia, these orchids are usually found either in the lower montane forest or the lowland seasonal forests. They are an epiphytic species, growing on tree trunks in nutrient-rich pockets. Their roots hang in the air, and they absorb most of their nutrients and moisture from the atmosphere. These orchids have an impressive blooming period, often presenting their exotic flowers several times a year. Care for Vanda orchids requires specific conditions, given their tropical origin, and the following sections will delve into the details of these needs. In this post I’ll guide you through the different aspects of how to care for a Vanda orchid, from soil to water to fertilizer.
Pot Type for Vanda Orchids
When it comes to pot selection for Vanda orchids, you should remember that these plants prefer ample air circulation around their roots. Therefore, traditional pots aren’t an ideal choice. Instead, opt for wooden baskets, boards, trees or mesh pots. These allow the roots to hang freely and absorb the necessary moisture and nutrients from the atmosphere. Whichever pot you choose, ensure that it provides the orchid with enough support to grow and flower healthily.
Mounting Vanda Orchids on Boards
Another viable option for Vanda orchids is mounting them on boards. This method emulates their natural growing conditions, where they attach to tree barks. You can use materials like cork or tree fern panels for mounting. Firstly, fix the orchid’s roots to the board using non-copper wire or fishing line. It’s essential to maintain the upward growth habit of the plant. Then, place a bit of sphagnum moss around the roots for initial support and moisture. Over time, as the Vanda orchid grows, its roots will adhere to the board. Remember to regularly mist or soak the mounted orchid to ensure it receives adequate moisture and nutrients. This mounting method enables the Vanda’s aerial roots to flourish, promoting overall plant health and vibrant blooms.
Growing Medium for Vanda Orchids
Unlike typical houseplants, Vanda orchids do not thrive in soil because their roots need to breathe and have access to ample air circulation. Instead of soil, these orchids are best grown in loosely packed coarse materials like bark chips, charcoal, or even coconut husks which mimic their natural growing environment. This loose medium allows the roots to get the necessary air circulation while also providing enough moisture and nutrients. Remember, overpacking these materials can lead to root rot, depriving your orchid of the necessary air and water it needs to grow. Therefore, selecting the right growing medium is as crucial as the pot in Vanda orchid care.
Light Requirements for Vanda Orchids
Vanda Orchids thrive under high light and humidity conditions, similar to their tropical forest habitat. They require a good amount of bright, indirect light to bloom properly. Placing them in a location where they can receive morning sunlight, and some afternoon shade, is ideal. However, ensure that the light isn’t too harsh as it can cause leaf burn.
Grow Lights for Vanda Orchids
If you’re growing Vanda orchids indoors and can’t provide enough natural light, you might consider using grow lights. These artificial lights mimic the sun’s spectrum, providing your orchid with the necessary wavelengths for photosynthesis. They can be particularly useful during the winter months when daylight hours are shorter. Fluorescent lights, particularly those with high-output T5 bulbs, are a popular choice for orchid growers. LED lights are another good option, as they consume less energy and produce less heat, reducing the risk of damaging your orchids. The lights should be placed about a foot above the orchid and left on for about 12-14 hours a day to simulate a normal daylight cycle. Using a timer can make this process easier and ensure regular light cycles for your Vanda orchids.
Humidity Needs for Vandas
As for humidity, these orchids prefer a humidity level of 50% to 70%. You can maintain this by using a humidity tray or a room humidifier, especially during dry seasons. Regular misting can also help recreate a humid environment, which is essential for their growth. However, avoid excess moisture on the leaves as it can lead to fungal infections. Therefore, keep a balance between providing ample humidity and preventing waterlogging for your Vanda orchids. This ThermaPro Hygrometer is perfect for monitoring humidity and temperature levels.
How Often to Water Vanda Orchids
When it comes to watering Vanda orchids, they require frequent watering due to their epiphytic nature. During the growing season, usually between spring and fall, watering should be done daily. In the cooler months, reduce the frequency to about three times a week, but ensure the orchid never completely dries out. Watering should be done in the morning to allow excess water to evaporate before nightfall, preventing the risk of root or crown rot.
Best Way to Water Vanda Orchids
The best way to water Vanda orchids is to mimic their natural rainforest environment. This can be achieved by drenching the roots and letting any excess water drain away. If your Vanda is potted in a basket or mesh, you can simply immerse the roots in water for about 10-15 minutes, allowing them to soak up the necessary moisture. If your orchid is mounted on a board or hanging, you can water it using a spray bottle or a garden hose with a gentle flow. Make sure you spray the roots thoroughly until they change from a silver-gray color to a green shade. This color change indicates that the roots have absorbed enough water. Always remember to water your Vanda orchids in the morning so that the roots have enough time to dry before the temperature drops at night. This can help prevent potential issues such as root rot.
Fertilizer Needs for Vanda Orchids
Vanda orchids are heavy feeders and need regular feeding to bloom their best. Use a balanced orchid fertilizer every other watering during the growing season. In the winter, you can cut back to fertilizing once a month. It’s essential to flush the roots with pure water regularly to prevent salt buildup in the growing medium from the fertilizer. Remember, over-fertilization can do more harm than good, leading to fertilizer burn or salt buildup that can damage the orchid’s roots. Hence, when it comes to fertilizing Vanda orchids, the adage “less is more” stands true.
Post-Bloom Care for Vanda Orchids
After your Vanda orchid has finished blooming, it’s time to focus on post-bloom care. This is the period when your orchid restores its energy for the next blooming cycle. Start by reducing the frequency of fertilization to allow the plant to rest. However, do not cut back on watering as Vandas still require a high level of hydration.
If the flower spike has turned yellow or brown, it indicates that the orchid is done with that spike; you can safely cut it off. If the spike is still green, there’s a chance it might rebloom from it again, so leave it be.
This is also a good time to check the overall health of your orchid. Look for any signs of pests or diseases. If there’s any damage or root rot, prune the affected parts. Continue providing adequate light, humidity, and ventilation as these conditions are vital for the growth and health of your Vanda orchid. Remember, a healthy Vanda plant post-bloom will ensure a vibrant and abundant bloom in the next cycle.
Growing Vanda Orchids on Trees
One of the natural ways Vanda orchids thrive in their native habitat is by growing on trees. You can mimic this natural environment for your Vanda orchid at home, provided you have a suitable tree and the right conditions.
Choosing the Right Tree
Choose a tree that has a rough bark and branches that are wide enough to support your Vanda orchid. Trees like oak, pine, and citrus usually work well. The tree should also provide the orchid with enough light, but not direct afternoon sunlight, which can cause leaf burn.
Mounting the Orchid
To mount the orchid on the tree, you’ll need some sphagnum moss and a non-copper based wire. First, soak the moss in water and squeeze out the excess. Place a small amount of the moss on the part of the tree where you want to mount the orchid. Then, secure the orchid onto the moss using the wire. Make sure the wire is tight enough to hold the orchid in place but not so tight that it damages the orchid’s stems or roots.
Caring for Vanda Orchids on Trees
After mounting, water the orchid regularly, ideally in the morning, to mimic the humidity of its tropical environment. During hot and dry periods, you might need to water it daily. Also, mist the orchid occasionally to increase the humidity around it.
Remember to fertilize your Vanda orchid as well. You can spray a diluted orchid fertilizer directly onto the roots when you water. As with Vandas in pots, it’s crucial to rinse off the fertilizer salts with pure water regularly to prevent salt buildup that can damage the orchid’s roots.
Growing Vanda orchids on trees can provide them with a natural and healthy environment to thrive. However, keep in mind that this method requires regular care and attention to ensure your orchid’s health and beauty.
Propagating Vandas
Vanda orchids can be propagated through division, which is best performed when the orchid has matured and has several stem offsets, or keikis. These keikis can be found growing along the orchid’s stem, and they should have a good amount of roots before they are separated.
To divide your Vanda, first, carefully remove the orchid from its pot. Then, using a sterile cutting tool, separate the keikis from the mother plant. Be sure to make clean cuts and avoid damaging the roots. After the division, repot the new orchids in appropriate pots with the right growing medium as discussed before.
It is crucial to note that newly divided Vanda orchids require extra care. They may need a higher humidity level and may need to be watered more frequently. Ensure they are given enough light, but are protected from harsh, direct sunlight. With proper care, your newly propagated Vandas should begin to establish themselves and bloom within a year or two.
Happy Orchid Gardening!
Growing and propagating vanda orchids can be a rewarding endeavor, but it requires paying attention to their specific needs. By providing the right soil, pot, light, humidity, water, and fertilizer, you can keep these plants healthy and blooming for years to come. Remember to be patient and consistent, and don’t be afraid to experiment with different propagation methods or planting techniques. With a little bit of dedication, you can become a successful vanda orchid gardener.
Please be sure to check out my Gardening Blog Post Page for more tips on all types of gardening. Including Orchids, Water Gardening, Coldframe Gardening, Indoor Bulb Gardening, Hydroponics, Container Gardening, Mums, Herbs, African Violets, planting Bulbs, Flower Gardening, Vegetable and Fruit Gardening, Indoor Houseplants of all kinds, Cactus, Succulents, Hanging plants, Deer resistant plants and even Bird, Bee, Butterfly and Hummingbird Gardens!